第一章 Android使用Texture渲染视频(本章)
第二章 Windows使用Texture渲染视频
第三章 Linux使用Texture渲染视频
第四章 全平台FFI+CustomPainter渲染视频
文章目录
flutter渲染视频的方法有多种,比如texture、platformview、ffi,其中texture是通过flutter自己提供的一个texture对象与dart界面关联后进行渲染,很容易搜索到android和ios的相关资料,但是大部分资料不够详细,尤其是jni渲染部分基本都略过了,对于使用flutter但不熟悉安卓的情况下,是比较难搞清楚通过texure拿到surface之后该怎么渲染。所以本文将说明整体的渲染流程。
在界面中定义一个Texture
Container(
  width: 640,
  height: 360,
  child: Texture(
  textureId: textureId,
))
java
TextureRegistry.SurfaceTextureEntry entry =flutterEngine.getRenderer().createSurfaceTexture();
dart
  int textureId = -1;
  if (textureId < 0) {
  //调用本地方法获取textureId
  methodChannel.invokeMethod('startPreview',<String,dynamic>{'path':'test.mov'}).then((value) {
  textureId = value;
  setState(() {
  print('textureId ==== $textureId');
  });
  });
  }
java
 //methodchannel的startPreview方法实现,此处略
TextureRegistry.SurfaceTextureEntry entry =flutterEngine.getRenderer().createSurfaceTexture();
result.success(entry.id());
java
TextureRegistry.SurfaceTextureEntry entry = flutterEngine.getRenderer().createSurfaceTexture();
SurfaceTexture surfaceTexture = entry.surfaceTexture();
Surface surface = new Surface(surfaceTexture);
String path = call.argument("path");
//调用jni并传入surface
native_start_play(path,surface);
jni c++
ANativeWindow *a_native_window = ANativeWindow_fromSurface(env,surface);
ANativeWindow_setBuffersGeometry(a_native_window,width,height,WINDOW_FORMAT_RGBA_8888);
ANativeWindow_Buffer a_native_window_buffer;
ANativeWindow_lock(a_native_window,&a_native_window_buffer,0);
uint8_t *first_window = static_cast<uint8_t *>(a_native_window_buffer.bits);
//rgba数据
uint8_t *src_data = data[0];
int dst_stride = a_native_window_buffer.stride * 4;
//ffmpeg的linesize
int src_line_size = linesize[0];
for(int i = 0; i < a_native_window_buffer.height;i++){
    memcpy(first_window+i*dst_stride,src_data+i*src_line_size,dst_stride);
}
ANativeWindow_unlockAndPost(a_native_window);
其中jni方法定义:
extern "C" JNIEXPORT void JNICALL Java_com_example_ffplay_1plugin_FfplayPlugin_native_1start_1play( JNIEnv *env, jobject /* this*/, jstring path,jobject surface) ;
main.dart
import 'package:flutter/material.dart';
import 'package:flutter/services.dart';
MethodChannel methodChannel = MethodChannel('ffplay_plugin');
void main() {
  runApp(MyApp());
}
class MyApp extends StatelessWidget {
  // This widget is the root of your application.
  @override
  Widget build(BuildContext context) {
    return MaterialApp(
      title: 'Flutter Demo',
      theme: ThemeData(
        primarySwatch: Colors.blue,
      ),
      home: MyHomePage(title: 'Flutter Demo Home Page'),
    );
  }
}

class MyHomePage extends StatefulWidget {
  MyHomePage({Key? key, required this.title}) : super(key: key);

  final String title;
  @override
  _MyHomePageState createState() => _MyHomePageState();
}

class _MyHomePageState extends State<MyHomePage> {
  int _counter = 0;
  int textureId = -1;
  Future<void> _createTexture() async {
  print('textureId = $textureId');
  //调用本地方法播放视频
  if (textureId < 0) {
  methodChannel.invokeMethod('startPreview',<String,dynamic>{'path':'https://sf1-hscdn-tos.pstatp.com/obj/media-fe/xgplayer_doc_video/flv/xgplayer-demo-360p.flv'}).then((value) {
  textureId = value;
  setState(() {
  print('textureId ==== $textureId');
  });
  });
  }
  }
  @override
  Widget build(BuildContext context) {
  return Scaffold(
  appBar: AppBar(
  title: Text(widget.title),
  ),
  //控件布局
  body: Center(
  child: Row(
  mainAxisAlignment: MainAxisAlignment.center,
  children: <Widget>[
  if (textureId > -1)
  ClipRect (
  child: Container(
  width: 640,
  height: 360,
  child: Texture(
  textureId: textureId,
  )),
  ),
  ],
  ),
  ),
  floatingActionButton: FloatingActionButton(
  onPressed: _createTexture,
  tooltip: 'createTexture',
  child: Icon(Icons.add),
  ),
  );
  }
}
定义一个插件我这里是fflay_plugin。
fflayplugin.java
if (call.method.equals("startPreview")) {
      //创建texture
      TextureRegistry.SurfaceTextureEntry entry =flutterEngine.getRenderer().createSurfaceTexture();
      SurfaceTexture surfaceTexture = entry.surfaceTexture();
      Surface surface = new Surface(surfaceTexture);
      //获取参数
      String path = call.argument("path");
      //调用jni开始渲染
      native_start_play(path,surface);
      //返回textureId
      result.success(entry.id());
    }
public native void native_start_play(String path, Surface surface);
native-lib.cpp
extern "C" JNIEXPORT void
JNICALL
Java_com_example_ffplay_1plugin_FfplayPlugin_native_1start_1play(
        JNIEnv *env,
        jobject /* this */,  jstring path,jobject surface) {
    //获取用于绘制的NativeWindow
    ANativeWindow *a_native_window = ANativeWindow_fromSurface(env,surface);
    //转换视频路径字符串为C中可用的
    const char *video_path = env->GetStringUTFChars(path,0);
    //初始化播放器,Play中封装了ffmpeg
    Play *play=new Play;
    //播放回调
    play->Display=[=](unsigned char* data[8], int linesize[8], int width, int height, AVPixelFormat format)
        {
        //设置NativeWindow绘制的缓冲区
        ANativeWindow_setBuffersGeometry(a_native_window,width,height,WINDOW_FORMAT_RGBA_8888);
        //绘制时,用于接收的缓冲区
        ANativeWindow_Buffer a_native_window_buffer;
        //加锁然后进行渲染
        ANativeWindow_lock(a_native_window,&a_native_window_buffer,0);
        uint8_t *first_window = static_cast<uint8_t *>(a_native_window_buffer.bits);
        uint8_t *src_data = data[0];
        //拿到每行有多少个RGBA字节
        int dst_stride = a_native_window_buffer.stride * 4;
        int src_line_size = linesize[0];
        //循环遍历所得到的缓冲区数据
        for(int i = 0; i < a_native_window_buffer.height;i++){
            //内存拷贝进行渲染
            memcpy(first_window+i*dst_stride,src_data+i*src_line_size,dst_stride);
        }
        //绘制完解锁
        ANativeWindow_unlockAndPost(a_native_window);
};
    //开始播放
    play->Start(video_path,AV_PIX_FMT_RGBA);
    env->ReleaseStringUTFChars(path,video_path);
}
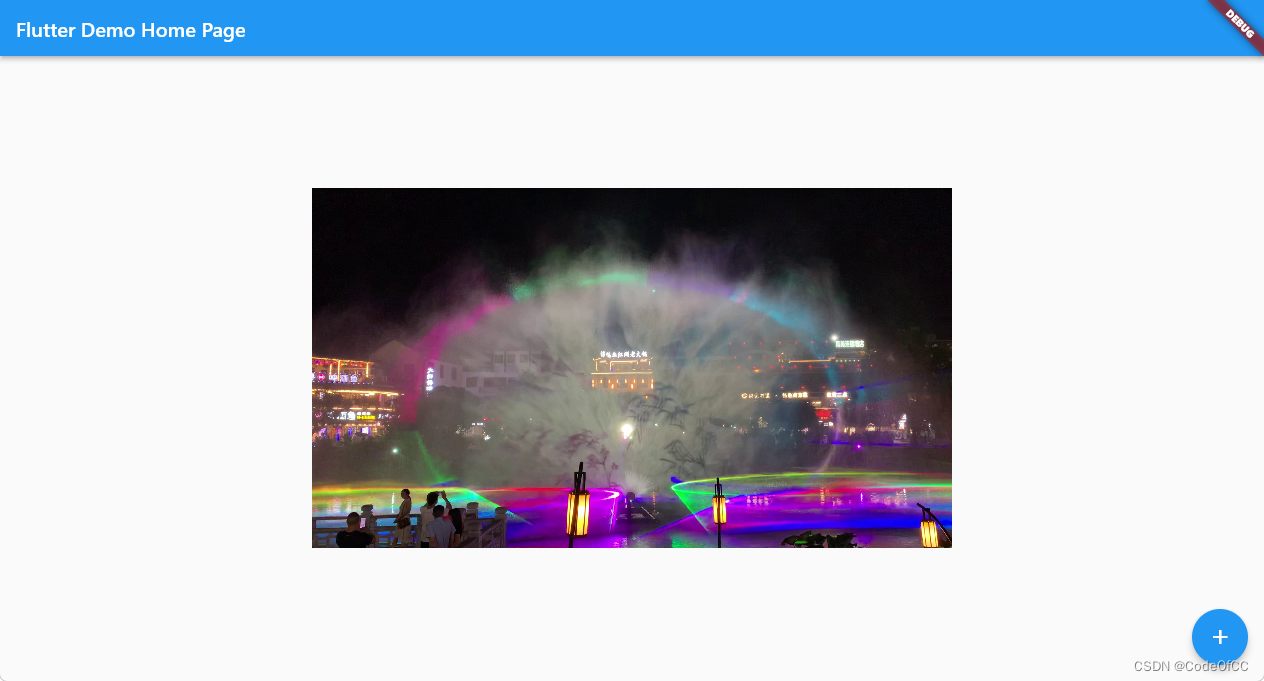
效果预览
android TV横屏
https://download.csdn.net/download/u013113678/87094784
包含完整代码的flutter项目,版本3.0.4、3.3.8都成功运行,目录说明如下。

以上就是今天要讲的内容,flutter在安卓上渲染视频还是相对容易实现的。因为资料比较多,但是只搜索fluter相关的资料只能了解调texture的用法,无法搞清楚texture到ffmpeg的串连,我们需要单独去了解安卓调用ffmpeg渲染才能找到的它们之间的关联。总的来说,实现相对容易效果也能接受。
我正在学习如何使用Nokogiri,根据这段代码我遇到了一些问题:require'rubygems'require'mechanize'post_agent=WWW::Mechanize.newpost_page=post_agent.get('http://www.vbulletin.org/forum/showthread.php?t=230708')puts"\nabsolutepathwithtbodygivesnil"putspost_page.parser.xpath('/html/body/div/div/div/div/div/table/tbody/tr/td/div
我有一个Ruby程序,它使用rubyzip压缩XML文件的目录树。gem。我的问题是文件开始变得很重,我想提高压缩级别,因为压缩时间不是问题。我在rubyzipdocumentation中找不到一种为创建的ZIP文件指定压缩级别的方法。有人知道如何更改此设置吗?是否有另一个允许指定压缩级别的Ruby库? 最佳答案 这是我通过查看rubyzip内部创建的代码。level=Zlib::BEST_COMPRESSIONZip::ZipOutputStream.open(zip_file)do|zip|Dir.glob("**/*")d
类classAprivatedeffooputs:fooendpublicdefbarputs:barendprivatedefzimputs:zimendprotecteddefdibputs:dibendendA的实例a=A.new测试a.foorescueputs:faila.barrescueputs:faila.zimrescueputs:faila.dibrescueputs:faila.gazrescueputs:fail测试输出failbarfailfailfail.发送测试[:foo,:bar,:zim,:dib,:gaz].each{|m|a.send(m)resc
很好奇,就使用rubyonrails自动化单元测试而言,你们正在做什么?您是否创建了一个脚本来在cron中运行rake作业并将结果邮寄给您?git中的预提交Hook?只是手动调用?我完全理解测试,但想知道在错误发生之前捕获错误的最佳实践是什么。让我们理所当然地认为测试本身是完美无缺的,并且可以正常工作。下一步是什么以确保他们在正确的时间将可能有害的结果传达给您? 最佳答案 不确定您到底想听什么,但是有几个级别的自动代码库控制:在处理某项功能时,您可以使用类似autotest的内容获得关于哪些有效,哪些无效的即时反馈。要确保您的提
假设我做了一个模块如下:m=Module.newdoclassCendend三个问题:除了对m的引用之外,还有什么方法可以访问C和m中的其他内容?我可以在创建匿名模块后为其命名吗(就像我输入“module...”一样)?如何在使用完匿名模块后将其删除,使其定义的常量不再存在? 最佳答案 三个答案:是的,使用ObjectSpace.此代码使c引用你的类(class)C不引用m:c=nilObjectSpace.each_object{|obj|c=objif(Class===objandobj.name=~/::C$/)}当然这取决于
我正在尝试使用ruby和Savon来使用网络服务。测试服务为http://www.webservicex.net/WS/WSDetails.aspx?WSID=9&CATID=2require'rubygems'require'savon'client=Savon::Client.new"http://www.webservicex.net/stockquote.asmx?WSDL"client.get_quotedo|soap|soap.body={:symbol=>"AAPL"}end返回SOAP异常。检查soap信封,在我看来soap请求没有正确的命名空间。任何人都可以建议我
关闭。这个问题是opinion-based.它目前不接受答案。想要改进这个问题?更新问题,以便editingthispost可以用事实和引用来回答它.关闭4年前。Improvethisquestion我想在固定时间创建一系列低音和高音调的哔哔声。例如:在150毫秒时发出高音调的蜂鸣声在151毫秒时发出低音调的蜂鸣声200毫秒时发出低音调的蜂鸣声250毫秒的高音调蜂鸣声有没有办法在Ruby或Python中做到这一点?我真的不在乎输出编码是什么(.wav、.mp3、.ogg等等),但我确实想创建一个输出文件。
我在我的项目目录中完成了compasscreate.和compassinitrails。几个问题:我已将我的.sass文件放在public/stylesheets中。这是放置它们的正确位置吗?当我运行compasswatch时,它不会自动编译这些.sass文件。我必须手动指定文件:compasswatchpublic/stylesheets/myfile.sass等。如何让它自动运行?文件ie.css、print.css和screen.css已放在stylesheets/compiled。如何在编译后不让它们重新出现的情况下删除它们?我自己编译的.sass文件编译成compiled/t
我想将html转换为纯文本。不过,我不想只删除标签,我想智能地保留尽可能多的格式。为插入换行符标签,检测段落并格式化它们等。输入非常简单,通常是格式良好的html(不是整个文档,只是一堆内容,通常没有anchor或图像)。我可以将几个正则表达式放在一起,让我达到80%,但我认为可能有一些现有的解决方案更智能。 最佳答案 首先,不要尝试为此使用正则表达式。很有可能你会想出一个脆弱/脆弱的解决方案,它会随着HTML的变化而崩溃,或者很难管理和维护。您可以使用Nokogiri快速解析HTML并提取文本:require'nokogiri'h
我想为Heroku构建一个Rails3应用程序。他们使用Postgres作为他们的数据库,所以我通过MacPorts安装了postgres9.0。现在我需要一个postgresgem并且共识是出于性能原因你想要pggem。但是我对我得到的错误感到非常困惑当我尝试在rvm下通过geminstall安装pg时。我已经非常明确地指定了所有postgres目录的位置可以找到但仍然无法完成安装:$envARCHFLAGS='-archx86_64'geminstallpg--\--with-pg-config=/opt/local/var/db/postgresql90/defaultdb/po