构建配置文件是一系列的配置项的值,可以用来设置或者覆盖 Maven 构建默认值。
使用构建配置文件,你可以为不同的环境,比如说生产环境(Production)和开发(Development)环境,定制构建方式。
配置文件在 pom.xml 文件中使用 activeProfiles 或者 profiles 元素指定,并且可以通过各种方式触发。配置文件在构建时修改 POM,并且用来给参数设定不同的目标环境(比如说,开发(Development)、测试(Testing)和生产环境(Production)中数据库服务器的地址)。
构建配置文件大体上有三种类型:
| 类型 | 在哪定义 |
|---|---|
| 项目级(Per Project) | 定义在项目的POM文件pom.xml中 |
| 用户级 (Per User) | 定义在Maven的设置xml文件中 (%USER_HOME%/.m2/settings.xml) |
| 全局(Global) | 定义在 Maven 全局的设置 xml 文件中 (%M2_HOME%/conf/settings.xml) |
Maven的构建配置文件可以通过多种方式激活。
假定项目结构如下:
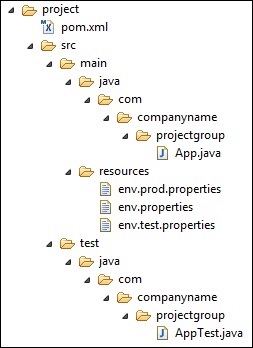
其中在src/main/resources文件夹下有三个用于测试文件:
| 文件名 | 描述 |
|---|---|
| env.properties | 如果未指定配置文件时默认使用的配置。 |
| env.test.properties | 当测试配置文件使用时的测试配置。 |
| env.prod.properties | 当生产配置文件使用时的生产配置。 |
注意:这三个配置文件并不是代表构建配置文件的功能,而是用于本次测试的目的;比如,我指定了构建配置文件为 prod 时,项目就使用 env.prod.properties文件。
注意:下面的例子仍然是使用 AntRun 插件,因为此插件能绑定 Maven 生命周期阶段,并通过 Ant 的标签不用编写一点代码即可输出信息、复制文件等,经此而已。其余的与本次构建配置文件无关。
profile 可以让我们定义一系列的配置信息,然后指定其激活条件。这样我们就可以定义多个 profile,然后每个 profile 对应不同的激活条件和配置信息,从而达到不同环境使用不同配置信息的效果。
以下实例,我们将 maven-antrun-plugin:run 目标添加到测试阶段中。这样我们可以在不同的 profile 中输出文本信息。我们将使用 pom.xml 来定义不同的 profile,并在命令控制台中使用 maven 命令激活 profile。
pom.xml 文件如下:
注意:构建配置文件采用的是 <profiles> 节点。
说明:上面新建了三个 <profiles>,其中 <id> 区分了不同的 <profiles> 执行不同的 AntRun 任务;而 AntRun 的任务可以这么理解,AntRun 监听 test 的 Maven 生命周期阶段,当 Maven 执行 test 时,就触发了 AntRun 的任务,任务里面为输出文本并复制文件到指定的位置;而至于要执行哪个 AntRun 任务,此时构建配置文件起到了传输指定的作用,比如,通过命令行参数输入指定的 <id>。
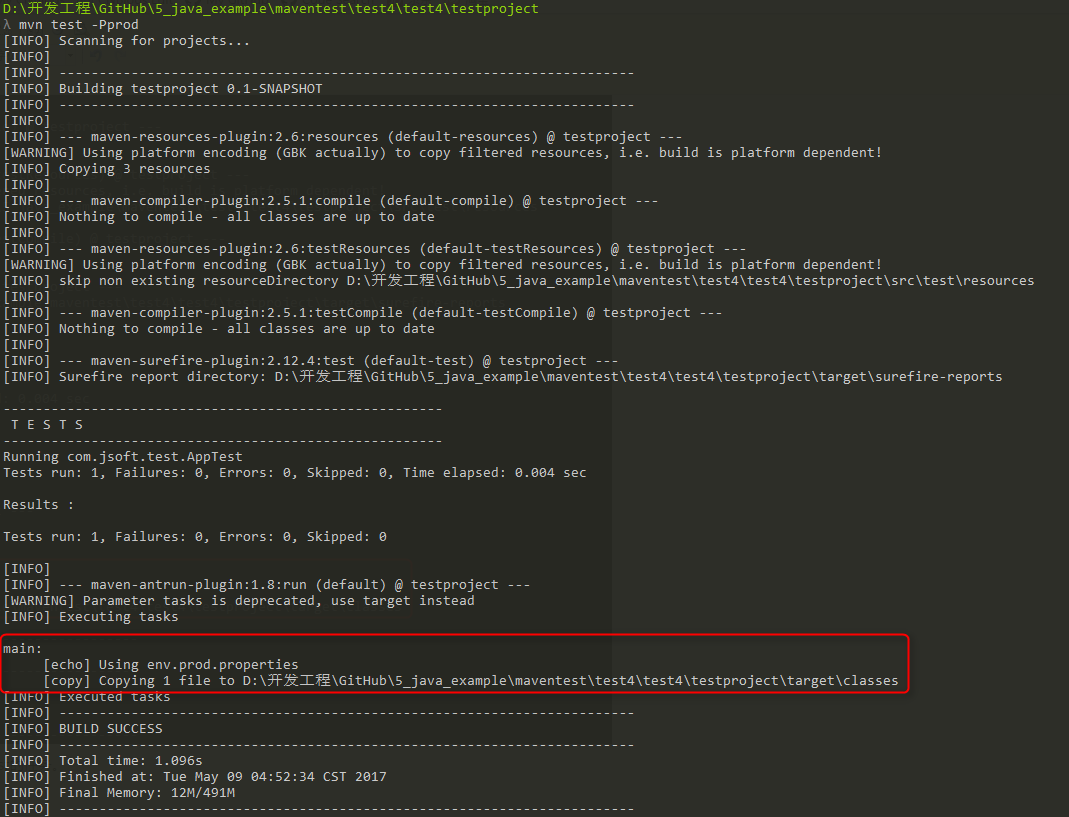
执行命令:
mvn test -Ptest
提示:第一个 test 为 Maven 生命周期阶段,第 2 个 test 为构建配置文件指定的 <id> 参数,这个参数通过 -P 来传输,当然,它可以是 prod 或者 normal 这些由你定义的<id>。
运行的结果如下:

可以看出成功的触发了AntRun的任务。并且是对应构建配置文件下的 <id> 为 test 的任务。
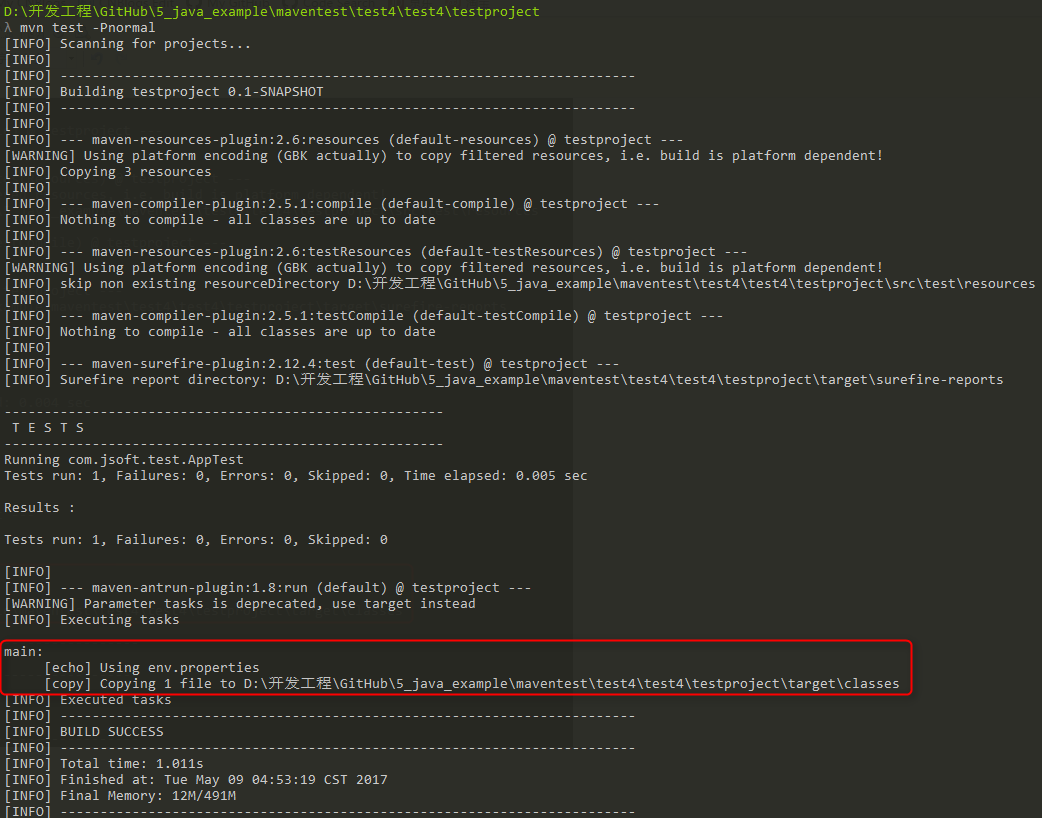
再测试其余两个命令,结果如下:
打开 %USER_HOME%/.m2 目录下的 settings.xml 文件,其中 %USER_HOME% 代表用户主目录。如果 setting.xml 文件不存在就直接拷贝 %M2_HOME%/conf/settings.xml 到 .m2 目录,其中 %M2_HOME% 代表 Maven 的安装目录。
配置 setting.xml 文件,增加 <activeProfiles>属性:
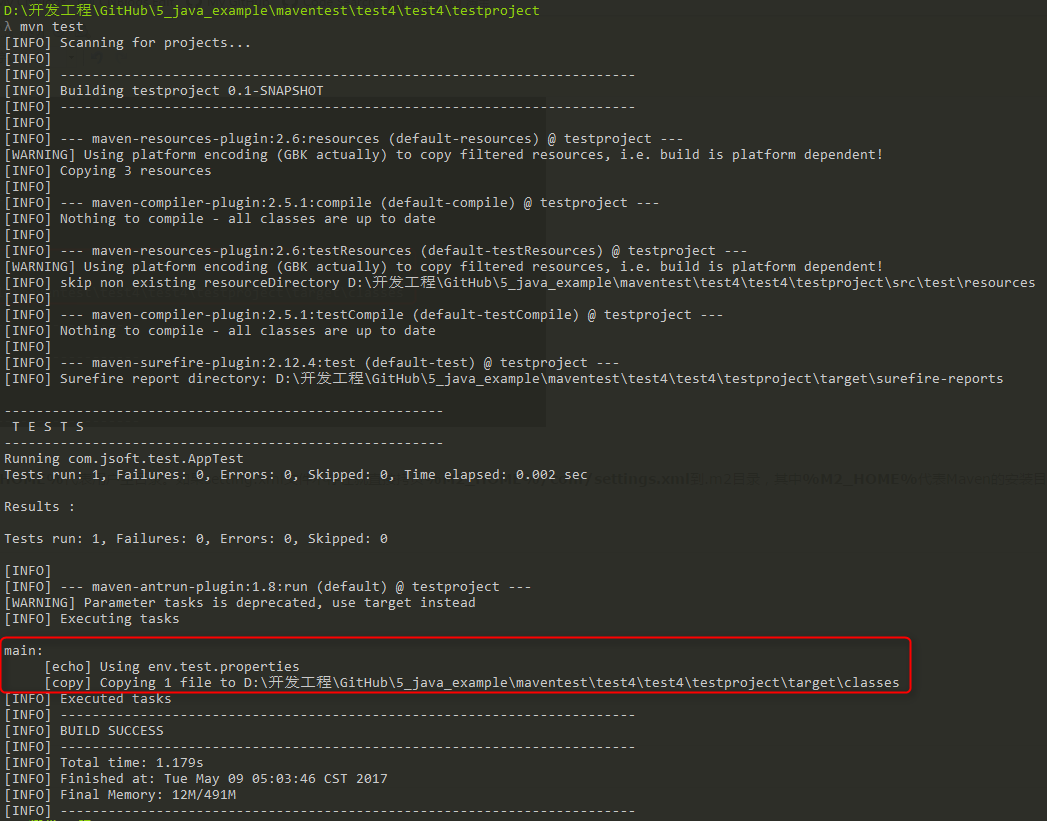
执行命令:
mvn test
提示 1:此时不需要使用 -Ptest 来输入参数了,上面的 setting.xml 文件的 <activeprofile> 已经指定了 test 参数代替了。
提示 2:同样可以使用在 %M2_HOME%/conf/settings.xml 的文件进行配置,效果一致。
执行结果:
先把上一步测试的 setting.xml 值全部去掉。
然后在 pom.xml 里面的 <id> 为 test 的 <profile> 节点,加入 <activation> 节点:
执行命令:
mvn test -Denv=test
提示 1:上面使用 -D 传递环境变量,其中 env 对应刚才设置的 <name> 值,test 对应<value>。
提示 2:在 Windows 10 上测试了系统的环境变量,但是不生效,所以,只能通过 -D 传递。
执行结果:

activation 元素包含下面的操作系统信息。当系统为 windows XP 时,test Profile 将会被触发。
现在打开命令控制台,跳转到 pom.xml 所在目录,并执行下面的 mvn 命令。不要使用 -P 选项指定 Profile 的名称。Maven 将显示被激活的 test Profile 的结果。
mvn test
现在使用 activation 元素包含下面的操作系统信息。当 target/generated-sources/axistools/wsdl2java/com/companyname/group 缺失时,test Profile 将会被触发。
现在打开命令控制台,跳转到 pom.xml 所在目录,并执行下面的 mvn 命令。不要使用 -P 选项指定 Profile 的名称。Maven 将显示被激活的 test Profile 的结果。
mvn test
参考:https://www.cnblogs.com/EasonJim/p/6828743.html
我有一个Ruby程序,它使用rubyzip压缩XML文件的目录树。gem。我的问题是文件开始变得很重,我想提高压缩级别,因为压缩时间不是问题。我在rubyzipdocumentation中找不到一种为创建的ZIP文件指定压缩级别的方法。有人知道如何更改此设置吗?是否有另一个允许指定压缩级别的Ruby库? 最佳答案 这是我通过查看rubyzip内部创建的代码。level=Zlib::BEST_COMPRESSIONZip::ZipOutputStream.open(zip_file)do|zip|Dir.glob("**/*")d
我试图在一个项目中使用rake,如果我把所有东西都放到Rakefile中,它会很大并且很难读取/找到东西,所以我试着将每个命名空间放在lib/rake中它自己的文件中,我添加了这个到我的rake文件的顶部:Dir['#{File.dirname(__FILE__)}/lib/rake/*.rake'].map{|f|requiref}它加载文件没问题,但没有任务。我现在只有一个.rake文件作为测试,名为“servers.rake”,它看起来像这样:namespace:serverdotask:testdoputs"test"endend所以当我运行rakeserver:testid时
我的目标是转换表单输入,例如“100兆字节”或“1GB”,并将其转换为我可以存储在数据库中的文件大小(以千字节为单位)。目前,我有这个:defquota_convert@regex=/([0-9]+)(.*)s/@sizes=%w{kilobytemegabytegigabyte}m=self.quota.match(@regex)if@sizes.include?m[2]eval("self.quota=#{m[1]}.#{m[2]}")endend这有效,但前提是输入是倍数(“gigabytes”,而不是“gigabyte”)并且由于使用了eval看起来疯狂不安全。所以,功能正常,
Rails2.3可以选择随时使用RouteSet#add_configuration_file添加更多路由。是否可以在Rails3项目中做同样的事情? 最佳答案 在config/application.rb中:config.paths.config.routes在Rails3.2(也可能是Rails3.1)中,使用:config.paths["config/routes"] 关于ruby-on-rails-Rails3中的多个路由文件,我们在StackOverflow上找到一个类似的问题
对于具有离线功能的智能手机应用程序,我正在为Xml文件创建单向文本同步。我希望我的服务器将增量/差异(例如GNU差异补丁)发送到目标设备。这是计划:Time=0Server:hasversion_1ofXmlfile(~800kiB)Client:hasversion_1ofXmlfile(~800kiB)Time=1Server:hasversion_1andversion_2ofXmlfile(each~800kiB)computesdeltaoftheseversions(=patch)(~10kiB)sendspatchtoClient(~10kiBtransferred)Cl
我正在寻找执行以下操作的正确语法(在Perl、Shell或Ruby中):#variabletoaccessthedatalinesappendedasafileEND_OF_SCRIPT_MARKERrawdatastartshereanditcontinues. 最佳答案 Perl用__DATA__做这个:#!/usr/bin/perlusestrict;usewarnings;while(){print;}__DATA__Texttoprintgoeshere 关于ruby-如何将脚
使用带有Rails插件的vim,您可以创建一个迁移文件,然后一次性打开该文件吗?textmate也可以这样吗? 最佳答案 你可以使用rails.vim然后做类似的事情::Rgeneratemigratonadd_foo_to_bar插件将打开迁移生成的文件,这正是您想要的。我不能代表textmate。 关于ruby-使用VimRails,您可以创建一个新的迁移文件并一次性打开它吗?,我们在StackOverflow上找到一个类似的问题: https://sta
好的,所以我的目标是轻松地将一些数据保存到磁盘以备后用。您如何简单地写入然后读取一个对象?所以如果我有一个简单的类classCattr_accessor:a,:bdefinitialize(a,b)@a,@b=a,bendend所以如果我从中非常快地制作一个objobj=C.new("foo","bar")#justgaveitsomerandomvalues然后我可以把它变成一个kindaidstring=obj.to_s#whichreturns""我终于可以将此字符串打印到文件或其他内容中。我的问题是,我该如何再次将这个id变回一个对象?我知道我可以自己挑选信息并制作一个接受该信
我正在编写一个小脚本来定位aws存储桶中的特定文件,并创建一个临时验证的url以发送给同事。(理想情况下,这将创建类似于在控制台上右键单击存储桶中的文件并复制链接地址的结果)。我研究过回形针,它似乎不符合这个标准,但我可能只是不知道它的全部功能。我尝试了以下方法:defauthenticated_url(file_name,bucket)AWS::S3::S3Object.url_for(file_name,bucket,:secure=>true,:expires=>20*60)end产生这种类型的结果:...-1.amazonaws.com/file_path/file.zip.A
我注意到像bundler这样的项目在每个specfile中执行requirespec_helper我还注意到rspec使用选项--require,它允许您在引导rspec时要求一个文件。您还可以将其添加到.rspec文件中,因此只要您运行不带参数的rspec就会添加它。使用上述方法有什么缺点可以解释为什么像bundler这样的项目选择在每个规范文件中都需要spec_helper吗? 最佳答案 我不在Bundler上工作,所以我不能直接谈论他们的做法。并非所有项目都checkin.rspec文件。原因是这个文件,通常按照当前的惯例,只