上一篇文章介绍了ELK的使用,这里继续学习Elasticsearch的相关内容。
一,ElasticSearch的使用场景:Elasticsearch的使用场景深入详解_狂奔的蜗牛Evan的博客-CSDN博客_elasticsearch使用场景
二,ElasticSearch与关系数据库的对比
| Elasticsearch | 关系数据库 |
|---|---|
| 索引(index) | 数据库 |
| 类型(type) | 表,新版本默认是_doc |
| 映射(mapping) | 表结构 |
| 属性(field) | 字段 |
| 文档(document) | 一条记录 |
三,如何向 Elasticsearch 添加一些索引、映射和数据
- 启动 elasticsearch.bat
- 默认地址:http://localhost:9200
1)Restful API 使用方式 - 使用PostMan发送请求
- 索引操作
| 操作名称 | 请求方式 | 请求格式 | 演示 |
|---|---|---|---|
| 创建索引 | PUT | /索引名称 | 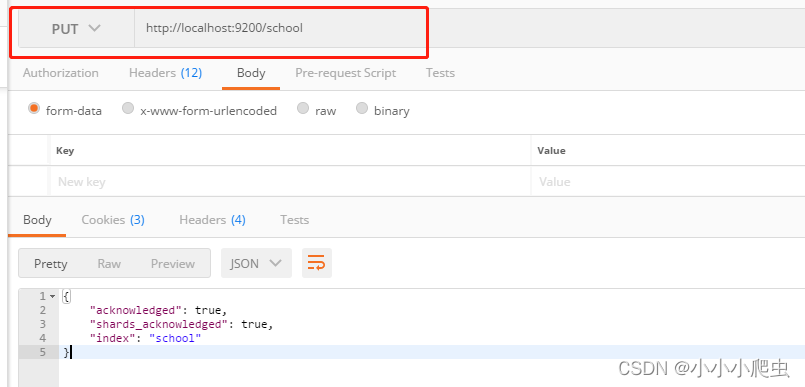 |
| 查询索引 | GET | /索引名称 |  |
| /索引名称1,索引名称2... | |||
| /索引名称* | |||
| /索引名称/_all | |||
| 删除索引 | DELETE | /索引名称 | 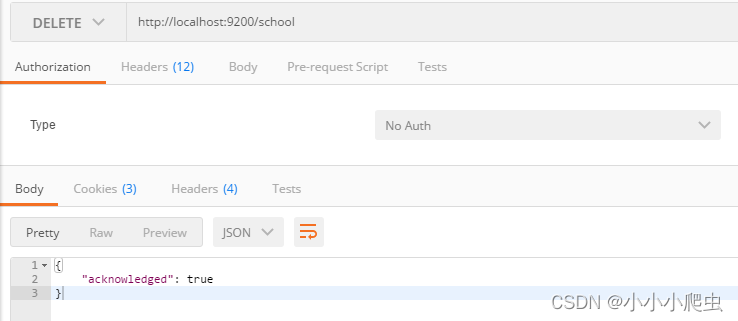 |
| 关闭索引 | POST | /索引名称/_close |  |
| 打开索引 | POST | /索引名称/_open |  |
| 是否存在 | HEAD | /索引名称 | 响应200表示存在,404则不存在 |
| 索引设置 | GET | /索引名称/_settings | 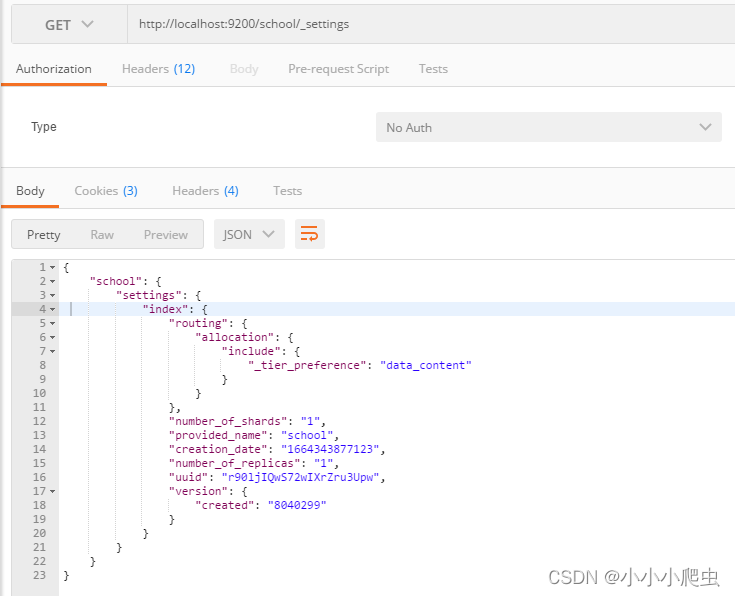 |
| 索引统计 | GET | /_stats | |
| 冲洗 | POST | /索引名称/_flush | 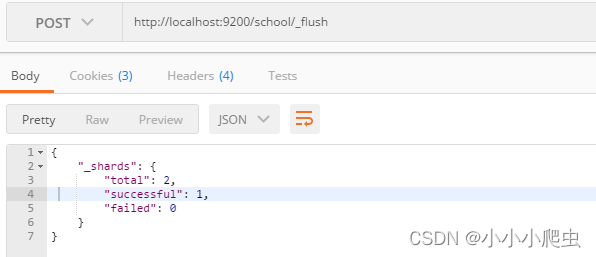 |
- 映射操作
| 操作名称 | 请求方式 | 请求格式 | 演示 |
|---|---|---|---|
| 创建索引和映射 | PUT | /索引名称
{"mappings": { "properties": {"name": { "type": "text"}, "age": { "type": "integer"}}}} |  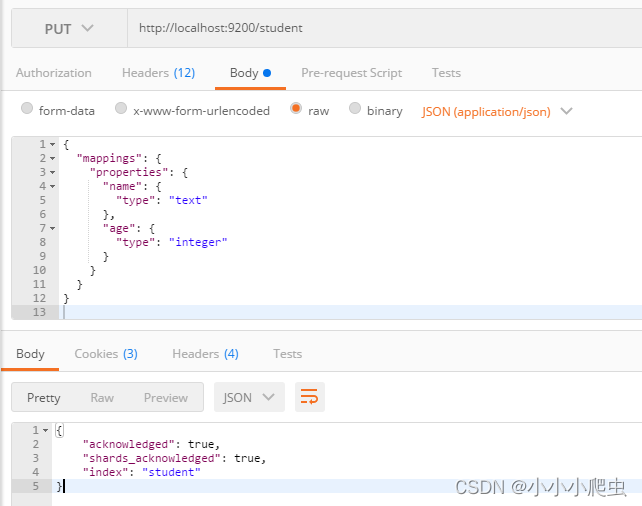 |
| 添加映射 | PUT | /索引名称/_mapping
{ "properties":{ "name":{ "type":"text" }, "age":{ "type":"integer" }, "gender":{"type":"text"} } } | 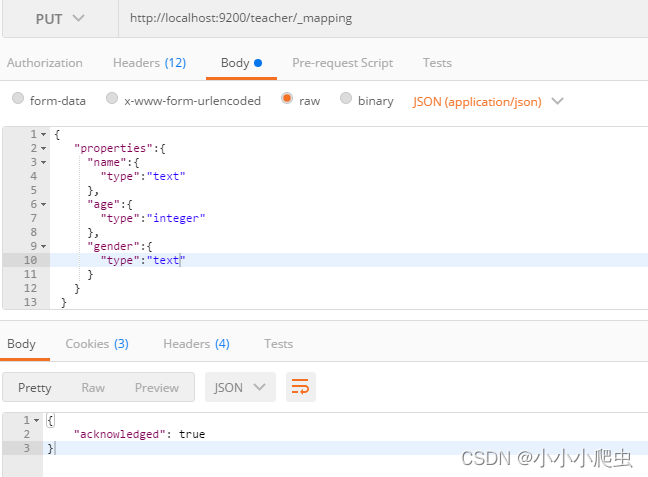 |
| 添加字段 | PUT | /索引名称/_mapping
{"properties":{ "gender":{"type":"text"}}} | 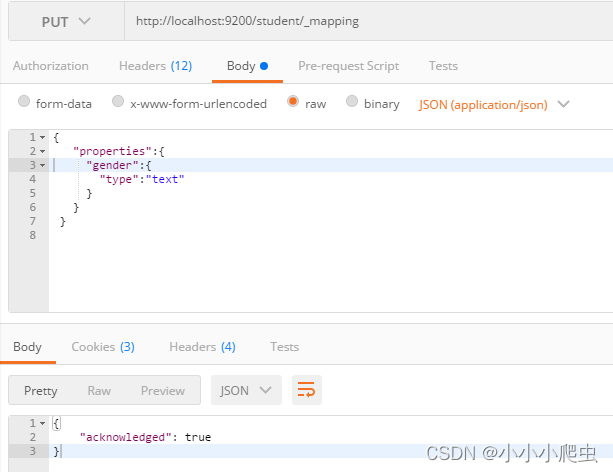 |
| 查询映射 | GET | /索引名称/_mapping |  |
- 文档操作
| 操作名称 | 请求方式 | 请求格式 | 演示 |
|---|---|---|---|
| 添加文档 | POST | 不指定ID /索引名称/_doc/ | 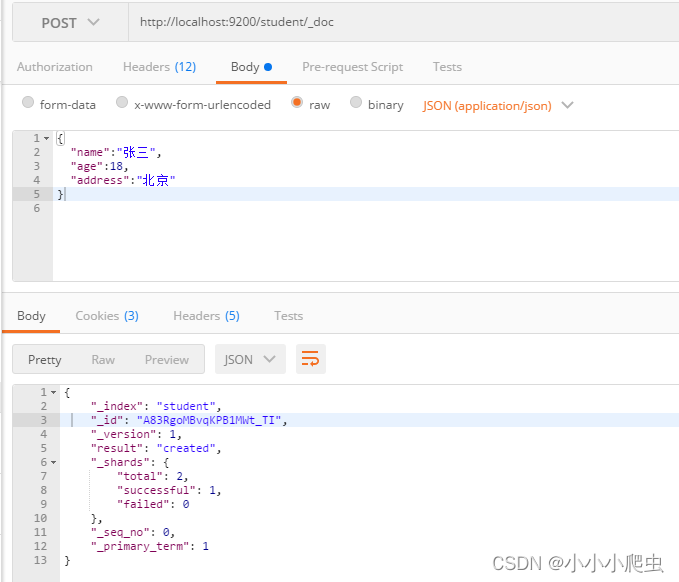 |
| 指定ID /索引名称/_doc/1 |  | ||
| 查询文档 | GET | 查询所有 /索引名称/_search |  |
| 根据ID查询 /索引名称/_doc/1 | 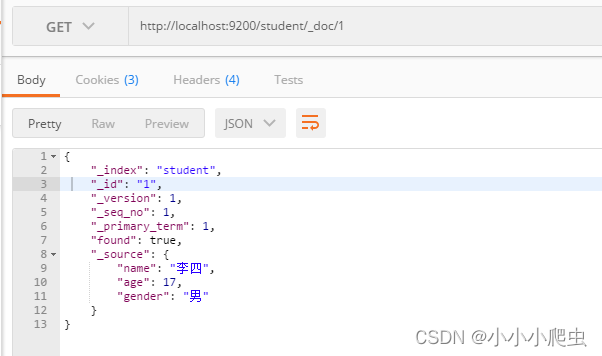 | ||
| 删除文档 | DELETE | /索引名称/_doc/1 | 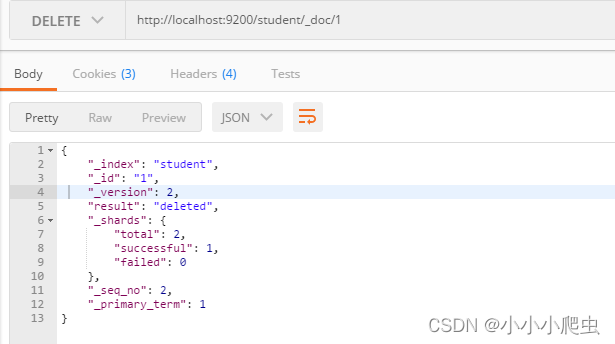 |
| 搜索文档 | POST | 表达式搜索 /索引名称/_search
{
    "query" : {
        "match" : {
            "name" : "张三"
        }
    }
} |  |
| GET | 条件搜索 /索引名称/_search?q=name:张三 |  |
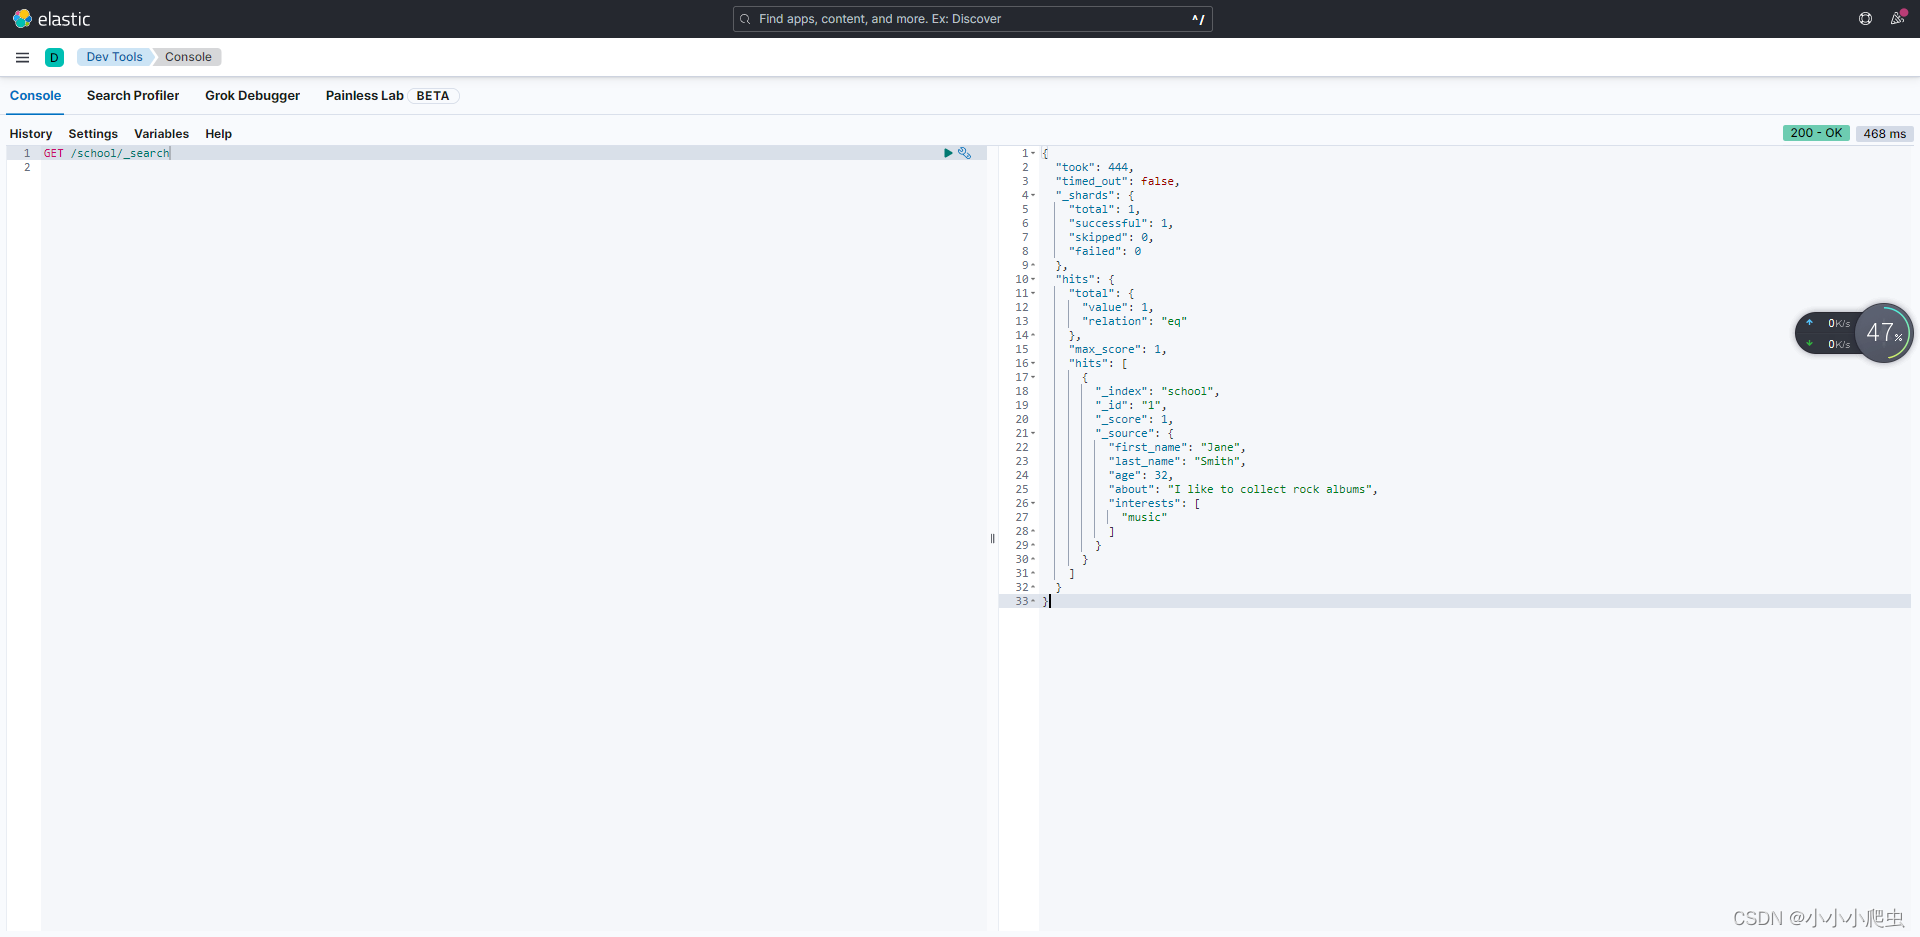
2)Kibana 使用方式 - 使用Dev-Tools
- 启动 kibana .bat
- 默认地址:http://localhost:5601
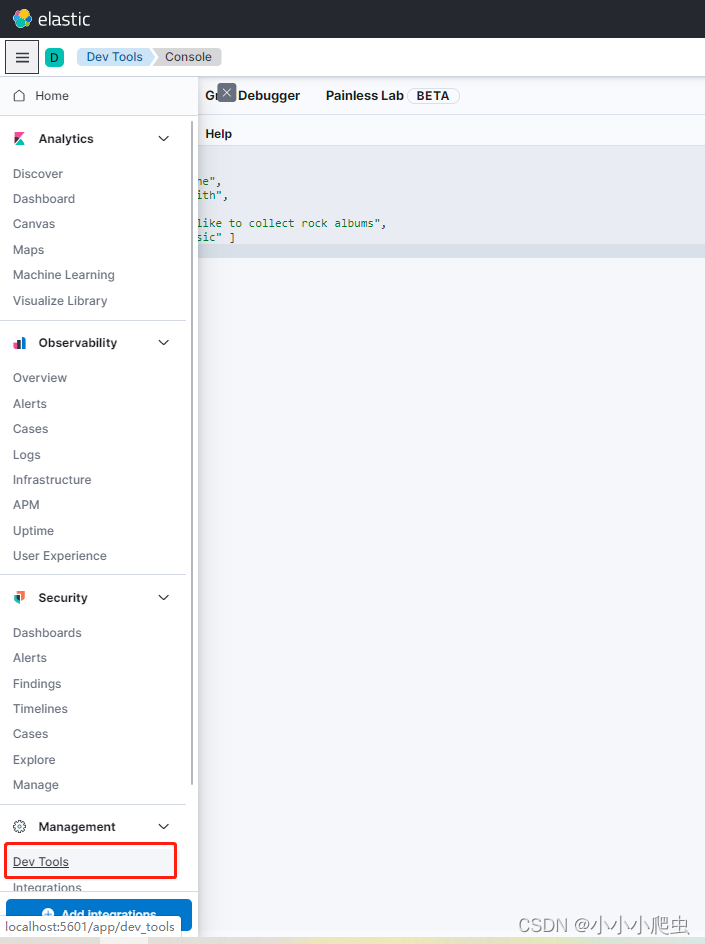
直接在左边控制台输入语句就可以执行成功了。

四,Java API 的使用方式
elasticsearch官方在8.0版本以后,已经舍弃了High level rest clint Api,推荐使用java clint api。
官方文档:Installation | Elasticsearch Java API Client [8.4] | Elastic
1)在项目中的使用
- pom.xml引入依赖包
<!-- https://mvnrepository.com/artifact/co.elastic.clients/elasticsearch-java -->
<dependency>
	<groupId>co.elastic.clients</groupId>
	<artifactId>elasticsearch-java</artifactId>
	<version>8.4.2</version>
</dependency>

<dependency>
	<groupId>com.fasterxml.jackson.core</groupId>
	<artifactId>jackson-databind</artifactId>
	<version>2.12.3</version>
</dependency>

<!-- https://mvnrepository.com/artifact/jakarta.json/jakarta.json-api -->
<dependency>
	<groupId>jakarta.json</groupId>
	<artifactId>jakarta.json-api</artifactId>
	<version>2.0.1</version>
</dependency>
- application.yml 添加配置
# =========================================================================
elasticSearch:
  url: 127.0.0.1
  port: 9200
# ==========================================================================
- 自定义Client配置类
package com.qi.study.springboot.config;

import org.apache.http.HttpHost;
import org.elasticsearch.client.RestClient;
import org.springframework.beans.factory.annotation.Value;
import org.springframework.context.annotation.Bean;
import org.springframework.context.annotation.Configuration;

import co.elastic.clients.elasticsearch.ElasticsearchClient;
import co.elastic.clients.json.jackson.JacksonJsonpMapper;
import co.elastic.clients.transport.ElasticsearchTransport;
import co.elastic.clients.transport.rest_client.RestClientTransport;

@Configuration
public class ElasticSearchConfig {

    @Value("${elasticSearch.url}")
    private String url;

    @Value("${elasticSearch.port}")
    private Integer port;

    @Bean
    public ElasticsearchClient elasticsearchClient() {
    	// Create the low-level client
    	RestClient restClient = RestClient.builder(new HttpHost(url, port)).build();

    	// Create the transport with a Jackson mapper
    	ElasticsearchTransport transport = new RestClientTransport(restClient, new JacksonJsonpMapper());

    	// And create the API client
    	ElasticsearchClient client = new ElasticsearchClient(transport);
    	return client;
    }
}
- 添加测试代码,结构如下:
Controller

studentService
 elasticSearchService
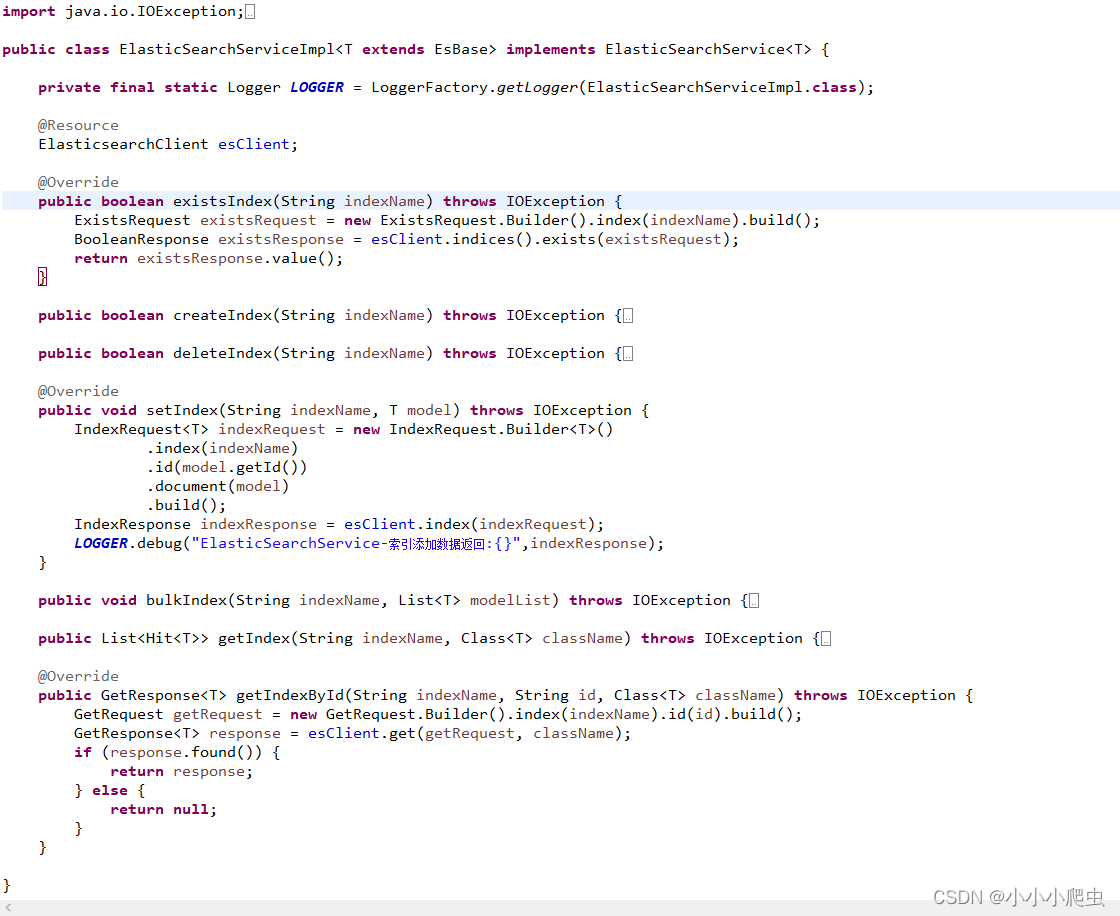
2)启动测试
- 启动elasticSearch.bat
- 启动logstash 【logstash -f ./config/logstash-es.conf】
- 启动springboot
- 通过postman访问测试:
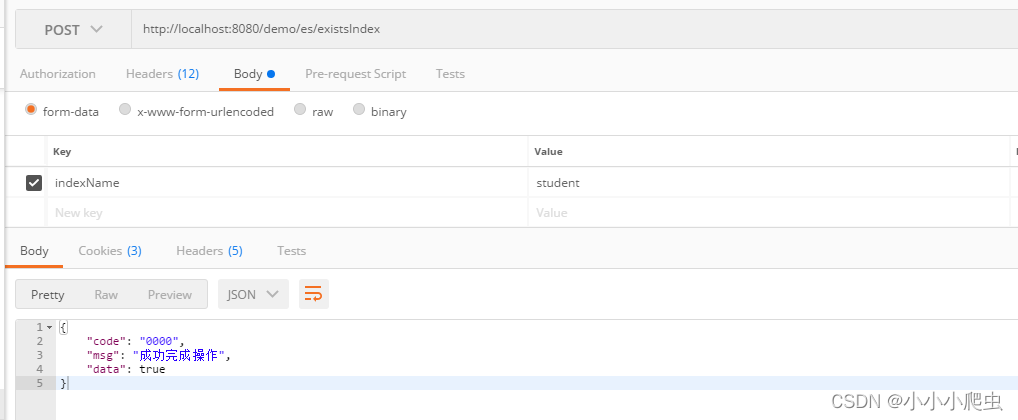
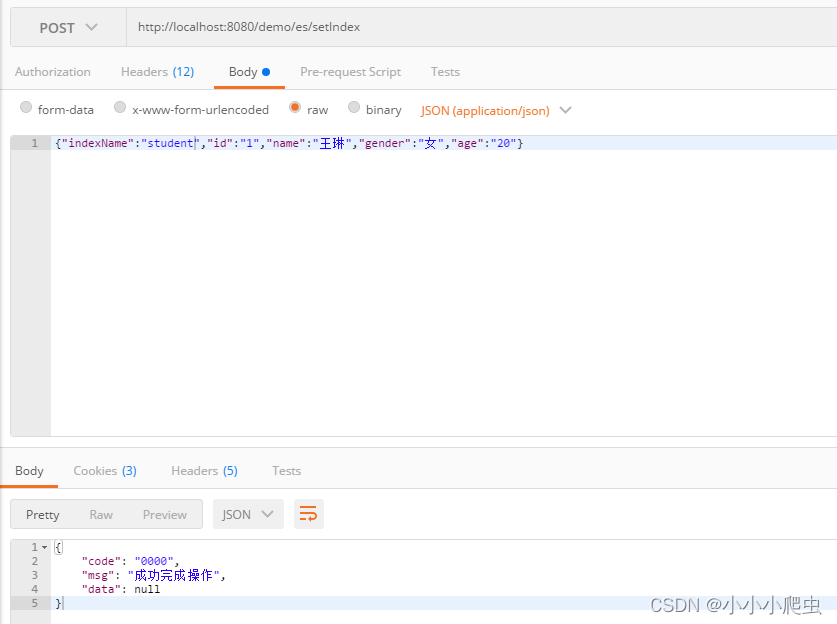

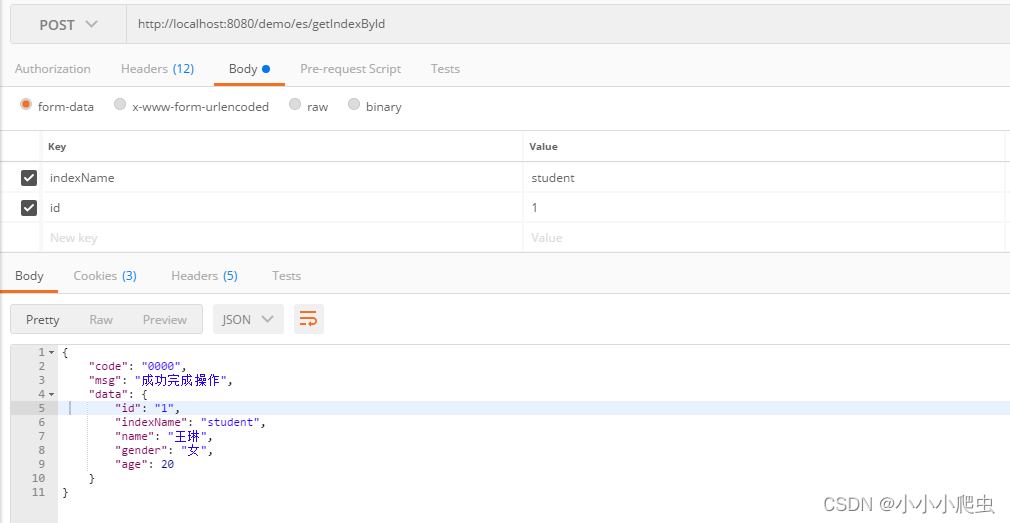

本篇文章主要是了解如何去使用ElasticSearch,有个初步的认知,更多高级搜索方法可以根据需要进一步去学习。
五,源代码下载: https://download.csdn.net/download/MyNoteBlog/86727519
我正在学习如何使用Nokogiri,根据这段代码我遇到了一些问题:require'rubygems'require'mechanize'post_agent=WWW::Mechanize.newpost_page=post_agent.get('http://www.vbulletin.org/forum/showthread.php?t=230708')puts"\nabsolutepathwithtbodygivesnil"putspost_page.parser.xpath('/html/body/div/div/div/div/div/table/tbody/tr/td/div
总的来说,我对ruby还比较陌生,我正在为我正在创建的对象编写一些rspec测试用例。许多测试用例都非常基础,我只是想确保正确填充和返回值。我想知道是否有办法使用循环结构来执行此操作。不必为我要测试的每个方法都设置一个assertEquals。例如:describeitem,"TestingtheItem"doit"willhaveanullvaluetostart"doitem=Item.new#HereIcoulddotheitem.name.shouldbe_nil#thenIcoulddoitem.category.shouldbe_nilendend但我想要一些方法来使用
我有一个Ruby程序,它使用rubyzip压缩XML文件的目录树。gem。我的问题是文件开始变得很重,我想提高压缩级别,因为压缩时间不是问题。我在rubyzipdocumentation中找不到一种为创建的ZIP文件指定压缩级别的方法。有人知道如何更改此设置吗?是否有另一个允许指定压缩级别的Ruby库? 最佳答案 这是我通过查看rubyzip内部创建的代码。level=Zlib::BEST_COMPRESSIONZip::ZipOutputStream.open(zip_file)do|zip|Dir.glob("**/*")d
类classAprivatedeffooputs:fooendpublicdefbarputs:barendprivatedefzimputs:zimendprotecteddefdibputs:dibendendA的实例a=A.new测试a.foorescueputs:faila.barrescueputs:faila.zimrescueputs:faila.dibrescueputs:faila.gazrescueputs:fail测试输出failbarfailfailfail.发送测试[:foo,:bar,:zim,:dib,:gaz].each{|m|a.send(m)resc
很好奇,就使用rubyonrails自动化单元测试而言,你们正在做什么?您是否创建了一个脚本来在cron中运行rake作业并将结果邮寄给您?git中的预提交Hook?只是手动调用?我完全理解测试,但想知道在错误发生之前捕获错误的最佳实践是什么。让我们理所当然地认为测试本身是完美无缺的,并且可以正常工作。下一步是什么以确保他们在正确的时间将可能有害的结果传达给您? 最佳答案 不确定您到底想听什么,但是有几个级别的自动代码库控制:在处理某项功能时,您可以使用类似autotest的内容获得关于哪些有效,哪些无效的即时反馈。要确保您的提
假设我做了一个模块如下:m=Module.newdoclassCendend三个问题:除了对m的引用之外,还有什么方法可以访问C和m中的其他内容?我可以在创建匿名模块后为其命名吗(就像我输入“module...”一样)?如何在使用完匿名模块后将其删除,使其定义的常量不再存在? 最佳答案 三个答案:是的,使用ObjectSpace.此代码使c引用你的类(class)C不引用m:c=nilObjectSpace.each_object{|obj|c=objif(Class===objandobj.name=~/::C$/)}当然这取决于
我正在尝试使用ruby和Savon来使用网络服务。测试服务为http://www.webservicex.net/WS/WSDetails.aspx?WSID=9&CATID=2require'rubygems'require'savon'client=Savon::Client.new"http://www.webservicex.net/stockquote.asmx?WSDL"client.get_quotedo|soap|soap.body={:symbol=>"AAPL"}end返回SOAP异常。检查soap信封,在我看来soap请求没有正确的命名空间。任何人都可以建议我
关闭。这个问题是opinion-based.它目前不接受答案。想要改进这个问题?更新问题,以便editingthispost可以用事实和引用来回答它.关闭4年前。Improvethisquestion我想在固定时间创建一系列低音和高音调的哔哔声。例如:在150毫秒时发出高音调的蜂鸣声在151毫秒时发出低音调的蜂鸣声200毫秒时发出低音调的蜂鸣声250毫秒的高音调蜂鸣声有没有办法在Ruby或Python中做到这一点?我真的不在乎输出编码是什么(.wav、.mp3、.ogg等等),但我确实想创建一个输出文件。
给定这段代码defcreate@upgrades=User.update_all(["role=?","upgraded"],:id=>params[:upgrade])redirect_toadmin_upgrades_path,:notice=>"Successfullyupgradeduser."end我如何在该操作中实际验证它们是否已保存或未重定向到适当的页面和消息? 最佳答案 在Rails3中,update_all不返回任何有意义的信息,除了已更新的记录数(这可能取决于您的DBMS是否返回该信息)。http://ar.ru
我在我的项目目录中完成了compasscreate.和compassinitrails。几个问题:我已将我的.sass文件放在public/stylesheets中。这是放置它们的正确位置吗?当我运行compasswatch时,它不会自动编译这些.sass文件。我必须手动指定文件:compasswatchpublic/stylesheets/myfile.sass等。如何让它自动运行?文件ie.css、print.css和screen.css已放在stylesheets/compiled。如何在编译后不让它们重新出现的情况下删除它们?我自己编译的.sass文件编译成compiled/t