1.yum源安装
yum install keepalived
2.官网源码包编译
KeepAlived官网提供可编译源码包,可直接下载。
官网地址:

官网提供的软件包,解压编译安装即可。
高可用实现支持多种集群配置模式:主备模式,主主模式,N+1模式,N+M模式;另外支持资源及节点故障检测。
要实现KeepAlived的多种模式,因此这里准备了4台虚拟机进行测试,设备IP分别为:
192.168.25.23
192.168.25.24
192.168.25.25
192.168.25.26
本次高可用实现以nginx进行效果展示,nginx未进行任何配置,仅修改了对应index.html文件以展示对应情况的高可用实现效果。
系统可通过软件仓库安装nginx:
yum install nginx -y
启动nginx:
nginx
系统默认安装并启动了ApacheHttp服务,因此需要关闭httpd服务:
    systemctl stop httpd
    systemctl disable httpd
如果仍旧不能正常访问nginx主页,需要添加防火墙规则或关闭防火墙。
此处为方便后续操作且非为测试环境,所以关闭防火墙,如在生产环境,请添加防火墙规则:
    systemctl stop firewalld
    systemctl disable firewalld
分别在各个测试机中启动nginx后,测试页面是否正常显示,如出现以下页面即为正常:

为了方便辨别实现效果,此处修改nginx的主页。
nginx主页的位置为:
/usr/share/nginx/html/index.html
编辑index.html:
vim /usr/share/nginx/html/index.html
在86行下添加内容:
<h2><strong>The IP is 192.168.25.**</strong></h2>
IP地址根据实际情况进行修改,效果如下:

添加nginx默认启动:
systemctl enable nginx
至此,nginx准备完毕。
软件仓库安装keepalived,分别在测试机上执行:
yum install keepalived -y
确认安装情况,执行脚本:
keepalived -v
输出内容如下:

查询对应的配置文件:
rpm -ql keepalived
相关内容如下:
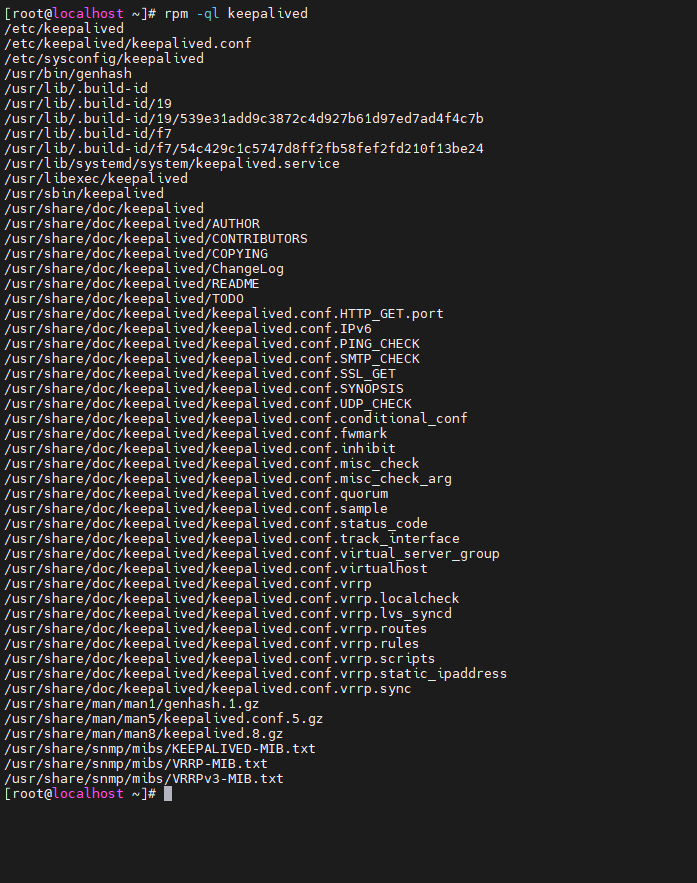
文件说明:
/etc/keepalived                             -主目录
/etc/keepalived/keepalived.conf             -配置文件
/etc/sysconfig/keepalived                   -系统配置文件
/usr/lib/systemd/system/keepalived.service  -系统服务
/usr/libexec/keepalived                     -库目录
/usr/sbin/keepalived                        -系统命令
Keepalived主要通过修改/etc/keepalived/keepalived.conf配置文件进行配置高可用集群。
此模式下使用两台虚拟机和一个虚拟IP进行:
主节点:192.168.25.23
备节点:192.168.25.24
虚拟IP:192.168.25.10
! Configuration File for keepalived

global_defs {
   router_id PV23
}

vrrp_instance VI_1 {
    state MASTER
    interface enp1s0
    virtual_router_id 86
    priority 200
    unicast_src_ip 192.168.25.23
    unicast_peer {
    192.168.25.24
    }
    advert_int 1
    authentication {
        auth_type PASS
        auth_pass 1111
    }
    virtual_ipaddress {
        192.168.25.10
    }
}
! Configuration File for keepalived

global_defs {
   router_id PV24
}

vrrp_instance VI_1 {
    state BACKUP
    interface enp1s0
    virtual_router_id 86
    priority 20
    unicast_src_ip 192.168.25.24
    unicast_peer {
    192.168.25.23
    }
    advert_int 1
    authentication {
        auth_type PASS
        auth_pass 1111
    }
    virtual_ipaddress {
        192.168.25.10
    }
}

systemctl stop keepalived
systemctl restart keepalived
此模式下使用三台虚拟机(备用节点)进行:
主节点:192.168.25.23
备节点1:192.168.25.24
备节点2:192.168.25.25
虚拟IP:192.168.25.10
! Configuration File for keepalived

global_defs {
   router_id PV23
}

vrrp_instance VI_1 {
    state MASTER
    interface enp1s0
    virtual_router_id 86
    priority 200
    unicast_src_ip 192.168.25.23
    unicast_peer {
    192.168.25.24
    192.168.25.25
    }
    advert_int 1
    authentication {
        auth_type PASS
        auth_pass 1111
    }
    virtual_ipaddress {
        192.168.25.10
    }
}
! Configuration File for keepalived

global_defs {
   router_id PV24
}

vrrp_instance VI_1 {
    state BACKUP
    interface enp1s0
    virtual_router_id 86
    priority 100
    unicast_src_ip 192.168.25.24
    unicast_peer {
    192.168.25.23
    192.168.25.25
    }
    advert_int 1
    authentication {
        auth_type PASS
        auth_pass 1111
    }
    virtual_ipaddress {
        192.168.25.10
    }
}
! Configuration File for keepalived

global_defs {
   router_id PV25
}

vrrp_instance VI_1 {
    state BACKUP
    interface enp1s0
    virtual_router_id 86
    priority 20
    unicast_src_ip 192.168.25.25
    unicast_peer {
    192.168.25.23
    192.168.25.24
    }
    advert_int 1
    authentication {
        auth_type PASS
        auth_pass 1111
    }
    virtual_ipaddress {
        192.168.25.10
    }
}

systemctl stop keepalived
systemctl stop keepalived
systemctl restart keepalivedsystemctl restart keepalived此模式下两台机器两个虚拟IP,每台机器对应一个虚拟IP的主节点,对应另一个虚拟IP的备节点,两台机器互为主备。
此模式下使用两台虚拟机进行:
节点1:192.168.25.23
节点2:192.168.25.24
虚拟IP1:192.168.25.10
虚拟IP2:192.168.25.20
! Configuration File for keepalived

global_defs {
   router_id PV23
}

vrrp_instance VI_1 {
    state MASTER
    interface enp1s0
    virtual_router_id 86
    priority 200
    unicast_src_ip 192.168.25.23
    unicast_peer {
    192.168.25.24
    }
    advert_int 1
    authentication {
        auth_type PASS
        auth_pass 1111
    }
    virtual_ipaddress {
        192.168.25.10
    }
}


vrrp_instance VI_2 {
    state BACKUP
    interface enp1s0
    virtual_router_id 85
    priority 20
    unicast_src_ip 192.168.25.23
    unicast_peer {
    192.168.25.24
    }
    advert_int 1
    authentication {
        auth_type PASS
        auth_pass 1111
    }
    virtual_ipaddress {
        192.168.25.20
    }
}
! Configuration File for keepalived

global_defs {
   router_id PV24
}

vrrp_instance VI_1 {
    state BACKUP
    interface enp1s0
    virtual_router_id 86
    priority 100
    unicast_src_ip 192.168.25.24
    unicast_peer {
    192.168.25.23
    }
    advert_int 1
    authentication {
        auth_type PASS
        auth_pass 1111
    }
    virtual_ipaddress {
        192.168.25.10
    }
}

vrrp_instance VI_2 {
    state MASTER
    interface enp1s0
    virtual_router_id 85
    priority 100
    unicast_src_ip 192.168.25.24
    unicast_peer {
    192.168.25.23
    }
    advert_int 1
    authentication {
        auth_type PASS
        auth_pass 1111
    }
    virtual_ipaddress {
        192.168.25.20
    }
}

systemctl stop keepalived
systemctl restart keepalived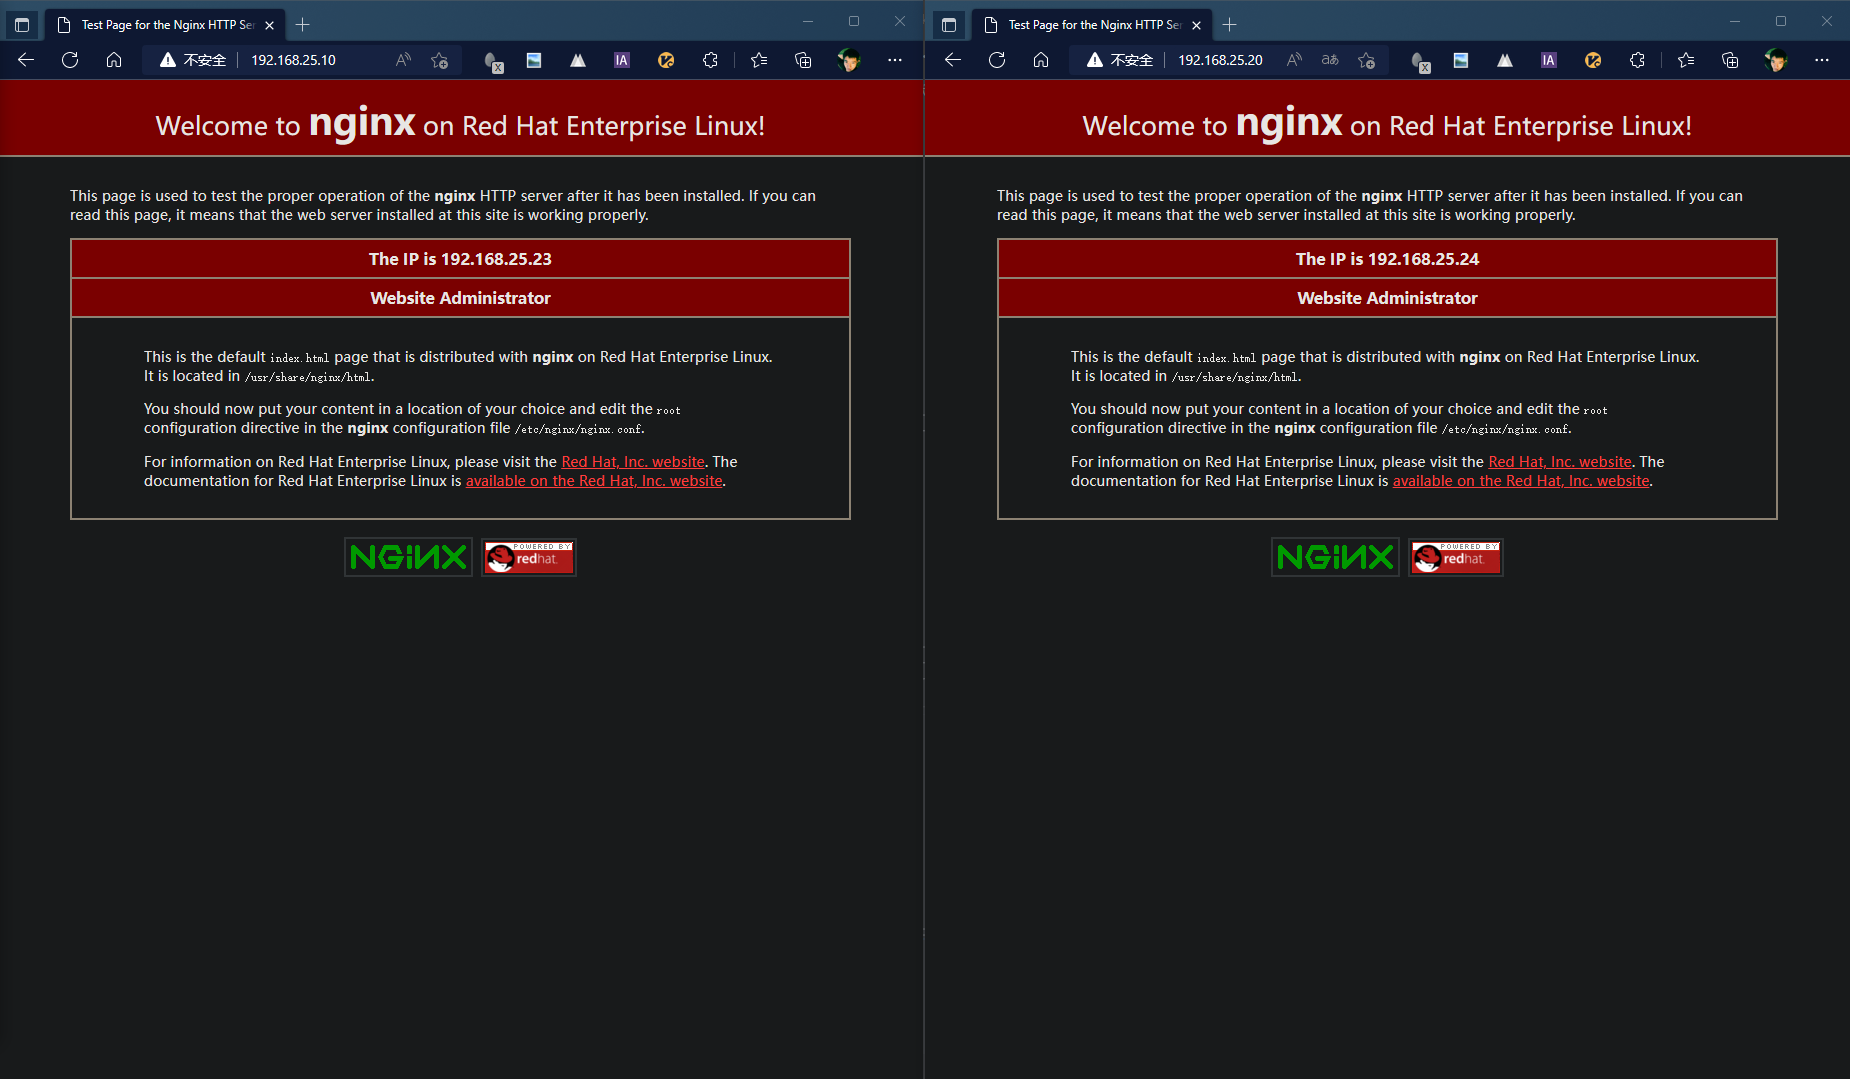
systemctl stop keepalived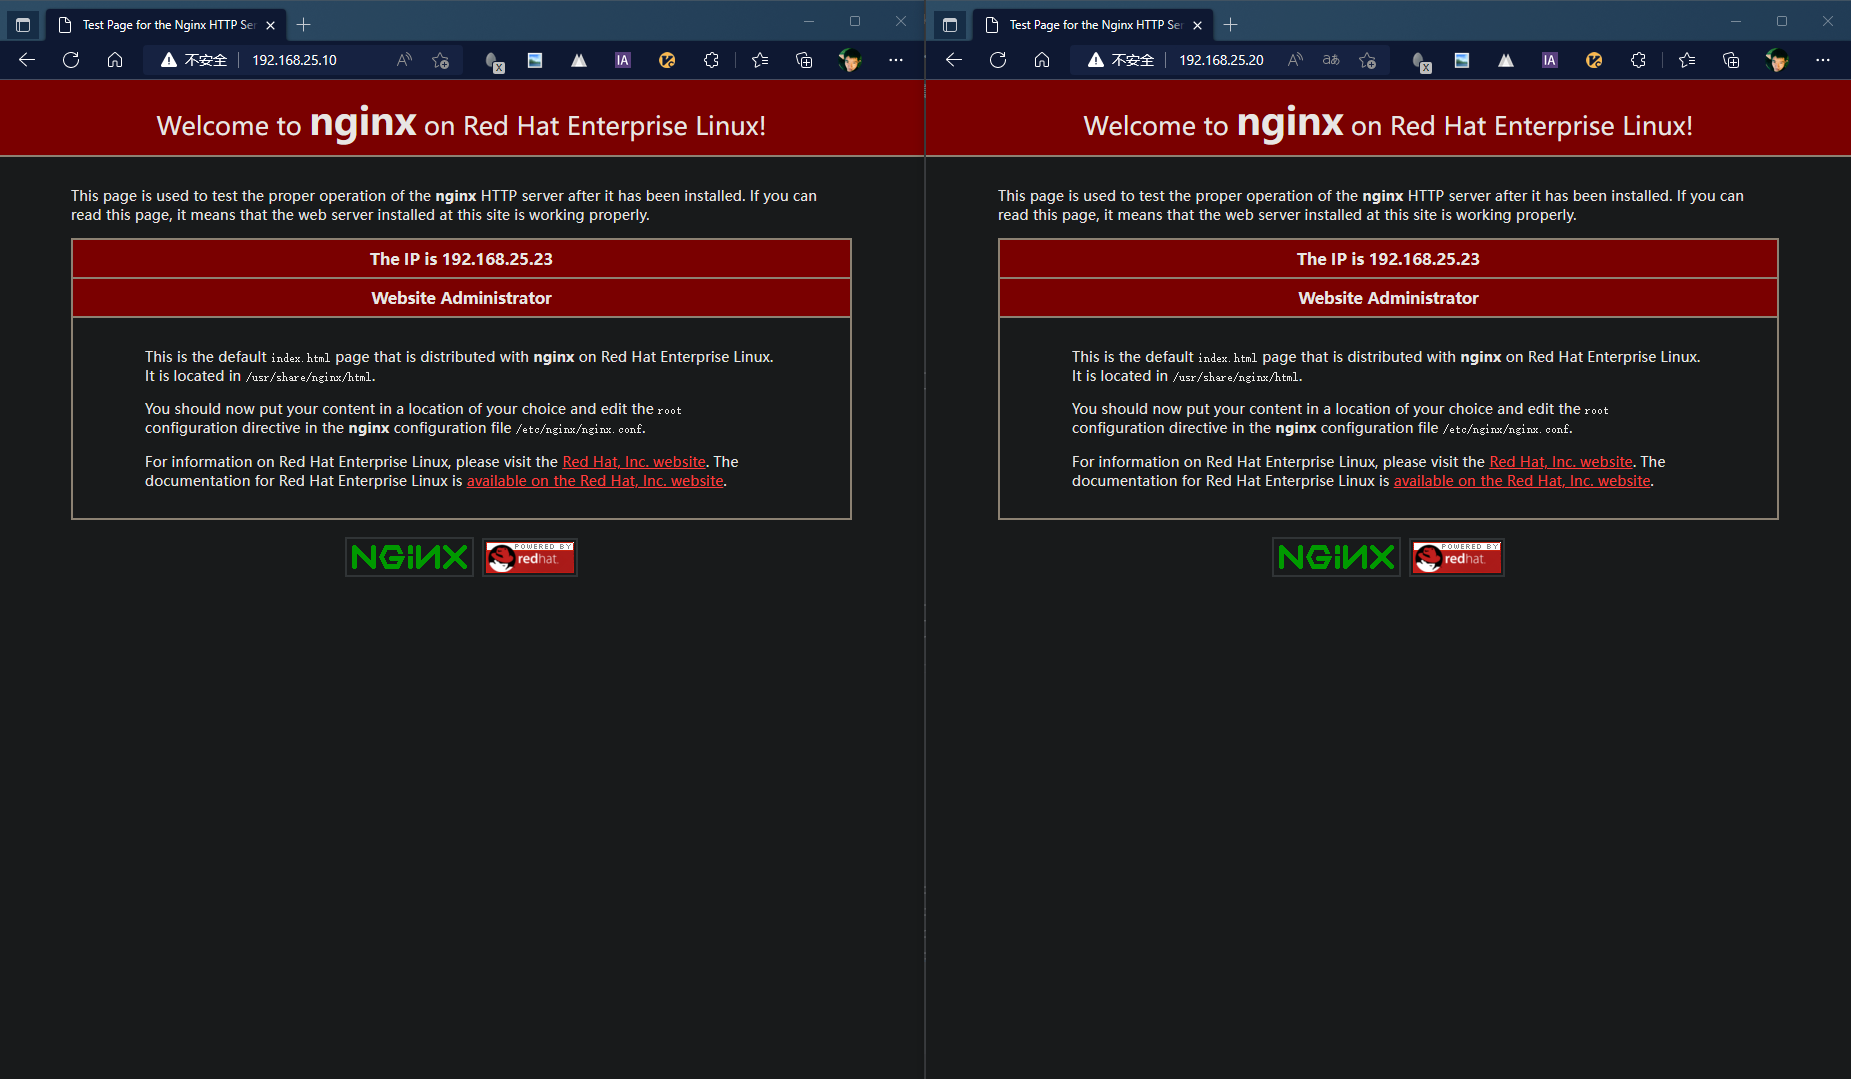
systemctl restart keepalived此模式下三台机器两个虚拟IP,两台机器各对应一个虚拟IP的主节点,另外一台机器为两个虚拟IP的备节点。
此模式下使用两台虚拟机进行:
主节点1:192.168.25.23
主节点2:192.168.25.24
备节点:192.168.25.25
虚拟IP1:192.168.25.10
虚拟IP2:192.168.25.20
! Configuration File for keepalived

global_defs {
   router_id PV23
}

vrrp_instance VI_1 {
    state MASTER
    interface enp1s0
    virtual_router_id 86
    priority 200
    unicast_src_ip 192.168.25.23
    unicast_peer {
    192.168.25.25
    }
    advert_int 1
    authentication {
        auth_type PASS
        auth_pass 1111
    }
    virtual_ipaddress {
        192.168.25.10
    }
}
! Configuration File for keepalived

global_defs {
   router_id PV24
}

vrrp_instance VI_2 {
    state MASTER
    interface enp1s0
    virtual_router_id 85
    priority 100
    unicast_src_ip 192.168.25.24
    unicast_peer {
    192.168.25.25
    }
    advert_int 1
    authentication {
        auth_type PASS
        auth_pass 1111
    }
    virtual_ipaddress {
        192.168.25.20
    }
}
! Configuration File for keepalived

global_defs {
   router_id PV25
}

vrrp_instance VI_1 {
    state BACKUP
    interface enp1s0
    virtual_router_id 86
    priority 100
    unicast_src_ip 192.168.25.25
    unicast_peer {
    192.168.25.23
    }
    advert_int 1
    authentication {
        auth_type PASS
        auth_pass 1111
    }
    virtual_ipaddress {
        192.168.25.10
    }
}

vrrp_instance VI_2 {
    state BACKUP
    interface enp1s0
    virtual_router_id 85
    priority 20
    unicast_src_ip 192.168.25.25
    unicast_peer {
    192.168.25.24
    }
    advert_int 1
    authentication {
        auth_type PASS
        auth_pass 1111
    }
    virtual_ipaddress {
        192.168.25.20
    }
}
systemctl stop keepalived
systemctl restart keepalivedsystemctl stop keepalived
systemctl restart keepalivedsystemctl stop keepalivedsystemctl stop keepalived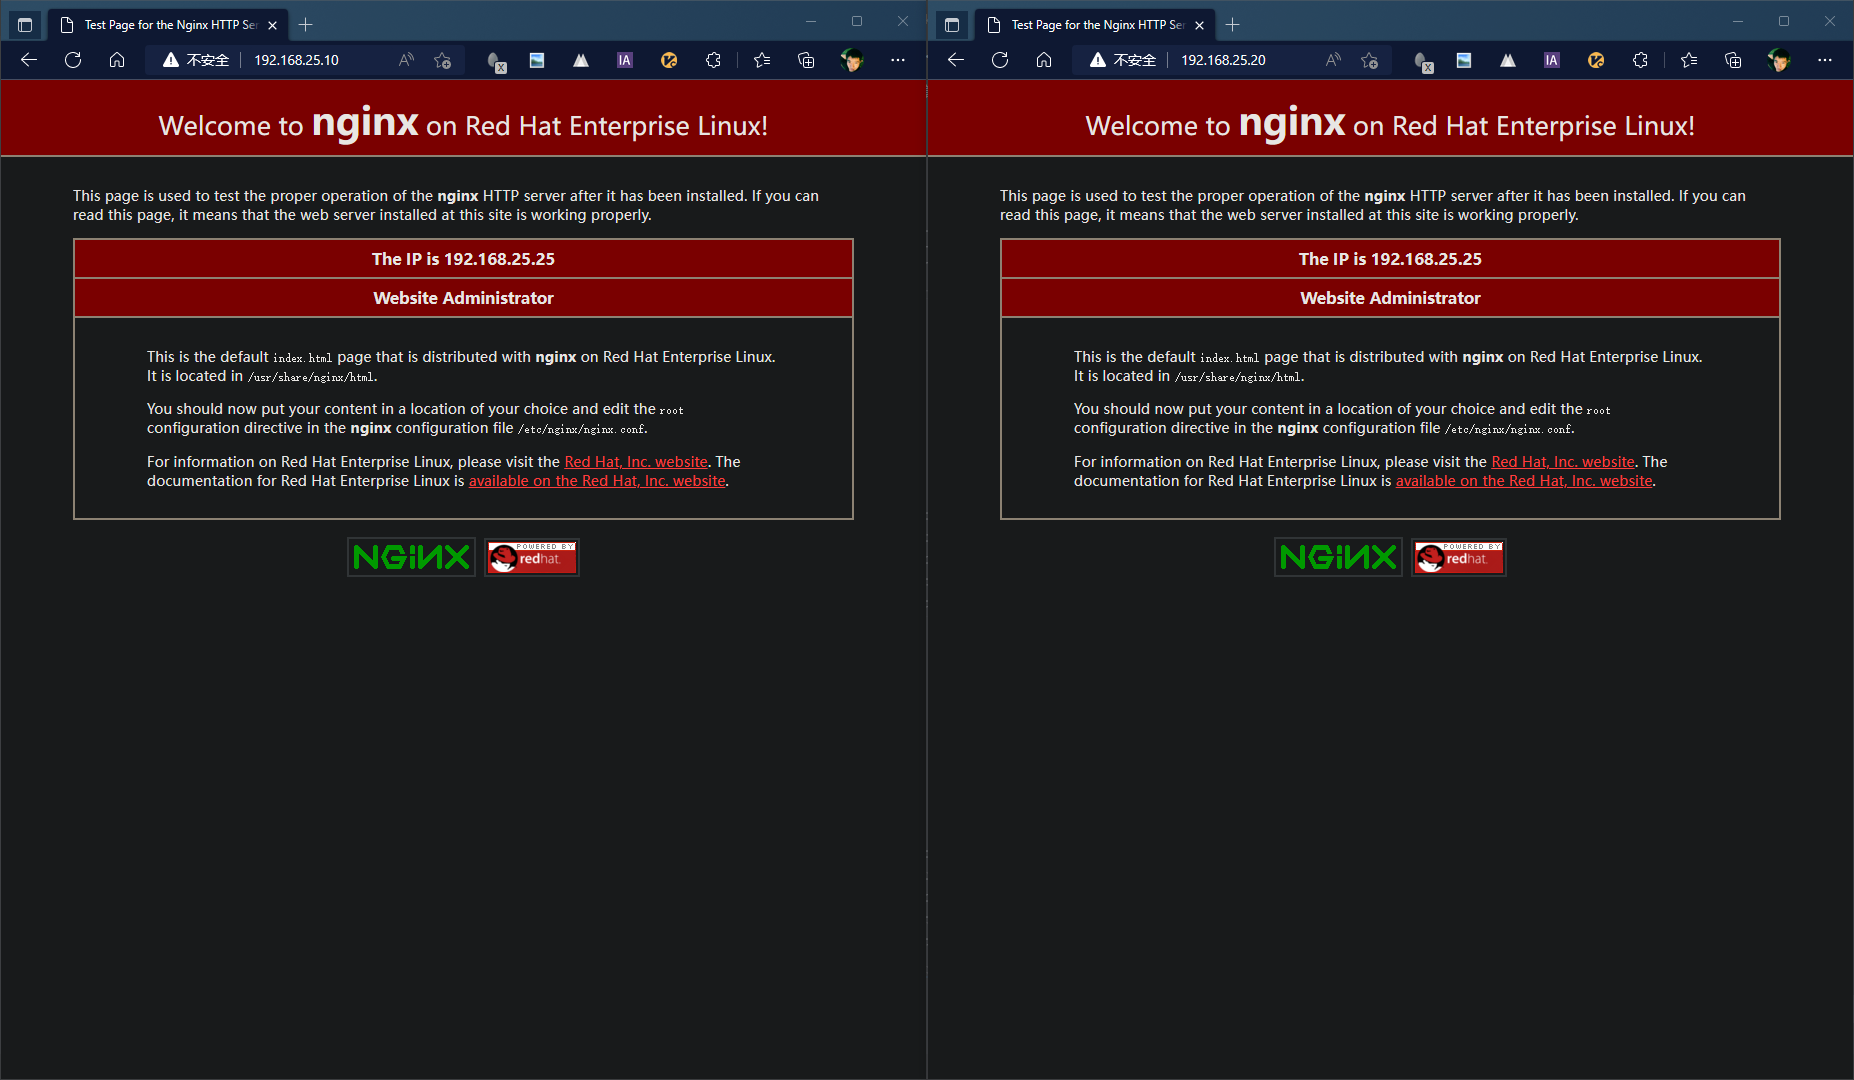
systemctl restart keepalivedsystemctl restart keepalivedN+M模式的配置参考N+1模式,复制备节点即可
Keepalived通过在配置文件中添加script来实现对服务状态的检测和故障切换
在global配置段外定义脚本或者shell命令,然后再virtual_server配置段中调用脚本,最后根据脚本的执行结果(成功或失败) 来增加或减少当前的节点的优先级,因为keepalived是根据优先级来判断是否为主节点 所以当优先级低时则就成为备份节点 从而将VIP飘动到优先级高的主节点上 实现了对其他服务的高可用
script配置及调用说明:
vrrp_script chk_nginx {                 # chk_nginx为自定义的vrrp脚本名称 后续调用需要此名称
       script "killall -0 sshd"         # 执行的脚本或命令
       interval 2                       # 监测的时间间隔 单位:秒 默认:1秒
       weight -4                        # 此值默认为0 范围:-253~253 ,
        # 如果此值为负数 则代表当上面的脚本或命令执行失败时($?结果为非0) 则将本节点的优先级减去定义的值;
        # 如果此值为正数 则代表当上面的脚本或命令执行成功时($?结果为0) 则将本节点的优先级加上定义的值
       fall 2                           # 脚本或命令执行几次失败后 将本节点标记为失败(进而进行减优先级操作)
       rise 2                           # 脚本或命令执行几次成功后 将本节点标记为成功(进而恢复节点)
       user USERNAME                    # 以什么用户身份执行脚本
}

vrrp_instance VI_1 {
...
    track_script {
       script_name
    }
}
本次使用两台虚拟机和一个虚拟IP进行配置:
主节点:192.168.25.23
备节点:192.168.25.24
虚拟IP:192.168.25.10
! Configuration File for keepalived

global_defs {
   router_id PV23
}

vrrp_script check_nginx {
       script "/etc/keepalived/check_nginx.sh"
       interval 2
       weight -30
       fall 2
       rise 2
}

vrrp_instance VI_1 {
    state MASTER
    interface enp1s0
    virtual_router_id 86
    priority 100
    unicast_src_ip 192.168.25.23
    unicast_peer {
    192.168.25.24
    }
    advert_int 1
    authentication {
        auth_type PASS
        auth_pass 1111
    }
    virtual_ipaddress {
        192.168.25.10
    }

        track_script {
                check_nginx
    }
}
! Configuration File for keepalived

global_defs {
   router_id PV24
}

vrrp_script check_nginx {
       script "/etc/keepalived/check_nginx.sh"
       interval 2
       weight -30
       fall 2
       rise 2
}

vrrp_instance VI_1 {
    state BACKUP
    interface enp1s0
    virtual_router_id 86
    priority 80
    unicast_src_ip 192.168.25.24
    unicast_peer {
    192.168.25.23
    }
    advert_int 1
    authentication {
        auth_type PASS
        auth_pass 1111
    }
    virtual_ipaddress {
        192.168.25.10
    }

        track_script {
                check_nginx
    }

}
分别在主节点和备节点编辑脚本,编辑:
vim /etc/keepalived/check_nginx.sh
脚本内容为:\
#!/bin/sh
A=`ps -C nginx --no-header |wc -l`
if [ $A -eq 0 ];then
#    nginx          # 此处为展示效果,在nginx出现故障后,注释不重启nginx。
    sleep 2
    if [ `ps -C nginx --no-header |wc -l` -eq 0 ];then
        killall keepalived
    fi
fi
为脚本添加执行权限:
chmod +x /etc/keepalived/check_nginx.sh

killall nginx
nginx
我在app/helpers/sessions_helper.rb中有一个帮助程序文件,其中包含一个方法my_preference,它返回当前登录用户的首选项。我想在集成测试中访问该方法。例如,这样我就可以在测试中使用getuser_path(my_preference)。在其他帖子中,我读到这可以通过在测试文件中包含requiresessions_helper来实现,但我仍然收到错误NameError:undefinedlocalvariableormethod'my_preference'.我做错了什么?require'test_helper'require'sessions_hel
我是Google云的新手,我正在尝试对其进行首次部署。我的第一个部署是RubyonRails项目。我基本上是在关注thisguideinthegoogleclouddocumentation.唯一的区别是我使用的是我自己的项目,而不是他们提供的“helloworld”项目。这是我的app.yaml文件runtime:customvm:trueentrypoint:bundleexecrackup-p8080-Eproductionconfig.ruresources:cpu:0.5memory_gb:1.3disk_size_gb:10当我转到我的项目目录并运行gcloudprevie
我可以在Azure网站上部署RubyonRails吗? 最佳答案 还没有。目前仅支持.NET和PHP。 关于ruby-on-rails-RubyonRails可以部署在Azure网站上吗?,我们在StackOverflow上找到一个类似的问题: https://stackoverflow.com/questions/12964010/
前置步骤我们都操作完了,这篇开始介绍jenkins的集成。话不多说,看操作1、登录进入jenkins后会让你选择安装插件,选择第一个默认的就行。安装完成后设置账号密码,重新登录。2、配置JDK和Git都需要执行路径,所以需要先把执行路径找到,先进入服务器的docker容器,2.1JDK的路径root@69eef9ee86cf:/usr/bin#echo$JAVA_HOME/usr/local/openjdk-82.2Git的路径root@69eef9ee86cf:/#whichgit/usr/bin/git3、先配置JDK和Git。点击:ManageJenkins>>GlobalToolCon
深度学习部署:Windows安装pycocotools报错解决方法1.pycocotools库的简介2.pycocotools安装的坑3.解决办法更多Ai资讯:公主号AiCharm本系列是作者在跑一些深度学习实例时,遇到的各种各样的问题及解决办法,希望能够帮助到大家。ERROR:Commanderroredoutwithexitstatus1:'D:\Anaconda3\python.exe'-u-c'importsys,setuptools,tokenize;sys.argv[0]='"'"'C:\\Users\\46653\\AppData\\Local\\Temp\\pip-instal
Ocra无法处理需要“tk”的应用程序require'tk'puts'nope'用奥克拉http://github.com/larsch/ocra不起作用(如链接中的一个问题所述)问题:https://github.com/larsch/ocra/issues/29(Ocra是1.9的"new"rubyscript2exe,本质上它用于将rb脚本部署为可执行文件)唯一的问题似乎是缺少tcl的DLL文件我不认为这是一个问题据我所知,问题是缺少tk的DLL文件如果它们是已知的,则可以在执行ocra时将它们包括在内有没有办法知道tk工作所需的DLL依赖项? 最佳答
我的rails3.1.6应用程序中有一个自定义访问器方法,它为一个属性分配一个值,即使该值不存在。my_attr属性是一个序列化的哈希,除非为空白,否则应与给定值合并指定了值,在这种情况下,它将当前值设置为空值。(添加了检查以确保值是它们应该的值,但为简洁起见被删除,因为它们不是我的问题的一部分。)我的setter定义为:defmy_attr=(new_val)cur_val=read_attribute(:my_attr)#storecurrentvalue#makesureweareworkingwithahash,andresetvalueifablankvalueisgiven
我有一个类unzipper.rb,它使用Rubyzip解压文件。在我的本地环境中,我可以成功解压缩文件,而无需使用require'zip'明确包含依赖项但是在Heroku上,我得到一个NameError(uninitializedconstantUnzipper::Zip)我只能通过使用明确的require来解决问题:为什么这在Heroku环境中是必需的,但在本地主机上却不是?我的印象是Rails自动需要所有gem。app/services/unzipper.rbrequire'zip'#OnlyrequiredforHeroku.Workslocallywithout!class
出于某种原因,heroku尝试要求dm-sqlite-adapter,即使它应该在这里使用Postgres。请注意,这发生在我打开任何URL时-而不是在gitpush本身期间。我构建了一个默认的Facebook应用程序。gem文件:source:gemcuttergem"foreman"gem"sinatra"gem"mogli"gem"json"gem"httparty"gem"thin"gem"data_mapper"gem"heroku"group:productiondogem"pg"gem"dm-postgres-adapter"endgroup:development,:t
有没有办法在liquidtemplate中输出(用于调试/信息目的)可用对象和对象属性??也就是说,假设我正在使用jekyll站点生成工具,并且我在我的index.html模板中(据我所知,这是一个液体模板)。它可能看起来像这样{%forpostinsite.posts%}{{post.date|date_to_string}}»{{post.title}}{%endfor%}是否有任何我可以使用的模板标签会告诉我/输出名为post的变量在此模板(以及其他模板)中可用。此外,是否有任何模板标签可以告诉我post对象具有键date、title、url、摘录、永久链接等