最近大火的Stable Diffusion也开源了(20220823);
我也本地化测试了一下效果确实比Dall-E mini强太多了,对于我们这些玩不上Dall-E2的这个简直就是就是捡钱的感觉,当然后期跑起来,稍微不注意显存就炸了。
这里我写一下安装过程,具体分为两个安装流程;
使用Huggingface的模式进行直接安装。
CompVis/stable-diffusion-v1-1 · Hugging Facehuggingface.co/CompVis/stable-diffusion-v1-1正在上传…重新上传取消
第一个工作需要注册账户,可以关联github;
注册后在个人目录下有一个token号;链接https://huggingface.co/settings/tokens,这个tokens号要在服务器登陆的过程中进行添加;
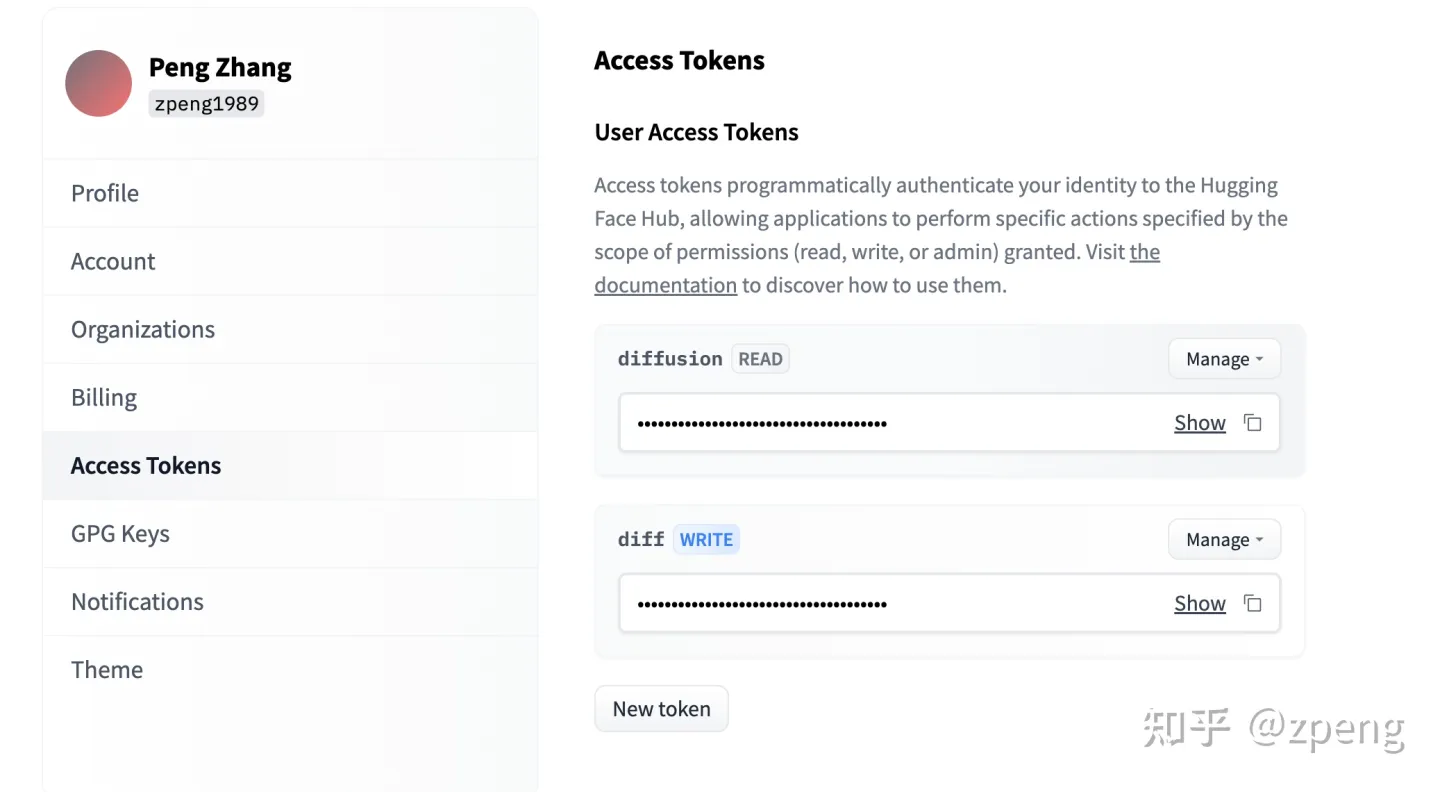
在服务器登陆要输入huggingface登陆:
huggingface-cli login登陆界面,输入token就可以分析;
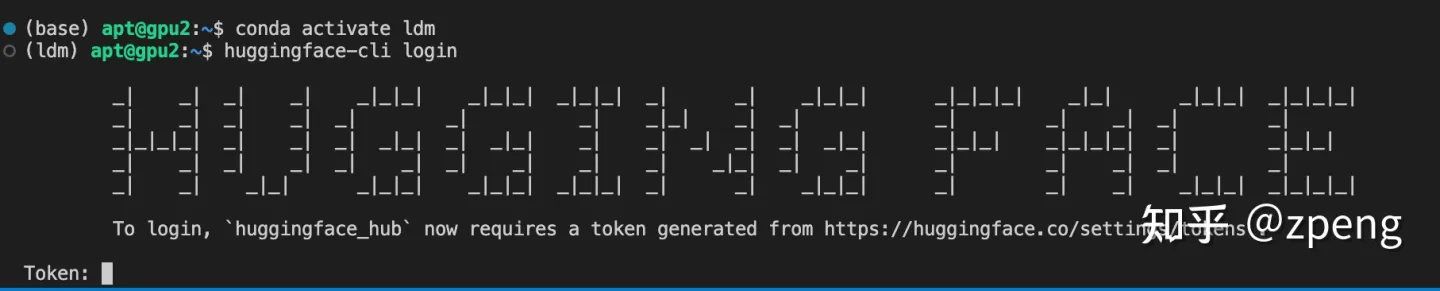
之后才可以再安装;
安装配置的包命令:
pip install --upgrade diffusers transformers scipy安装过程时间会很长[最好修改镜像路径],一般不会出什么问题。
然后直接运行下面的code就可以绘制图出来,第一次计算会下载模型权重,速度很长。国内网络很慢,建议选择其他网络方法,或者早起(早晨速度特别快)。
import torch
from torch import autocast
from diffusers import StableDiffusionPipeline

model_id = "CompVis/stable-diffusion-v1-1"
device = "cuda"


pipe = StableDiffusionPipeline.from_pretrained(model_id, use_auth_token=True)
pipe = pipe.to(device)

prompt = "a photo of an astronaut riding a horse on mars"
with autocast("cuda"):
    image = pipe(prompt, guidance_scale=7.5)["sample"][0]

image.save("astronaut_rides_horse.png")
可以调节其他参数,但这个流程具体我没有更多测试。
prompt = "Little Red Riding Hood and big grey wolf, digital painting, artstation, concept art, smooth, sharp focus, illustration, renaissance, flowy, melting, round moons, rich clouds, very detailed, volumetric light, mist, fine art, textured oil over canvas, epic fantasy art, very colorful, ornate intricate scales, fractal gems, 8 k, hyper realistic, high contrast"
prompt = "fantasy magic fashion Asian girl portrait, glossy eyes, face, long hair, fantasy, intricate, elegant, highly detailed, digital painting, artstation, concept art, smooth, sharp focus, illustration, renaissance, flowy, melting, round moons, rich clouds, very detailed, volumetric light, mist, fine art, textured oil over canvas, epic fantasy art, very colorful, ornate intricate scales, fractal gems, 8 k, hyper realistic, high contrast"
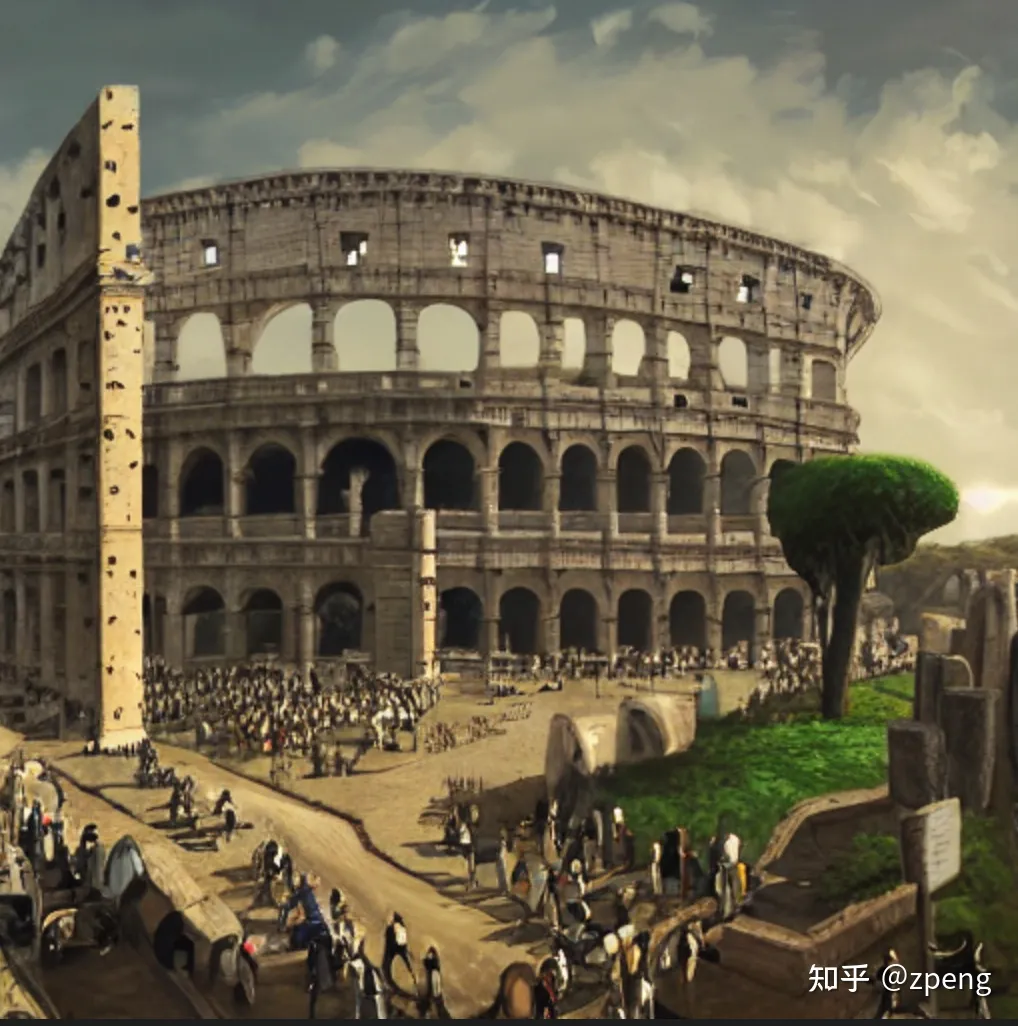
prompt = "All roads lead to Rome,  8 k, hyper realistic, high contrast, elegant, highly detailed, digital painting, artstation, concept art, smooth, sharp focus, illustration"
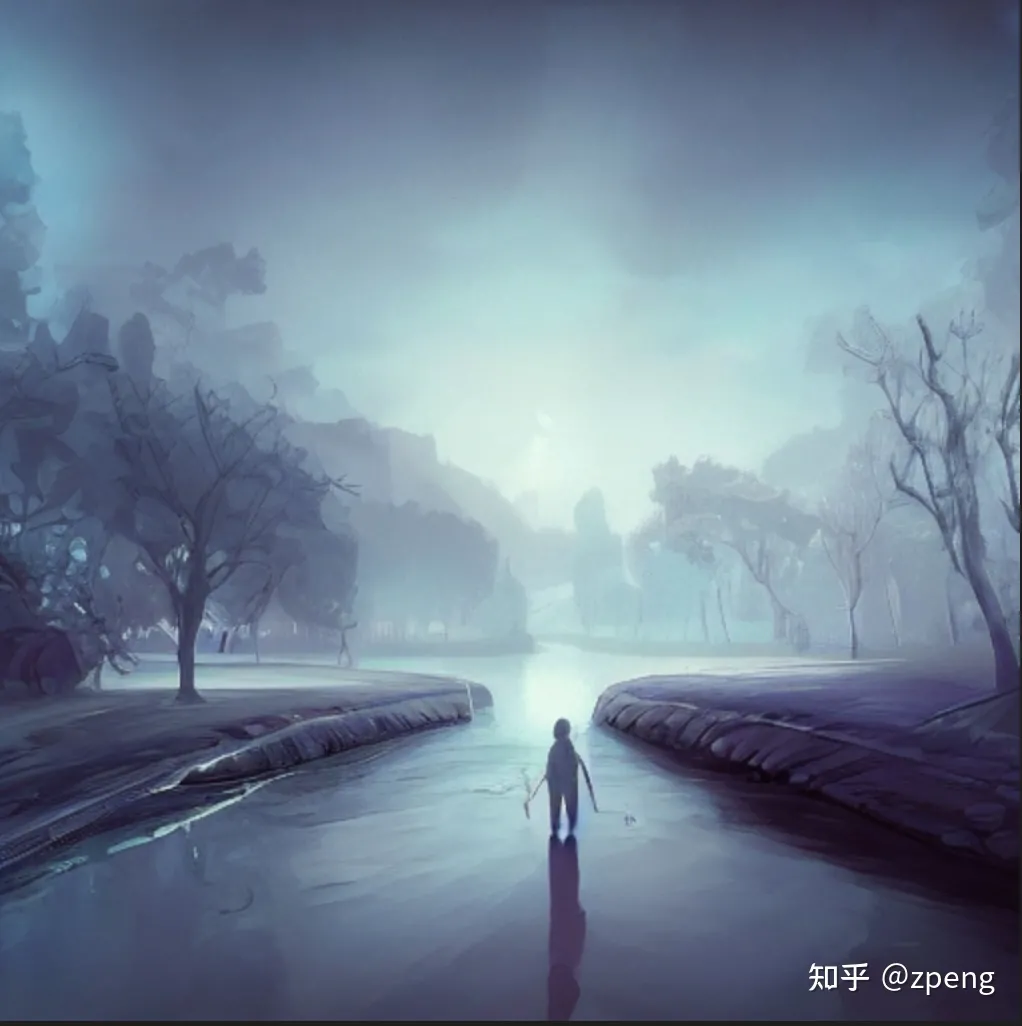
prompt = "Tomorrow is another day,  8 k, hyper realistic, high contrast, elegant, highly detailed, digital painting, artstation, concept art, smooth, sharp focus, illustration"
我测试的三组,效果如下:
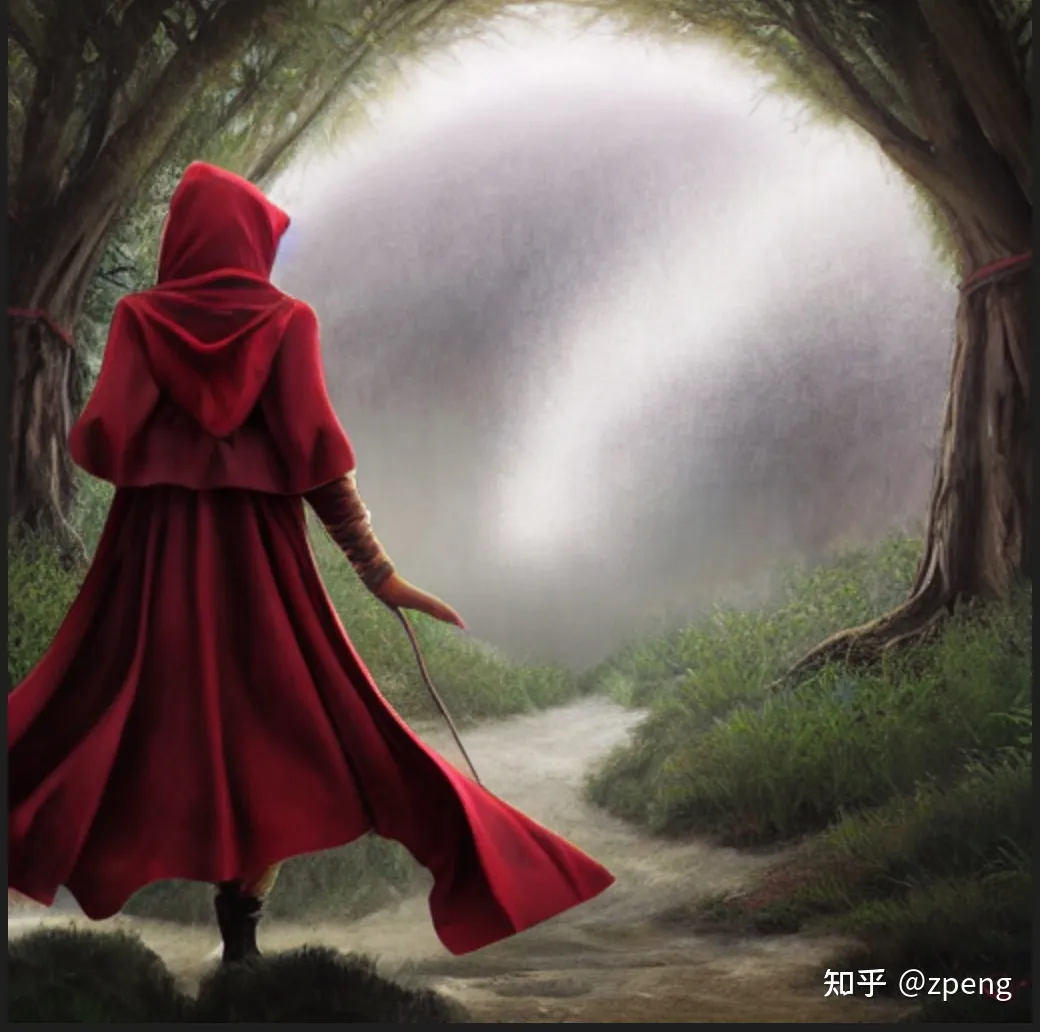
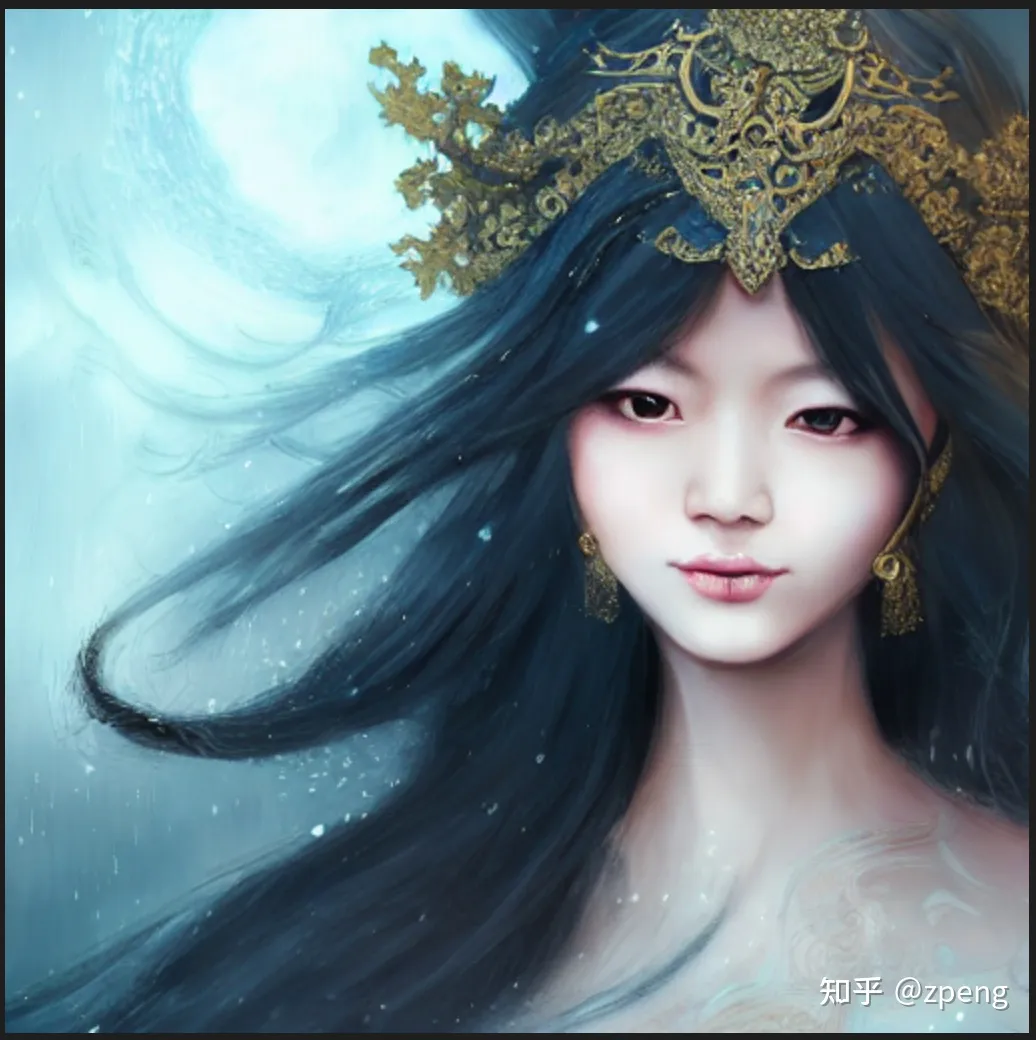
这种模式使用自己下载模型,运行时候使用参数会更好的结果。
通过下载GitHub下载原始代码,路径:
GitHub - CompVis/stable-diffusiongithub.com/CompVis/stable-diffusion正在上传…重新上传取消
只用git clone 或者直接download的保存都可以,访问这个目录进行安装。
安装使用conda方式做的:GitHub - CompVis/stable-diffusion安装使用conda方式做的:
conda env create -f environment.yaml
conda activate ldm
但我安装过程因为git clone之后报错,因为各种原因吧。
我是直接本地download下来,然后直接
python setup.py install具体包括的安装包有CLIP[openai/CLIP]和taming-transformers[CompVis/taming-transformers];这里说一下taming-transformers安装后依然找不到相关代码, 我直接把[taming]目录代码copy根目录下,这样直接import没有问题了。
一些相关包的安装:
conda install pytorch torchvision -c pytorch
pip install transformers==4.19.2 diffusers invisible-watermark
pip install -e .
这部分安装包括stable-diffusion的目录;
模型文件下载
访问网站[Hugging Face – The AI community building the future.]:
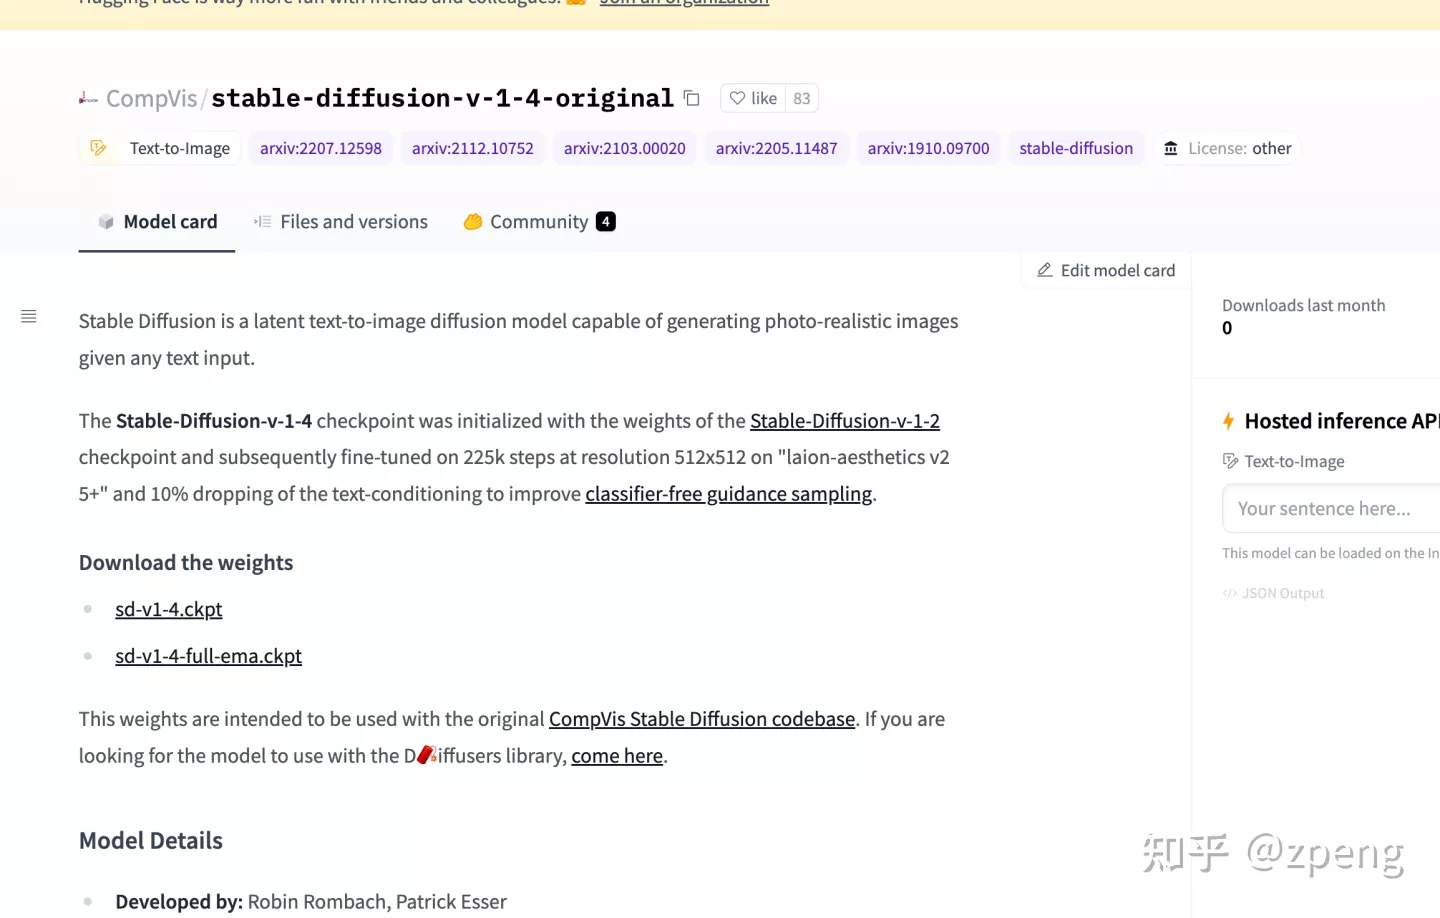
在Files and versions下载就可以,选择对应的sd-v1-4.ckpt下载,如图:
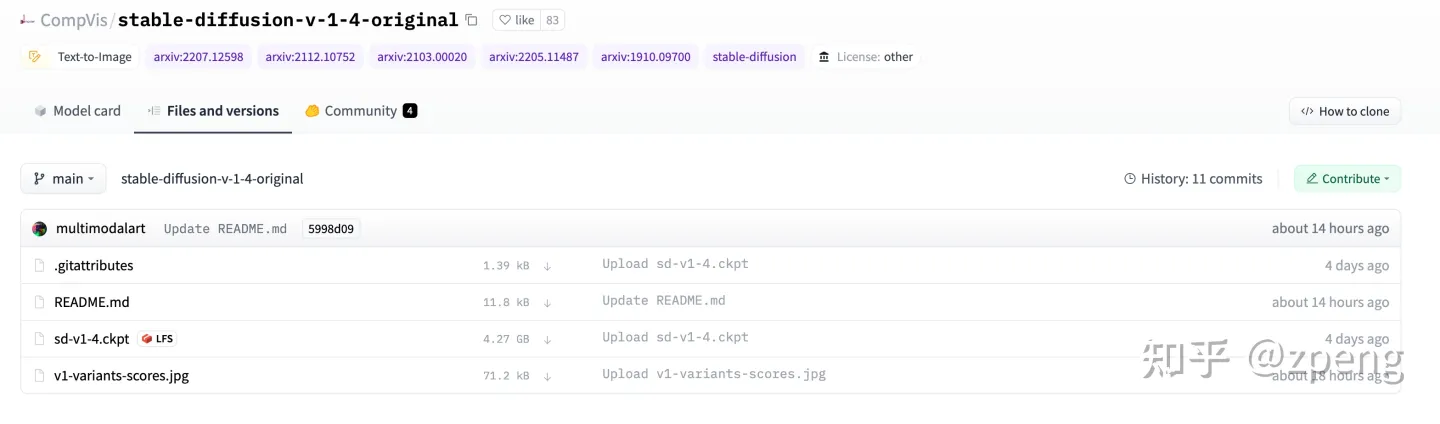
直接点后面的下载符号就可以下载,之后运行的时候只要链接到模型路径就可以计算。
第一次运行还会安装、和配置很多模型,需要时间很多。
还是建议早起。
全部模型参数如下:
usage: txt2img.py [-h] [--prompt [PROMPT]] [--outdir [OUTDIR]] [--skip_grid] [--skip_save] [--ddim_steps DDIM_STEPS] [--plms] [--laion400m] [--fixed_code] [--ddim_eta DDIM_ETA]
                  [--n_iter N_ITER] [--H H] [--W W] [--C C] [--f F] [--n_samples N_SAMPLES] [--n_rows N_ROWS] [--scale SCALE] [--from-file FROM_FILE] [--config CONFIG] [--ckpt CKPT]
                  [--seed SEED] [--precision {full,autocast}]

optional arguments:
  -h, --help            show this help message and exit
  --prompt [PROMPT]     the prompt to render
  --outdir [OUTDIR]     dir to write results to
  --skip_grid           do not save a grid, only individual samples. Helpful when evaluating lots of samples
  --skip_save           do not save individual samples. For speed measurements.
  --ddim_steps DDIM_STEPS
                        number of ddim sampling steps
  --plms                use plms sampling
  --laion400m           uses the LAION400M model
  --fixed_code          if enabled, uses the same starting code across samples
  --ddim_eta DDIM_ETA   ddim eta (eta=0.0 corresponds to deterministic sampling
  --n_iter N_ITER       sample this often
  --H H                 image height, in pixel space
  --W W                 image width, in pixel space
  --C C                 latent channels
  --f F                 downsampling factor
  --n_samples N_SAMPLES
                        how many samples to produce for each given prompt. A.k.a. batch size
  --n_rows N_ROWS       rows in the grid (default: n_samples)
  --scale SCALE         unconditional guidance scale: eps = eps(x, empty) + scale * (eps(x, cond) - eps(x, empty))
  --from-file FROM_FILE
                        if specified, load prompts from this file
  --config CONFIG       path to config which constructs model
  --ckpt CKPT           path to checkpoint of model
  --seed SEED           the seed (for reproducible sampling)
  --precision {full,autocast}
                        evaluate at this precision
其中主要的参数(我使用的),
--prompt 关键词准备;
--plms 预测使用需要使用这个信息;
--W/--H 这里需要注意如果生成图太大,显存可能不足,建议一点一点试试;
--seed 种子数、相同prompt和seed会保证生成图像一致;
--ckpt 写模型的全路径,访问模型;
--outdir 图像生成路径,图绘按照ID顺着添加,目录下有一个文件夹路径会保留所有样本;
我测试的一个样例:
python txt2img.py --prompt "Asia girl, glossy eyes, face, long hair, fantasy, elegant, highly detailed, digital painting, artstation, concept art, smooth, illustration, renaissance, flowy, melting, round moons, rich clouds, very detailed, volumetric light, mist, fine art, textured oil over canvas, epic fantasy art, very colorful, ornate intricate scales, fractal gems, 8 k, hyper realistic, high contrast"
                  --plms
                  --outdir ./stable-diffusion-main/Workspace
                  --ckpt ./stable-diffusion-main/models/ldm/sd-v1-4.ckpt
                  --ddim_steps 100
                  --H 512
                  --W 512
                  --seed 8
输出结果:
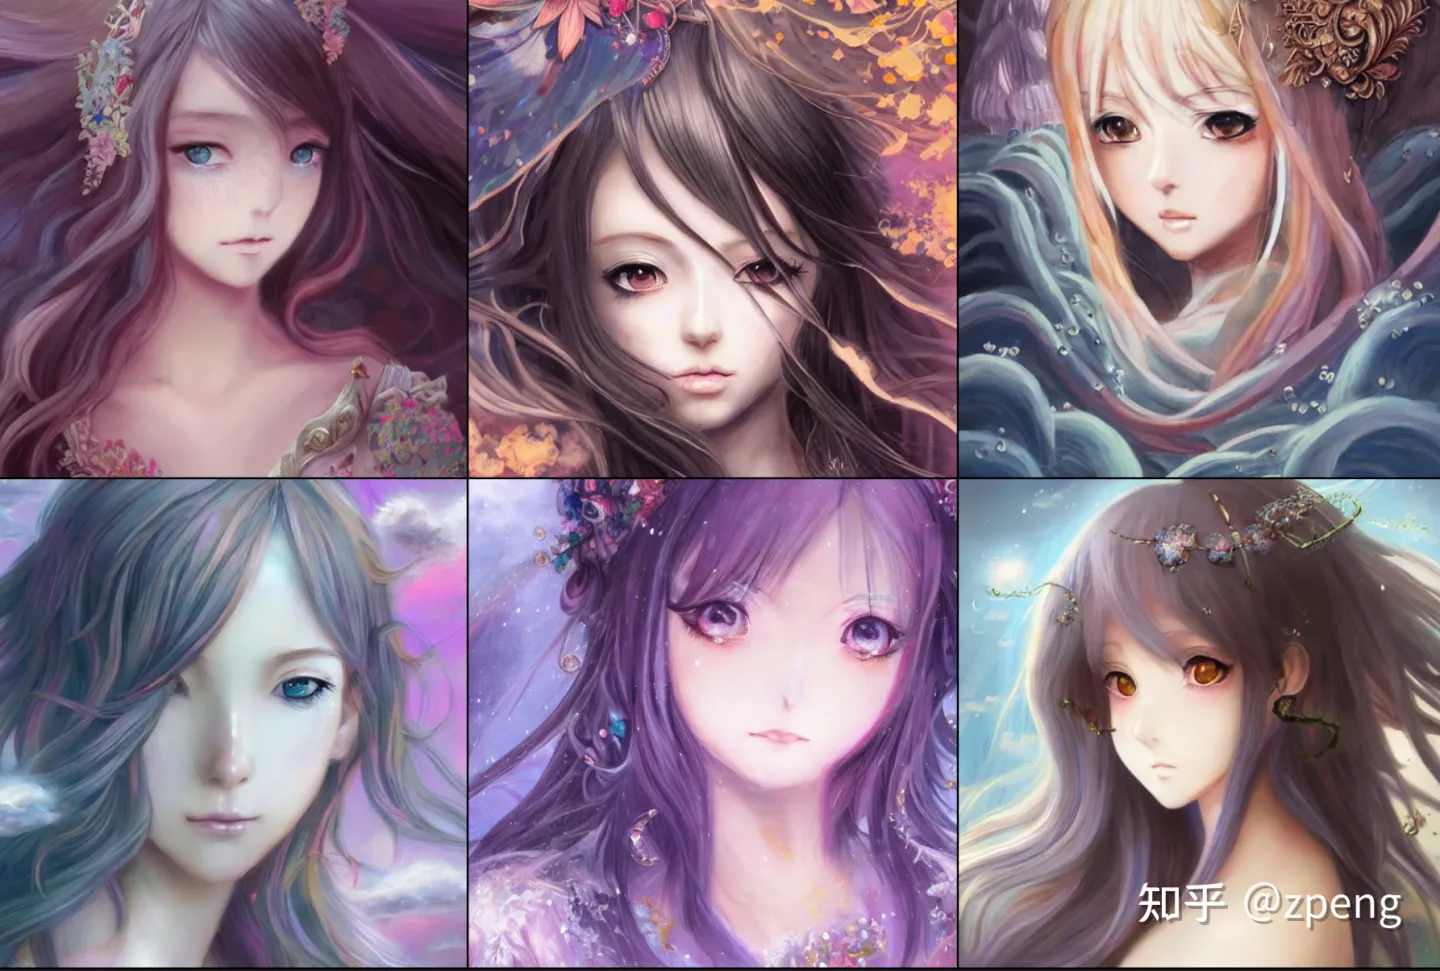
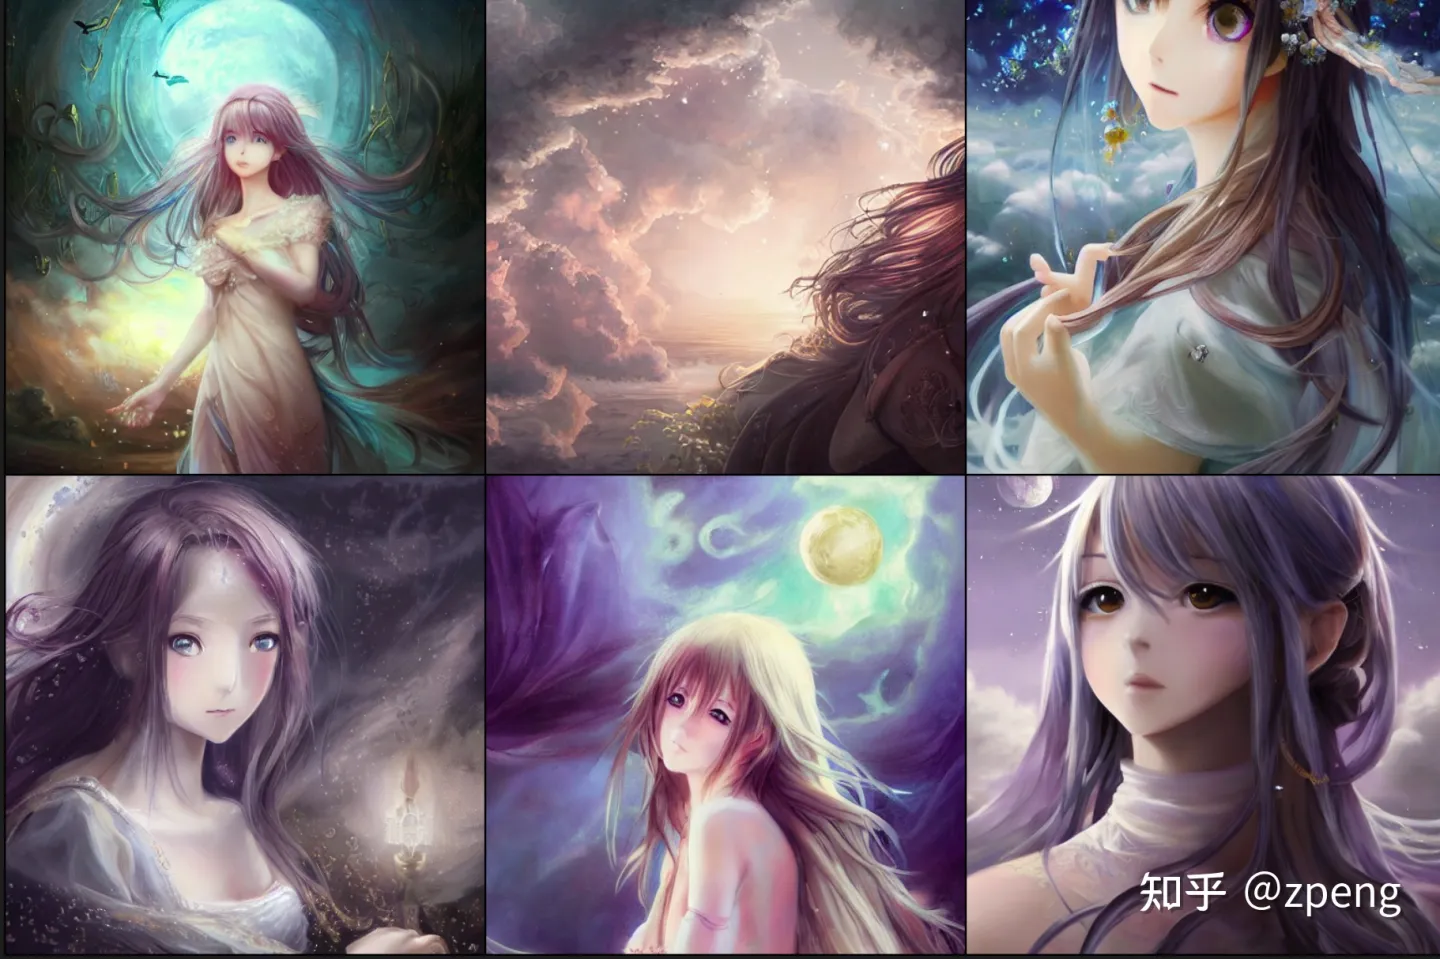
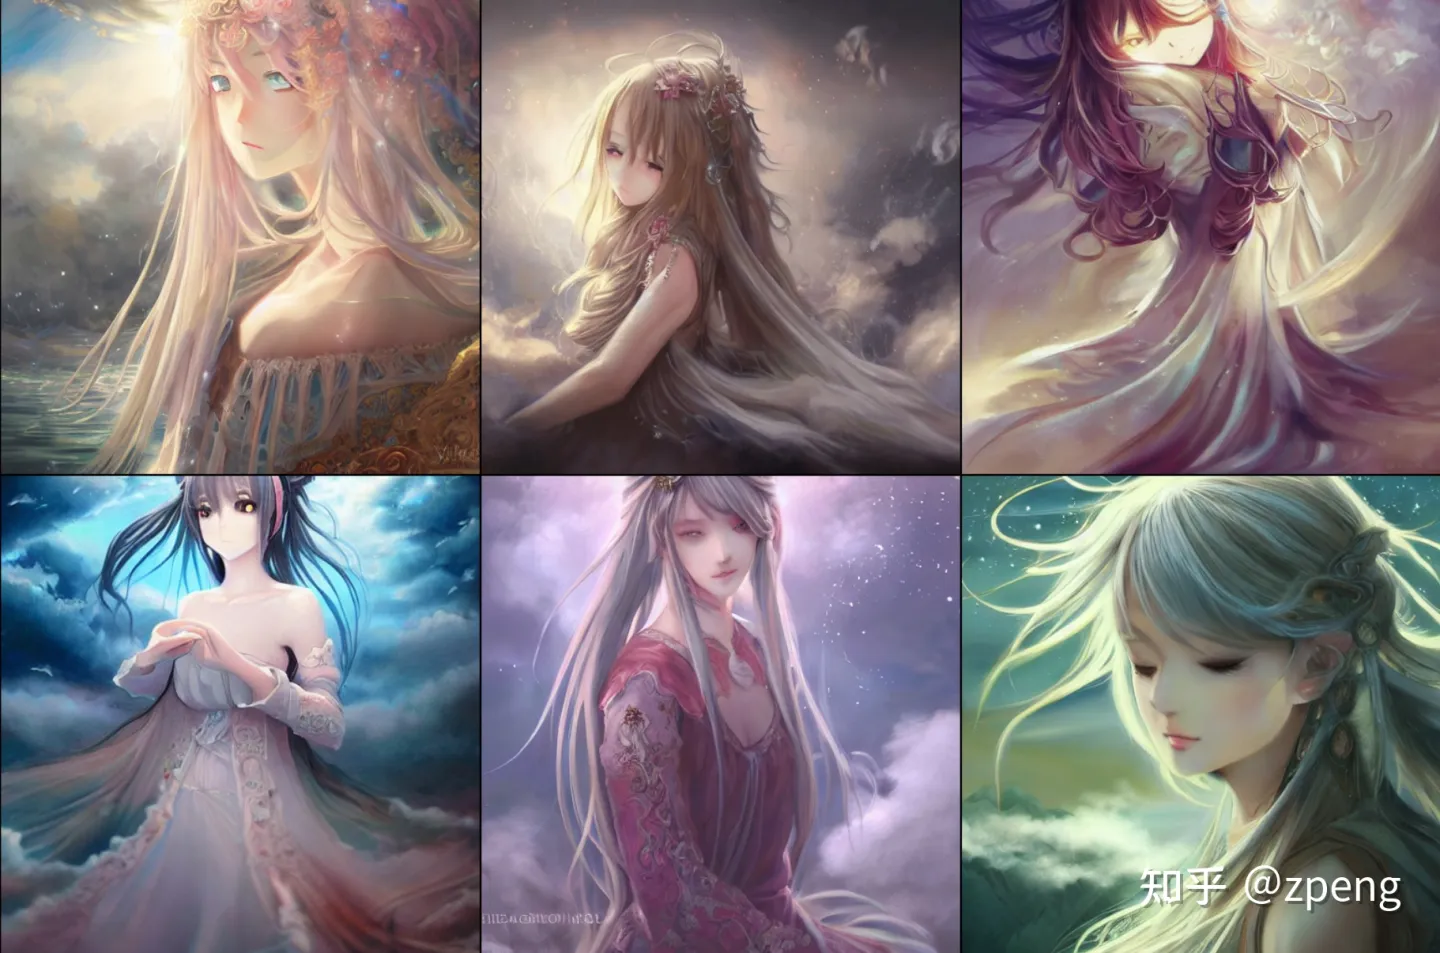
该部分就是通过一个随机图,给一些描述可以产出新的效果。我测试这部分。。。比较诡异;
如果有好的案例欢迎推荐给我,大家注意一下。
python scripts/img2img.py --prompt "magic fashion girl portrait, glossy eyes, face, long hair, fantasy, intricate, elegant, highly detailed, digital painting, artstation, concept art, smooth, sharp focus, illustration, renaissance, flowy, melting, round moons, rich clouds, very detailed, volumetric light, mist, fine art, textured oil over canvas, epic fantasy art, very colorful, ornate intricate scales, fractal gems, 8 k, hyper realistic, high contrast"
                          --init-img ./stable-diffusion-main/Workspace2/h3.jpg
                          --strength 0.8
                          --outdir ./stable-diffusion-main/Workspace
                          --ckpt ./stable-diffusion-main/models/ldm/sd-v1-4.ckpt
--ddim_steps 100经过我测试还有很多人讨论的结果,输入图尽量保持长宽像素保持64的倍数,一般不会报错。
输入图像:
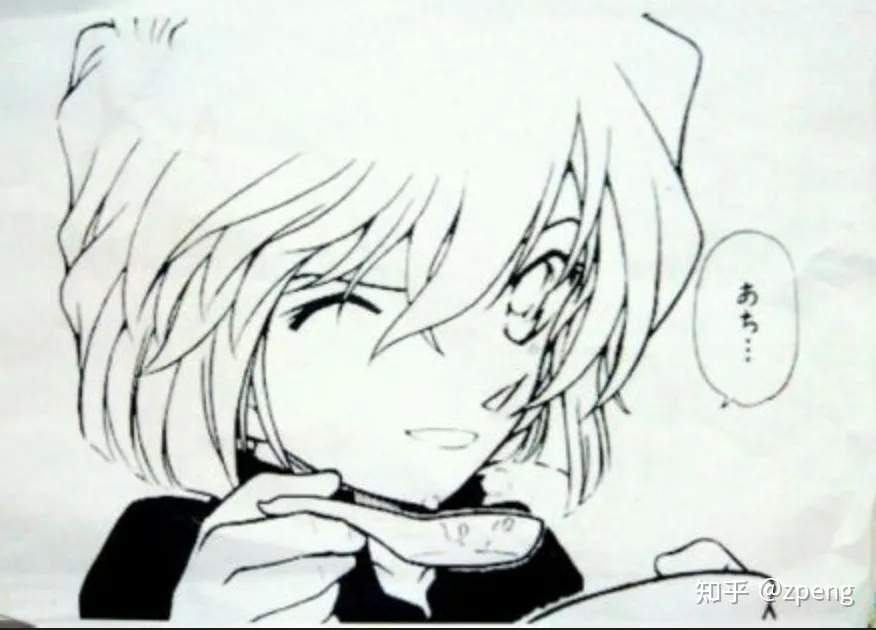
输出结果如下:
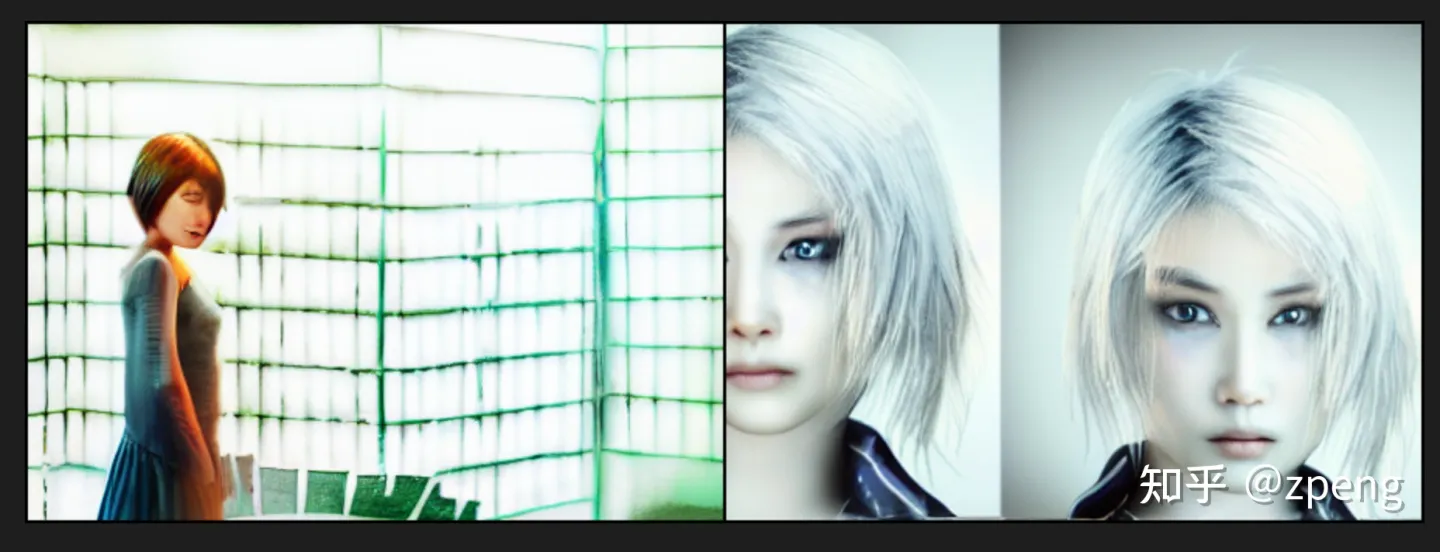
结果有点。。。不理解
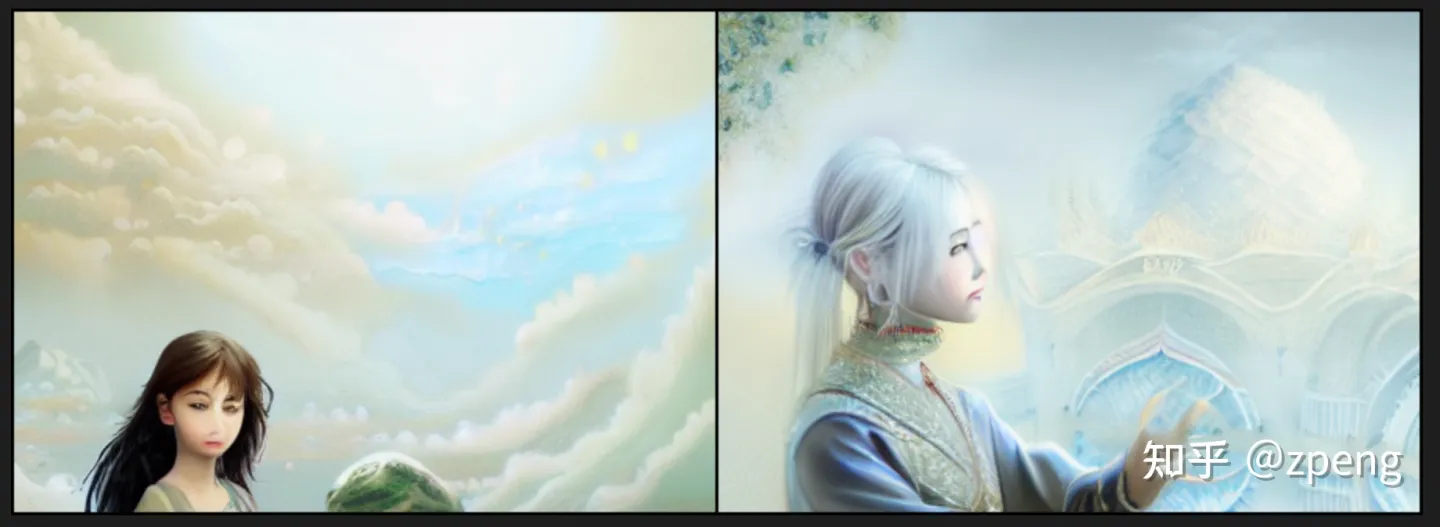
但看小蓝鸟上还是很多不错的结果。
---未完待续---
参考链接:
[1] CompVis/stable-diffusion-v1-1[CompVis/stable-diffusion-v1-1 · Hugging Face];
[2]CompVis/stable-diffusion[https://github.com/CompVis/stable-diffusion]
我想将html转换为纯文本。不过,我不想只删除标签,我想智能地保留尽可能多的格式。为插入换行符标签,检测段落并格式化它们等。输入非常简单,通常是格式良好的html(不是整个文档,只是一堆内容,通常没有anchor或图像)。我可以将几个正则表达式放在一起,让我达到80%,但我认为可能有一些现有的解决方案更智能。 最佳答案 首先,不要尝试为此使用正则表达式。很有可能你会想出一个脆弱/脆弱的解决方案,它会随着HTML的变化而崩溃,或者很难管理和维护。您可以使用Nokogiri快速解析HTML并提取文本:require'nokogiri'h
我有带有Logo图像的公司模型has_attached_file:logo我用他们的Logo创建了许多公司。现在,我需要添加新样式has_attached_file:logo,:styles=>{:small=>"30x15>",:medium=>"155x85>"}我是否应该重新上传所有旧数据以重新生成新样式?我不这么认为……或者有什么rake任务可以重新生成样式吗? 最佳答案 参见Thumbnail-Generation.如果rake任务不适合你,你应该能够在控制台中使用一个片段来调用重新处理!关于相关公司
我正在尝试使用Ruby2.0.0和Rails4.0.0提供的API从imgur中提取图像。我已尝试按照Ruby2.0.0文档中列出的各种方式构建http请求,但均无济于事。代码如下:require'net/http'require'net/https'defimgurheaders={"Authorization"=>"Client-ID"+my_client_id}path="/3/gallery/image/#{img_id}.json"uri=URI("https://api.imgur.com"+path)request,data=Net::HTTP::Get.new(path
2022/8/4更新支持加入水印水印必须包含透明图像,并且水印图像大小要等于原图像的大小pythonconvert_image_to_video.py-f30-mwatermark.pngim_dirout.mkv2022/6/21更新让命令行参数更加易用新的命令行使用方法pythonconvert_image_to_video.py-f30im_dirout.mkvFFMPEG命令行转换一组JPG图像到视频时,是将这组图像视为MJPG流。我需要转换一组PNG图像到视频,FFMPEG就不认了。pyav内置了ffmpeg库,不需要系统带有ffmpeg工具因此我使用ffmpeg的python包装p
有这样的事吗?我想在Ruby程序中使用它。 最佳答案 试试这个http://csl.sublevel3.org/jp2a/此外,Imagemagick可能还有一些东西 关于ruby-是否有将图像文件转换为ASCII艺术的命令行程序或库?,我们在StackOverflow上找到一个类似的问题: https://stackoverflow.com/questions/6510445/
我正在使用Dragonfly在Rails3.1应用程序上处理图像。我正在努力通过url将图像分配给模型。我有一个很好的表格:{:multipart=>true}do|f|%>RemovePicture?Dragonfly的文档指出:Dragonfly提供了一个直接从url分配的访问器:@album.cover_image_url='http://some.url/file.jpg'但是当我在控制台中尝试时:=>#ruby-1.9.2-p290>picture.image_url="http://i.imgur.com/QQiMz.jpg"=>"http://i.imgur.com/QQ
我对图像处理完全陌生。我对JPEG内部是什么以及它是如何工作一无所知。我想知道,是否可以在某处找到执行以下简单操作的ruby代码:打开jpeg文件。遍历每个像素并将其颜色设置为fx绿色。将结果写入另一个文件。我对如何使用ruby-vips库实现这一点特别感兴趣https://github.com/ender672/ruby-vips我的目标-学习如何使用ruby-vips执行基本的图像处理操作(Gamma校正、亮度、色调……)任何指向比“helloworld”更复杂的工作示例的链接——比如ruby-vips的github页面上的链接,我们将不胜感激!如果有ruby-
我有这个代码:context"Visitingtheusers#indexpage."dobefore(:each){visitusers_path}subject{page}pending('iii'){shouldhave_no_css('table#users')}pending{shouldhavecontent('Youhavereachedthispageduetoapermissionic错误')}它会导致几个待处理,例如ManagingUsersGivenapractitionerloggedin.Visitingtheusers#indexpage.#Noreason
Organization和Image具有一对一的关系。Image有一个名为filename的列,它存储文件的路径。我在Assets管道中包含这样一个文件:app/assets/other/image.jpg。播种时如何包含此文件的路径?我已经在我的种子文件中尝试过:@organization=...@organization.image.create!(filename:File.open('app/assets/other/image.jpg'))#Ialsotried:#@organization.image.create!(filename:'app/assets/other/i
默认情况下:回形针gem将所有附件存储在公共(public)目录中。出于安全原因,我不想将附件存储在公共(public)目录中,所以我将它们保存在应用程序根目录的uploads目录中:classPost我没有指定url选项,因为我不希望每个图像附件都有一个url。如果指定了url:那么拥有该url的任何人都可以访问该图像。这是不安全的。在user#show页面中:我想实际显示图像。如果我使用所有回形针默认设置,那么我可以这样做,因为图像将在公共(public)目录中并且图像将具有一个url:Someimage:看来,如果我将图像附件保存在公共(public)目录之外并且不指定url(同
