块存储服务(Block Storage Service)cinder,作为 OpenStack 的块存储服务,为 Instance 提供虚拟磁盘,其类似 AWS 的 EBS(Elastic Block Storage),
它们之间的区别在于存储卷暴露给虚拟机实例的方式。在 OpenStack 中,通过 iSCSI 暴露 LVM 卷组(VG)对卷进行管理,所以使用 cinder 的存储节点都会
有 VG。
cinder 在控制节点上需要安装 openstack-cinder,对应要启动的服务有:cinder-api、cinder-scheduler。修改好配置后,需要启动:
openstack-cinder-api.service openstack-cinder-scheduler.service

cinder 在存储节点上需要安装 openstack-cinder lvm2 device-mapper-persistent-data openstack-cinder targetcli python-keystone

cinder 在存储节点上运行的服务是:cinder-volume,当然还需启动其依赖的 LVM、target 服务。修改好配置后,需要启动:
lvm2-lvmetad.service、 openstack-cinder-volume.service target.service

/*
说明:cinder-api 用来接收 api 请求,然后将请求消息加工后放到 MQ 里,cinder-scheduler 从 MQ 中消费消息,通过调度算法选择相应的存储节点,然
后将消息放到 MQ 里,cinder-volume 收到 scheduler 消息后,开始对卷进行操作。cinder-volume 用来管理卷 volume 生命令周期,cinder-volume 是运
行在存储节点上。
没有安装 cinder 服务时,Openstack Dashboard 是不能对外提供卷服务操作的
控制节点和存储节点的 cinder.conf 配置可以相同,前提是当控制节点不具备对应的 VG 时,不要启动 openstack-cinder-volume.service,否则会报错找
不到 VG。 */
在控制节点(controller)安装配置 Cinder 块存储服务
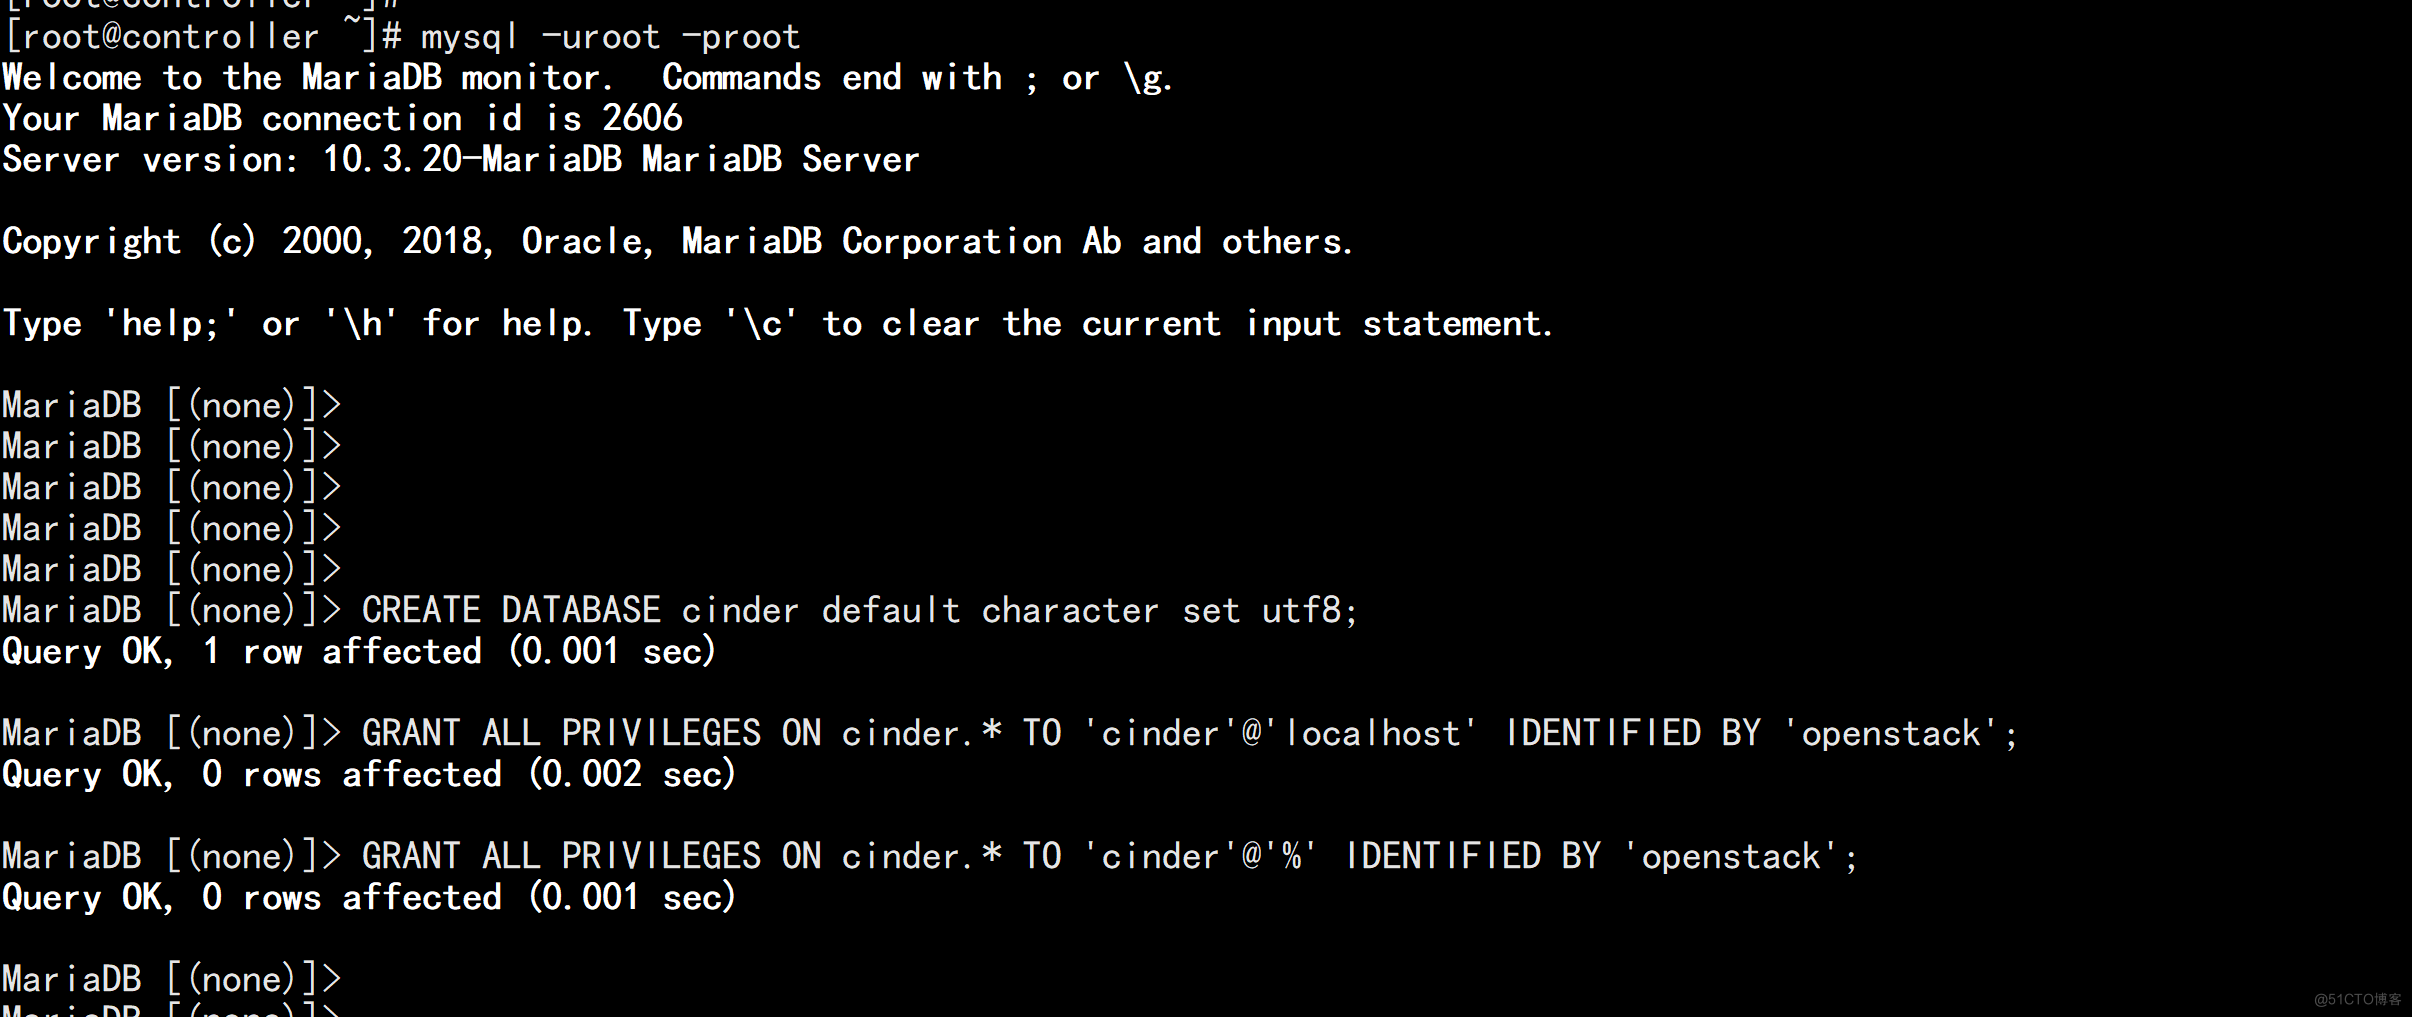
1、登录数据库创建 cinder 数据库
MariaDB [(none)]> CREATE DATABASE cinder default character set utf8;
创建并授予 cinder 用户完全操作 cinder 库权限
MariaDB [(none)]> GRANT ALL PRIVILEGES ON cinder.* TO 'cinder'@'localhost' IDENTIFIED BY 'openstack';
MariaDB [(none)]> GRANT ALL PRIVILEGES ON cinder.* TO 'cinder'@'%' IDENTIFIED BY 'openstack';
2、创建用户和 API 服务端点
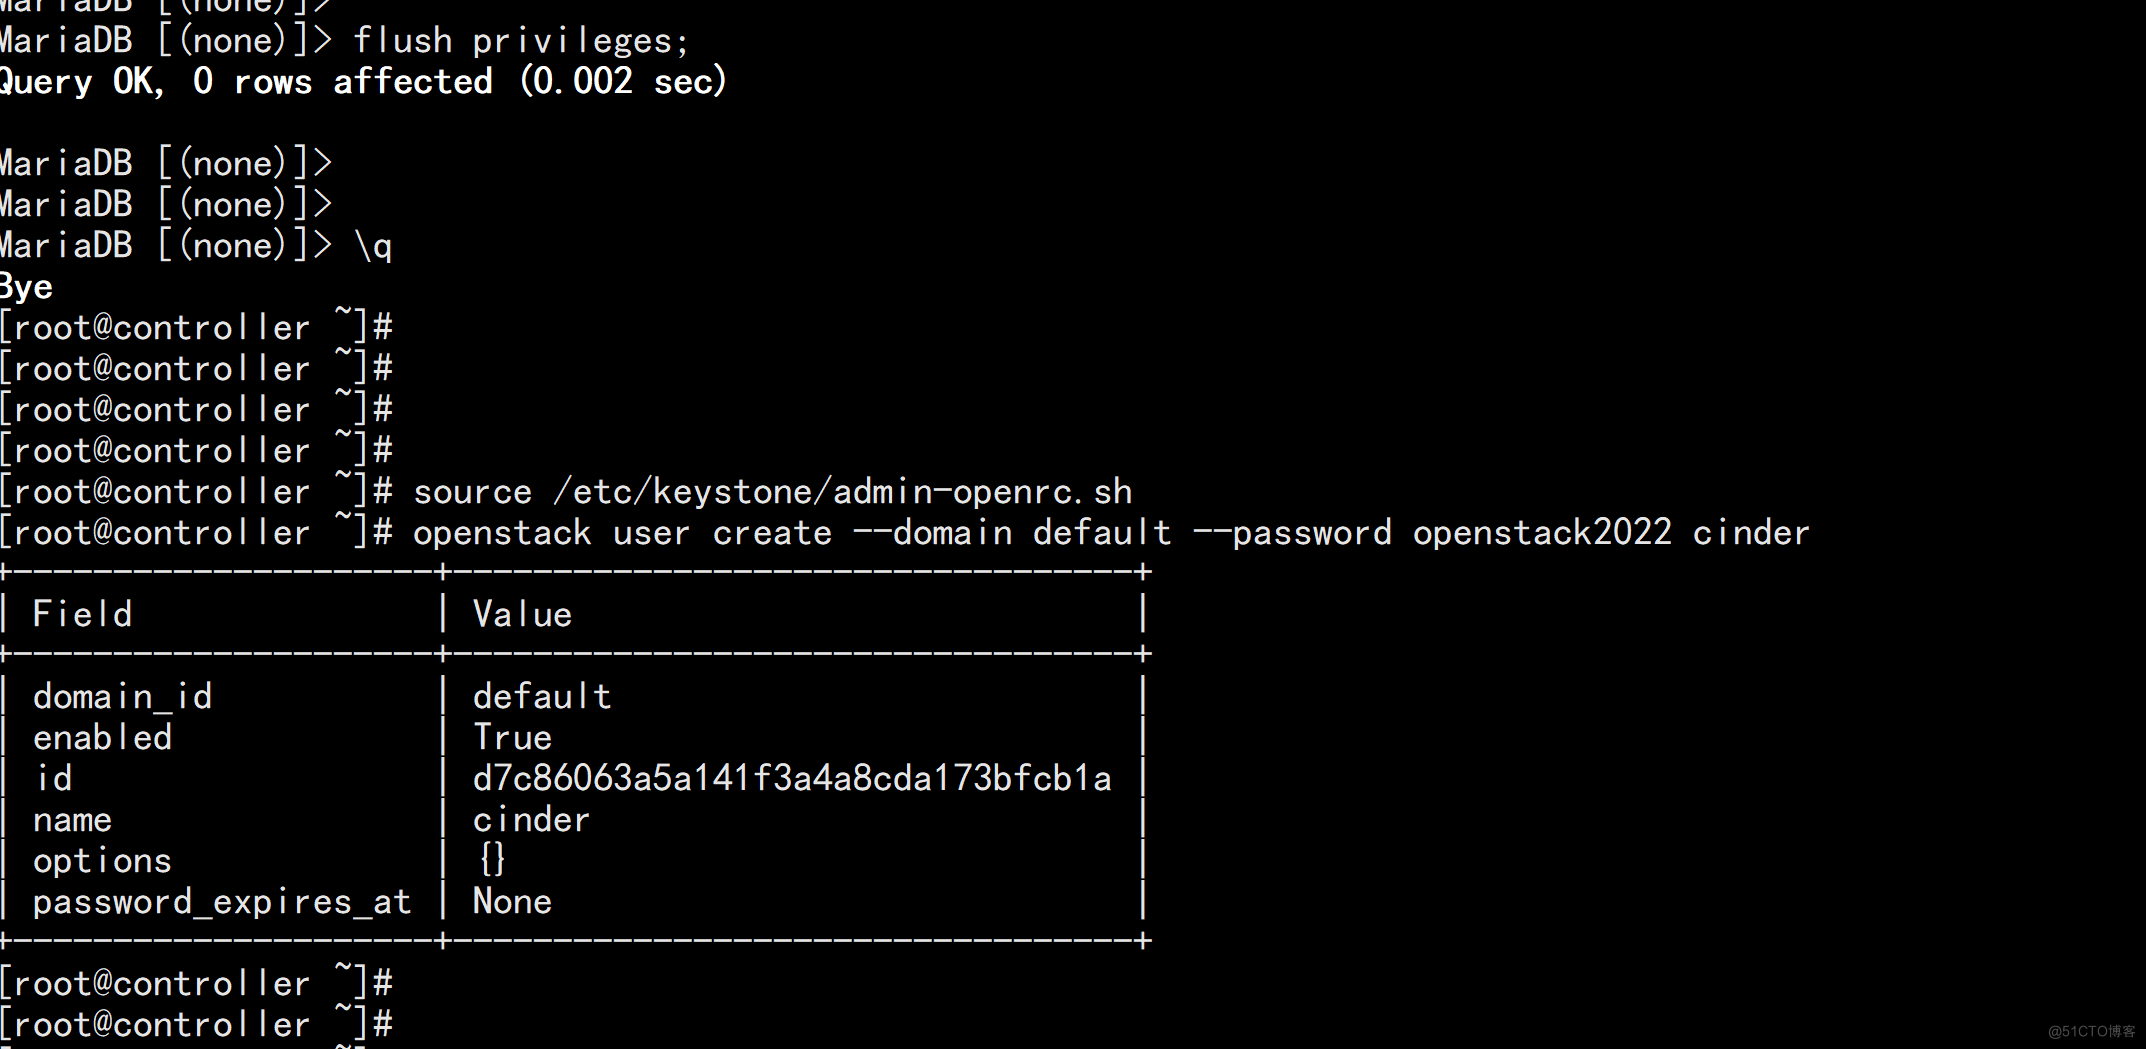
# source /etc/keystone/admin-openrc.sh
创建 cinder 用户,密码设置为:openstack2022
# openstack user create --domain default --password openstack2022 cinder
密码:openstack2022
将 cinder 加入到 service 项目以及 admin 角色
# openstack role add --project service --user cinder admin
创建 cinderv2 和 cinderv3 服务实体
# openstack service create --name cinderv2 --description "OpenStack Block Storage" volumev2
# openstack service create --name cinderv3 --description "OpenStack Block Storage" volumev3
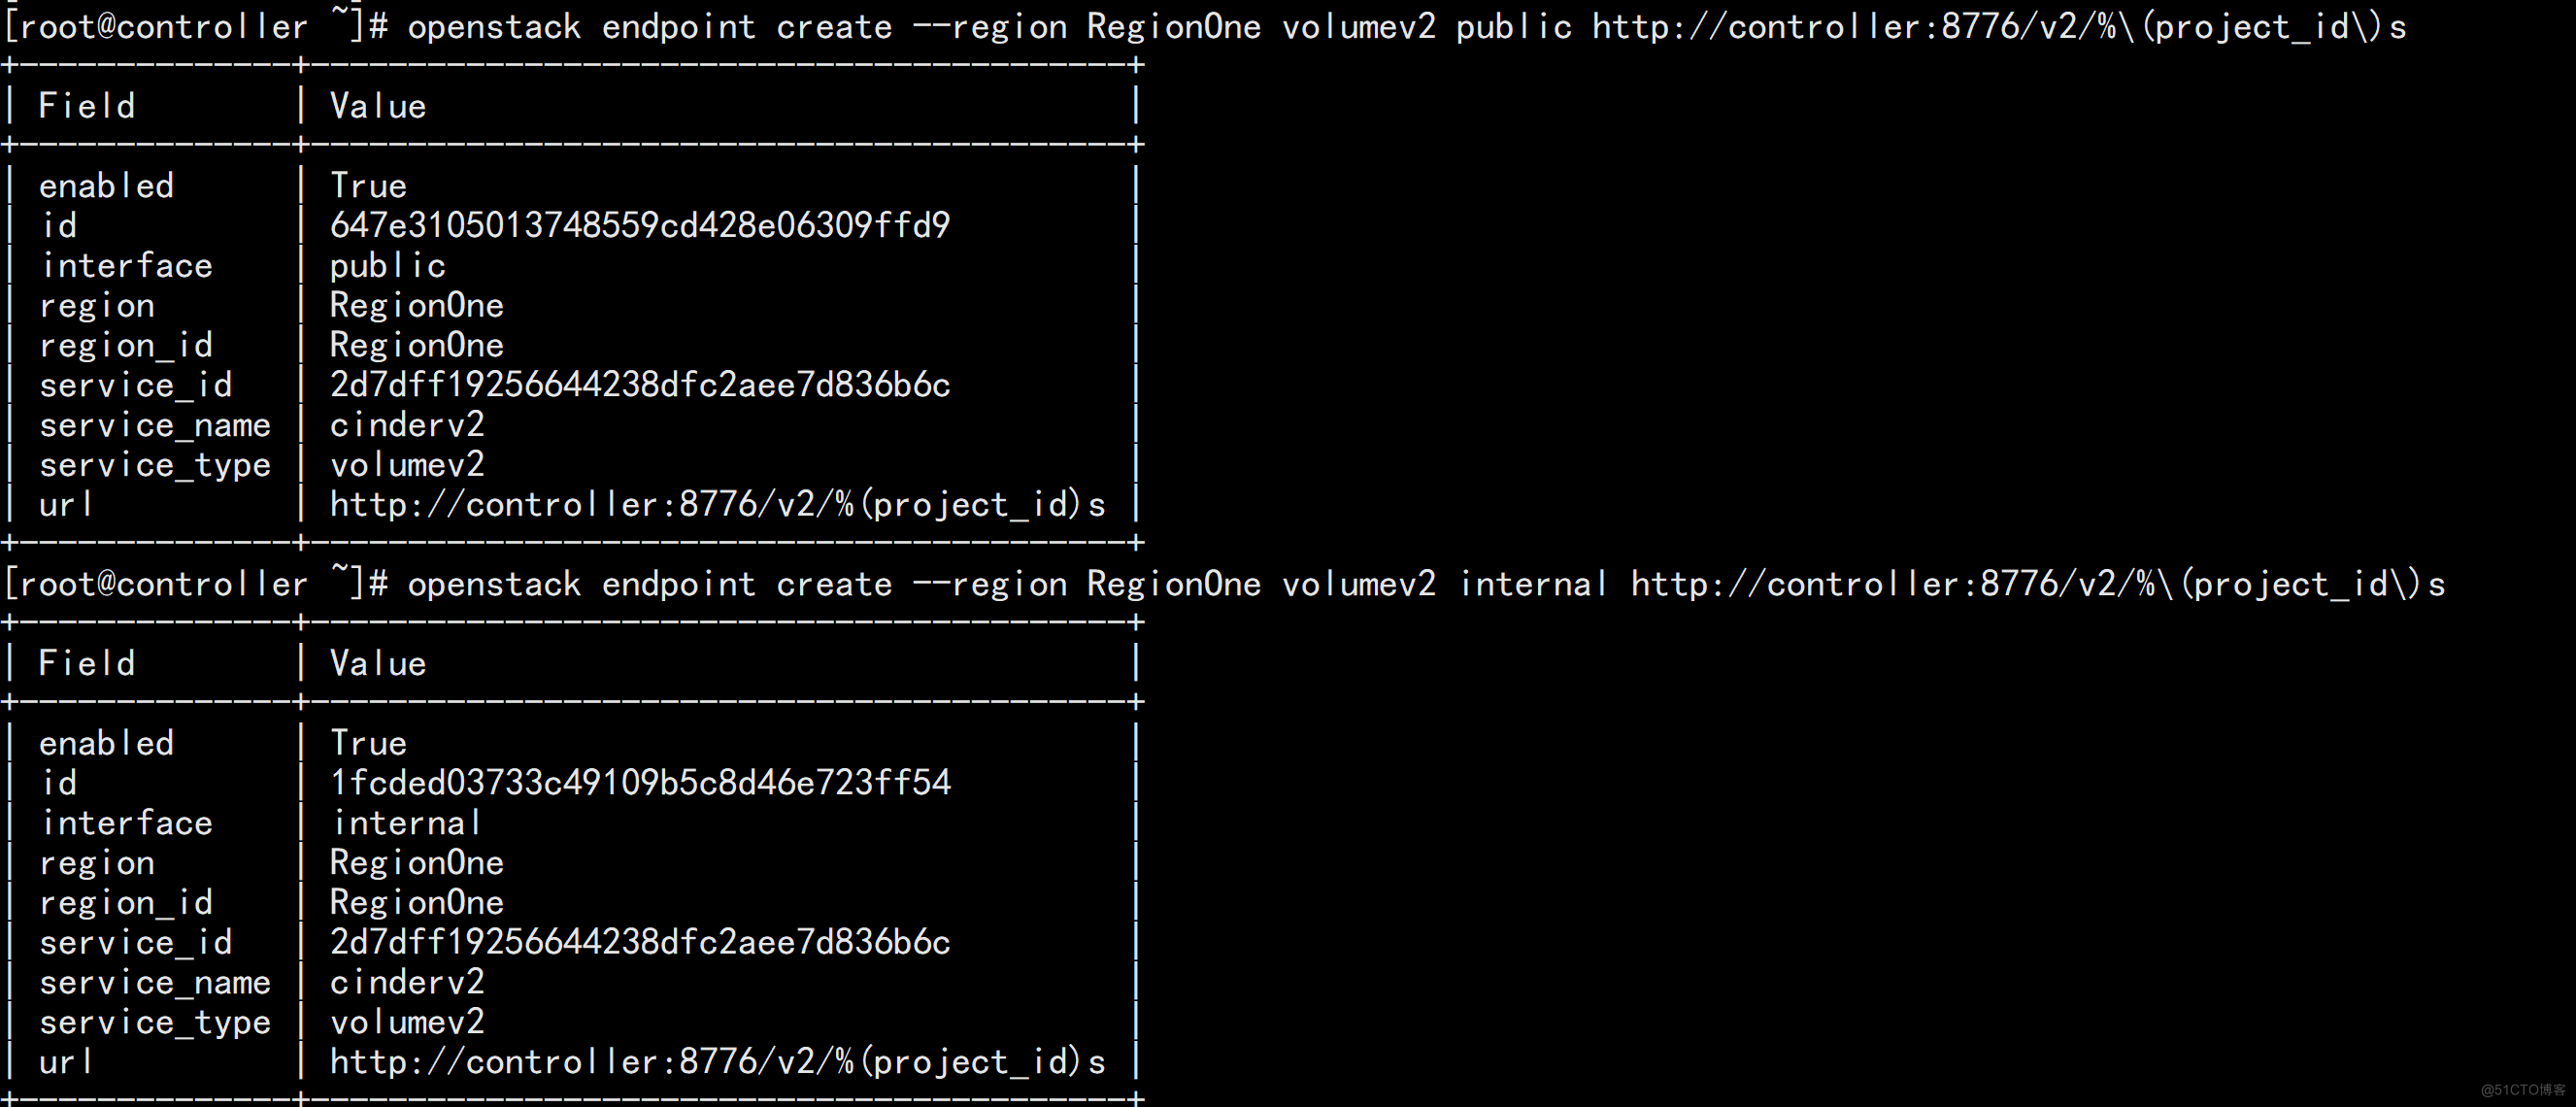
创建 Block Storage API 服务端点
# openstack endpoint create --region RegionOne volumev2 public http://controller:8776/v2/%\(project_id\)s
# openstack endpoint create --region RegionOne volumev2 internal http://controller:8776/v2/%\(project_id\)s
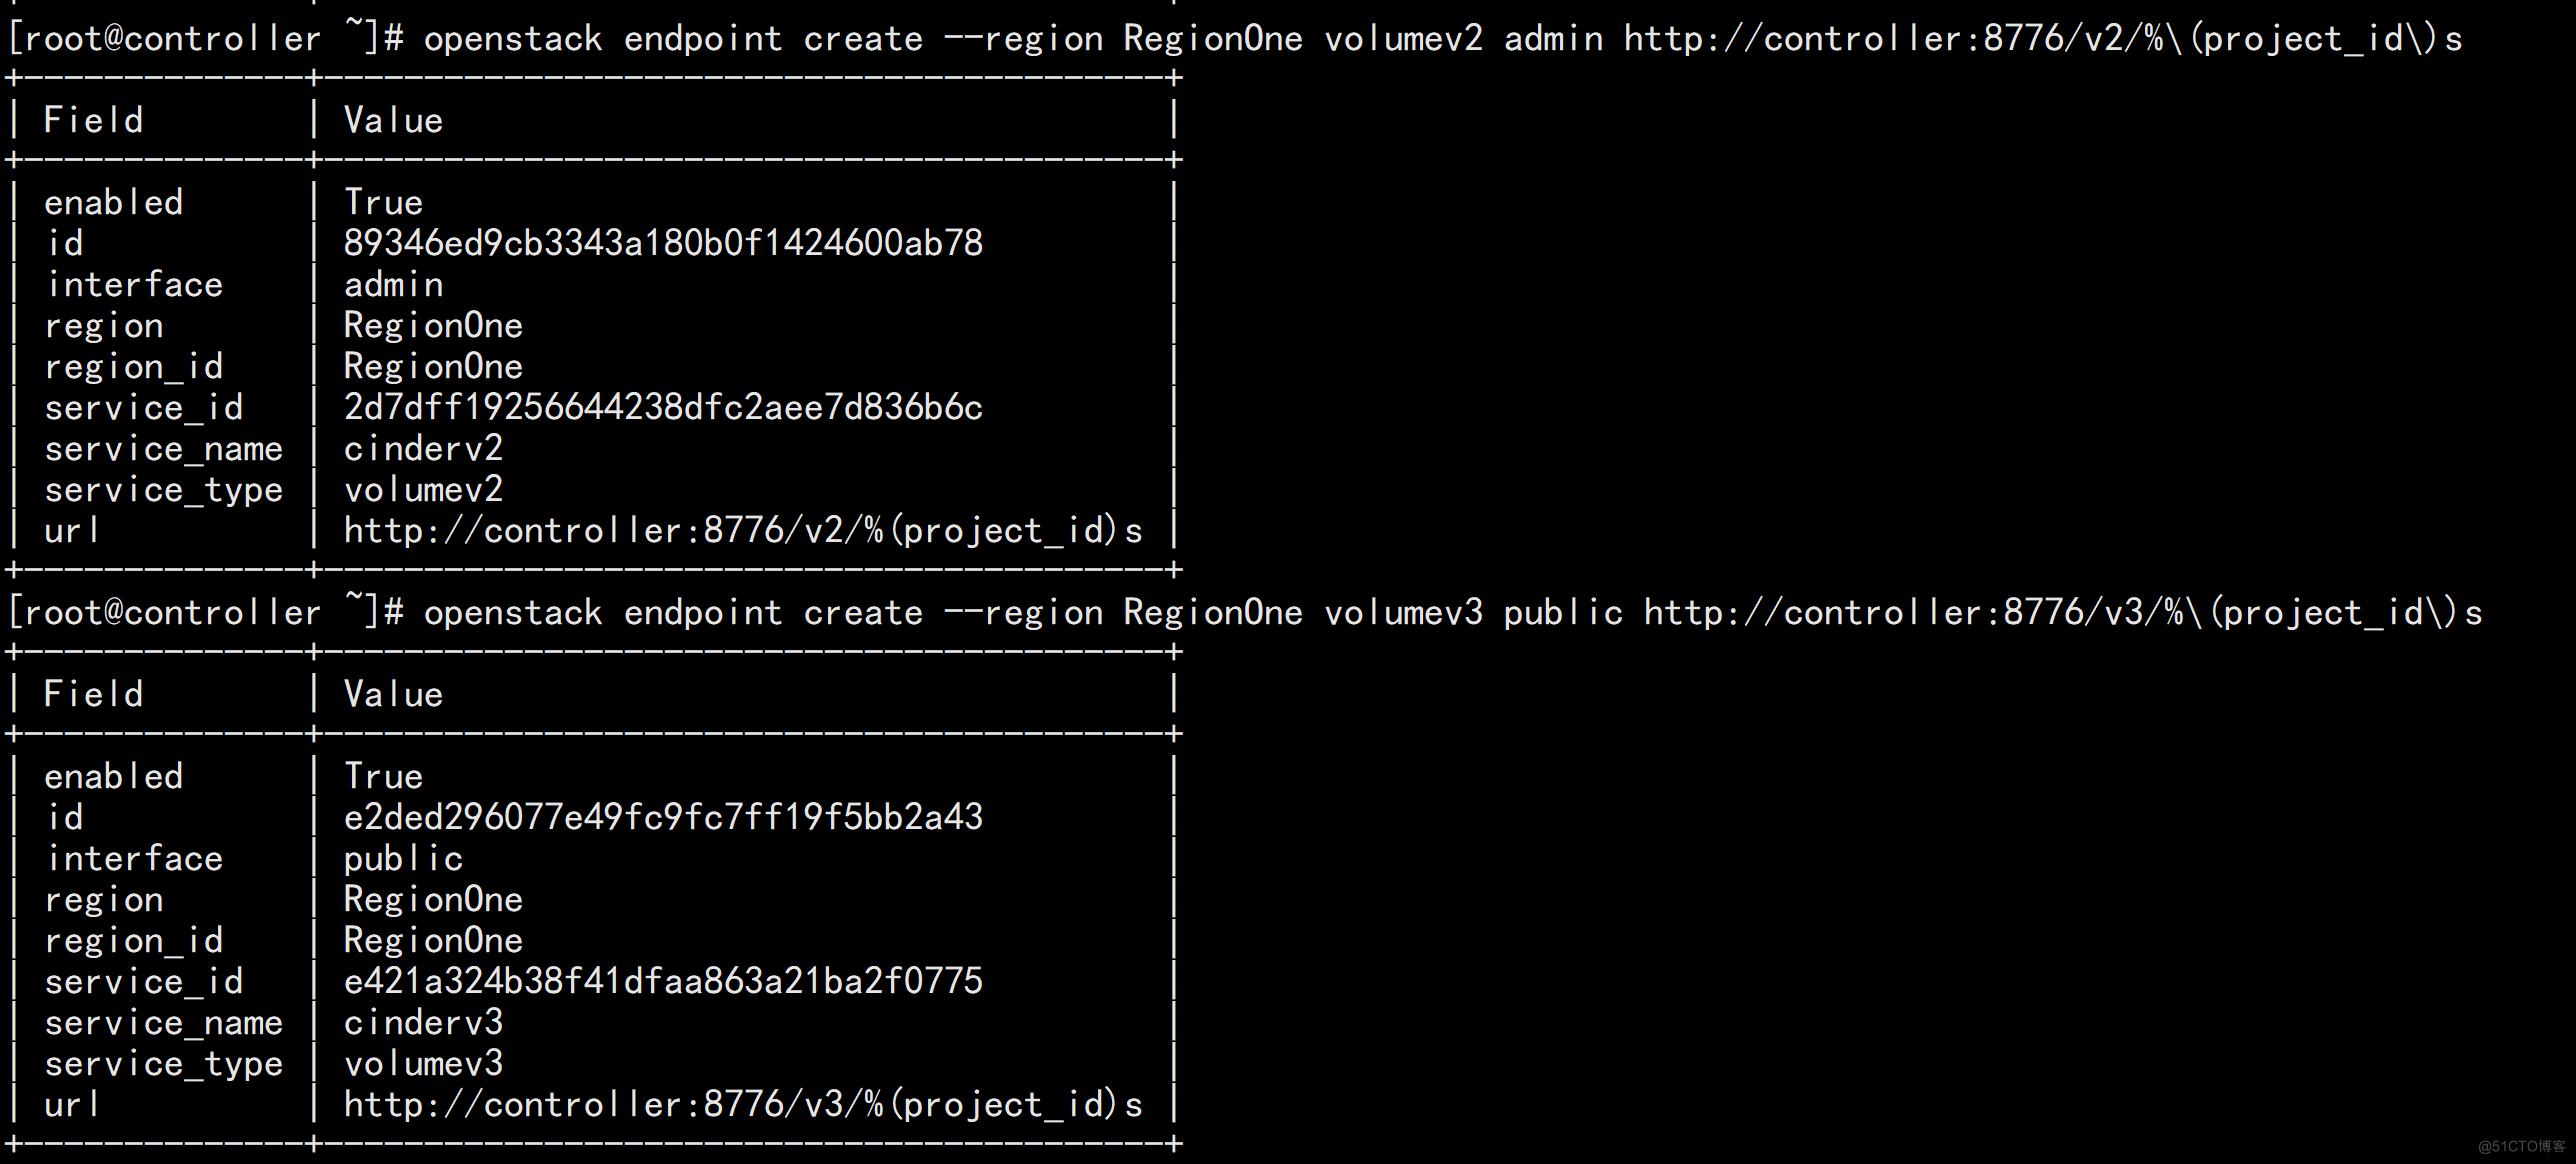
# openstack endpoint create --region RegionOne volumev2 admin http://controller:8776/v2/%\(project_id\)s
# openstack endpoint create --region RegionOne volumev3 public http://controller:8776/v3/%\(project_id\)s
# openstack endpoint create --region RegionOne volumev3 internal http://controller:8776/v3/%\(project_id\)s
# openstack endpoint create --region RegionOne volumev3 admin http://controller:8776/v3/%\(project_id\)s


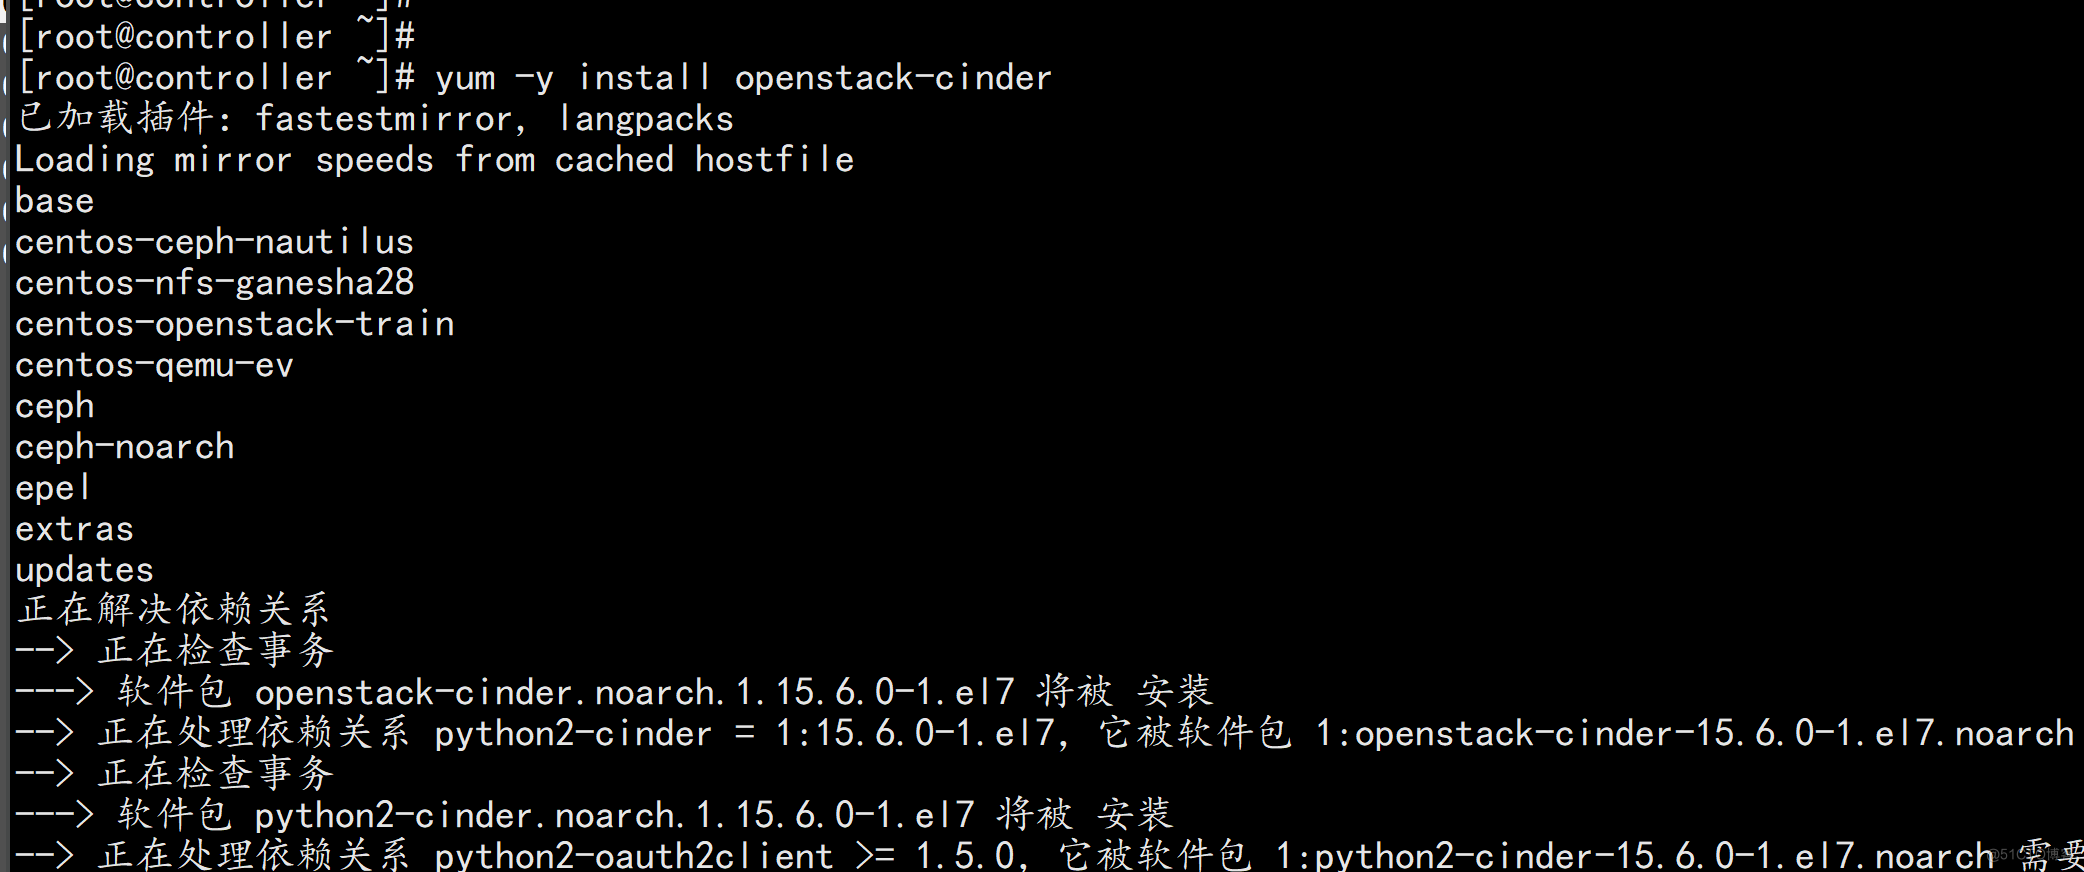
3、安装 cinder 软件包并修改配置文件
# yum -y install openstack-cinder
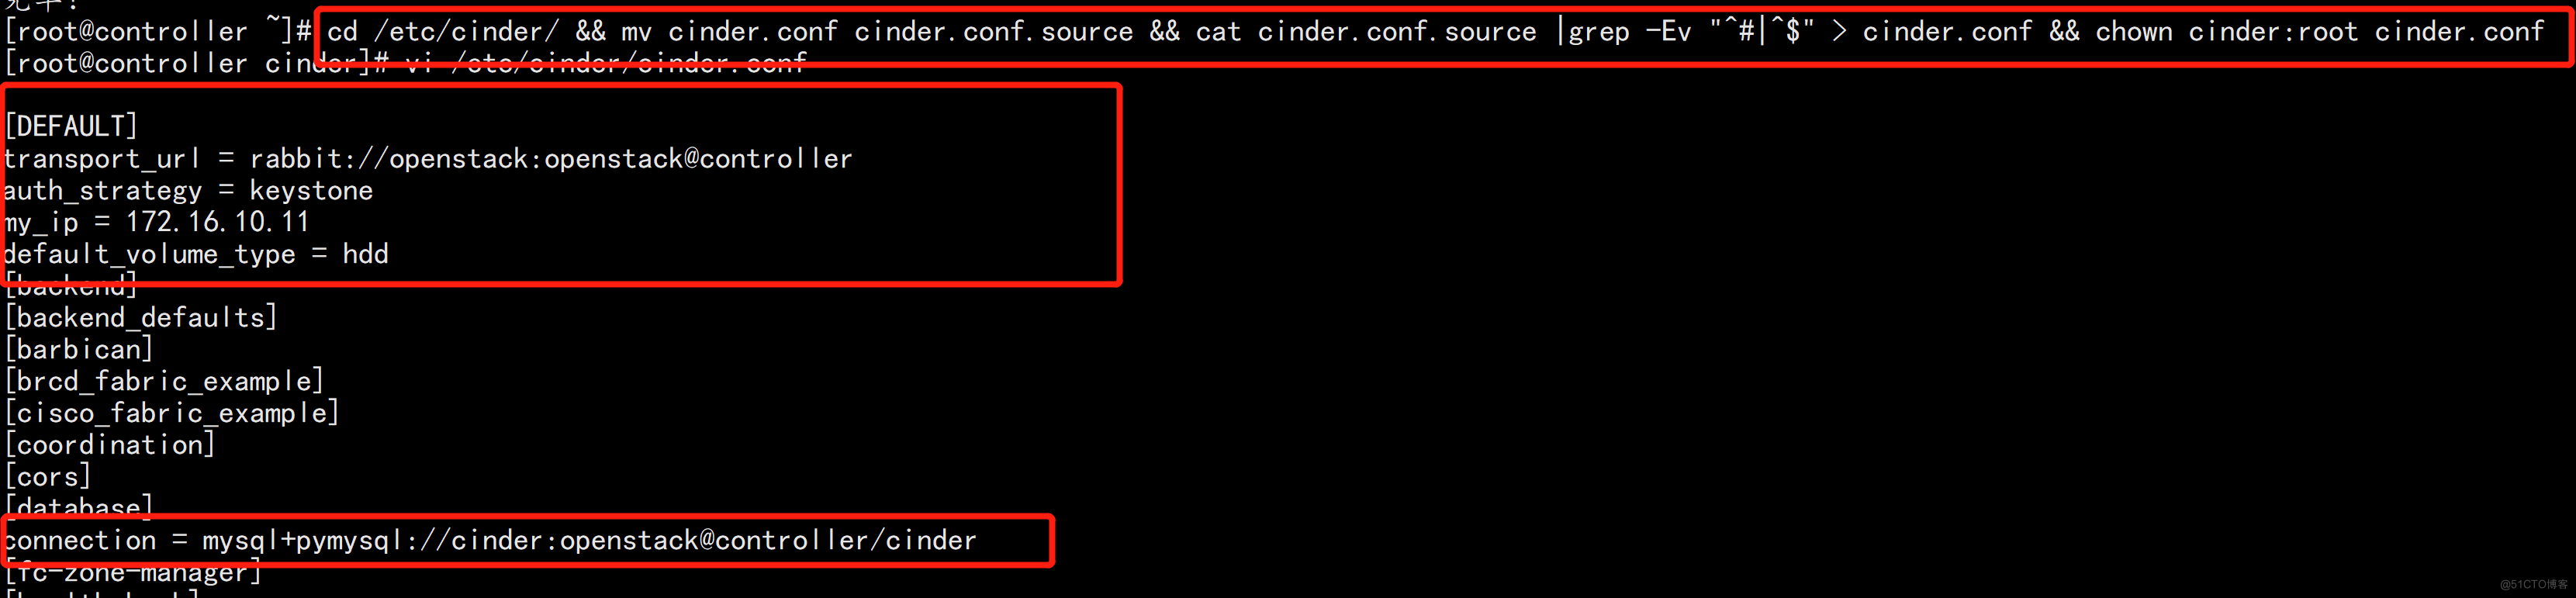
修改配置文件/etc/cinder/cinder.conf
# cd /etc/cinder/ && mv cinder.conf cinder.conf.source && cat cinder.conf.source |grep -Ev "^#|^$" > cinder.conf && chown cinder:root cinder.conf
# vi /etc/cinder/cinder.conf
在[DEFAULT]部分,配置认证信息
[DEFAULT]
transport_url = rabbit://openstack:openstack@controller
auth_strategy = keystone
# 配置 my_ip 选项以使用控制器节点的管理接口 IP 地址
my_ip = 172.16.10.11
# 指定存储类型,否则在创建卷时,类型为 __DEFAULT__
# default_volume_type = hdd 创建卷如果失败可以不加这个条件
在[database]部分,配置数据库
[database]
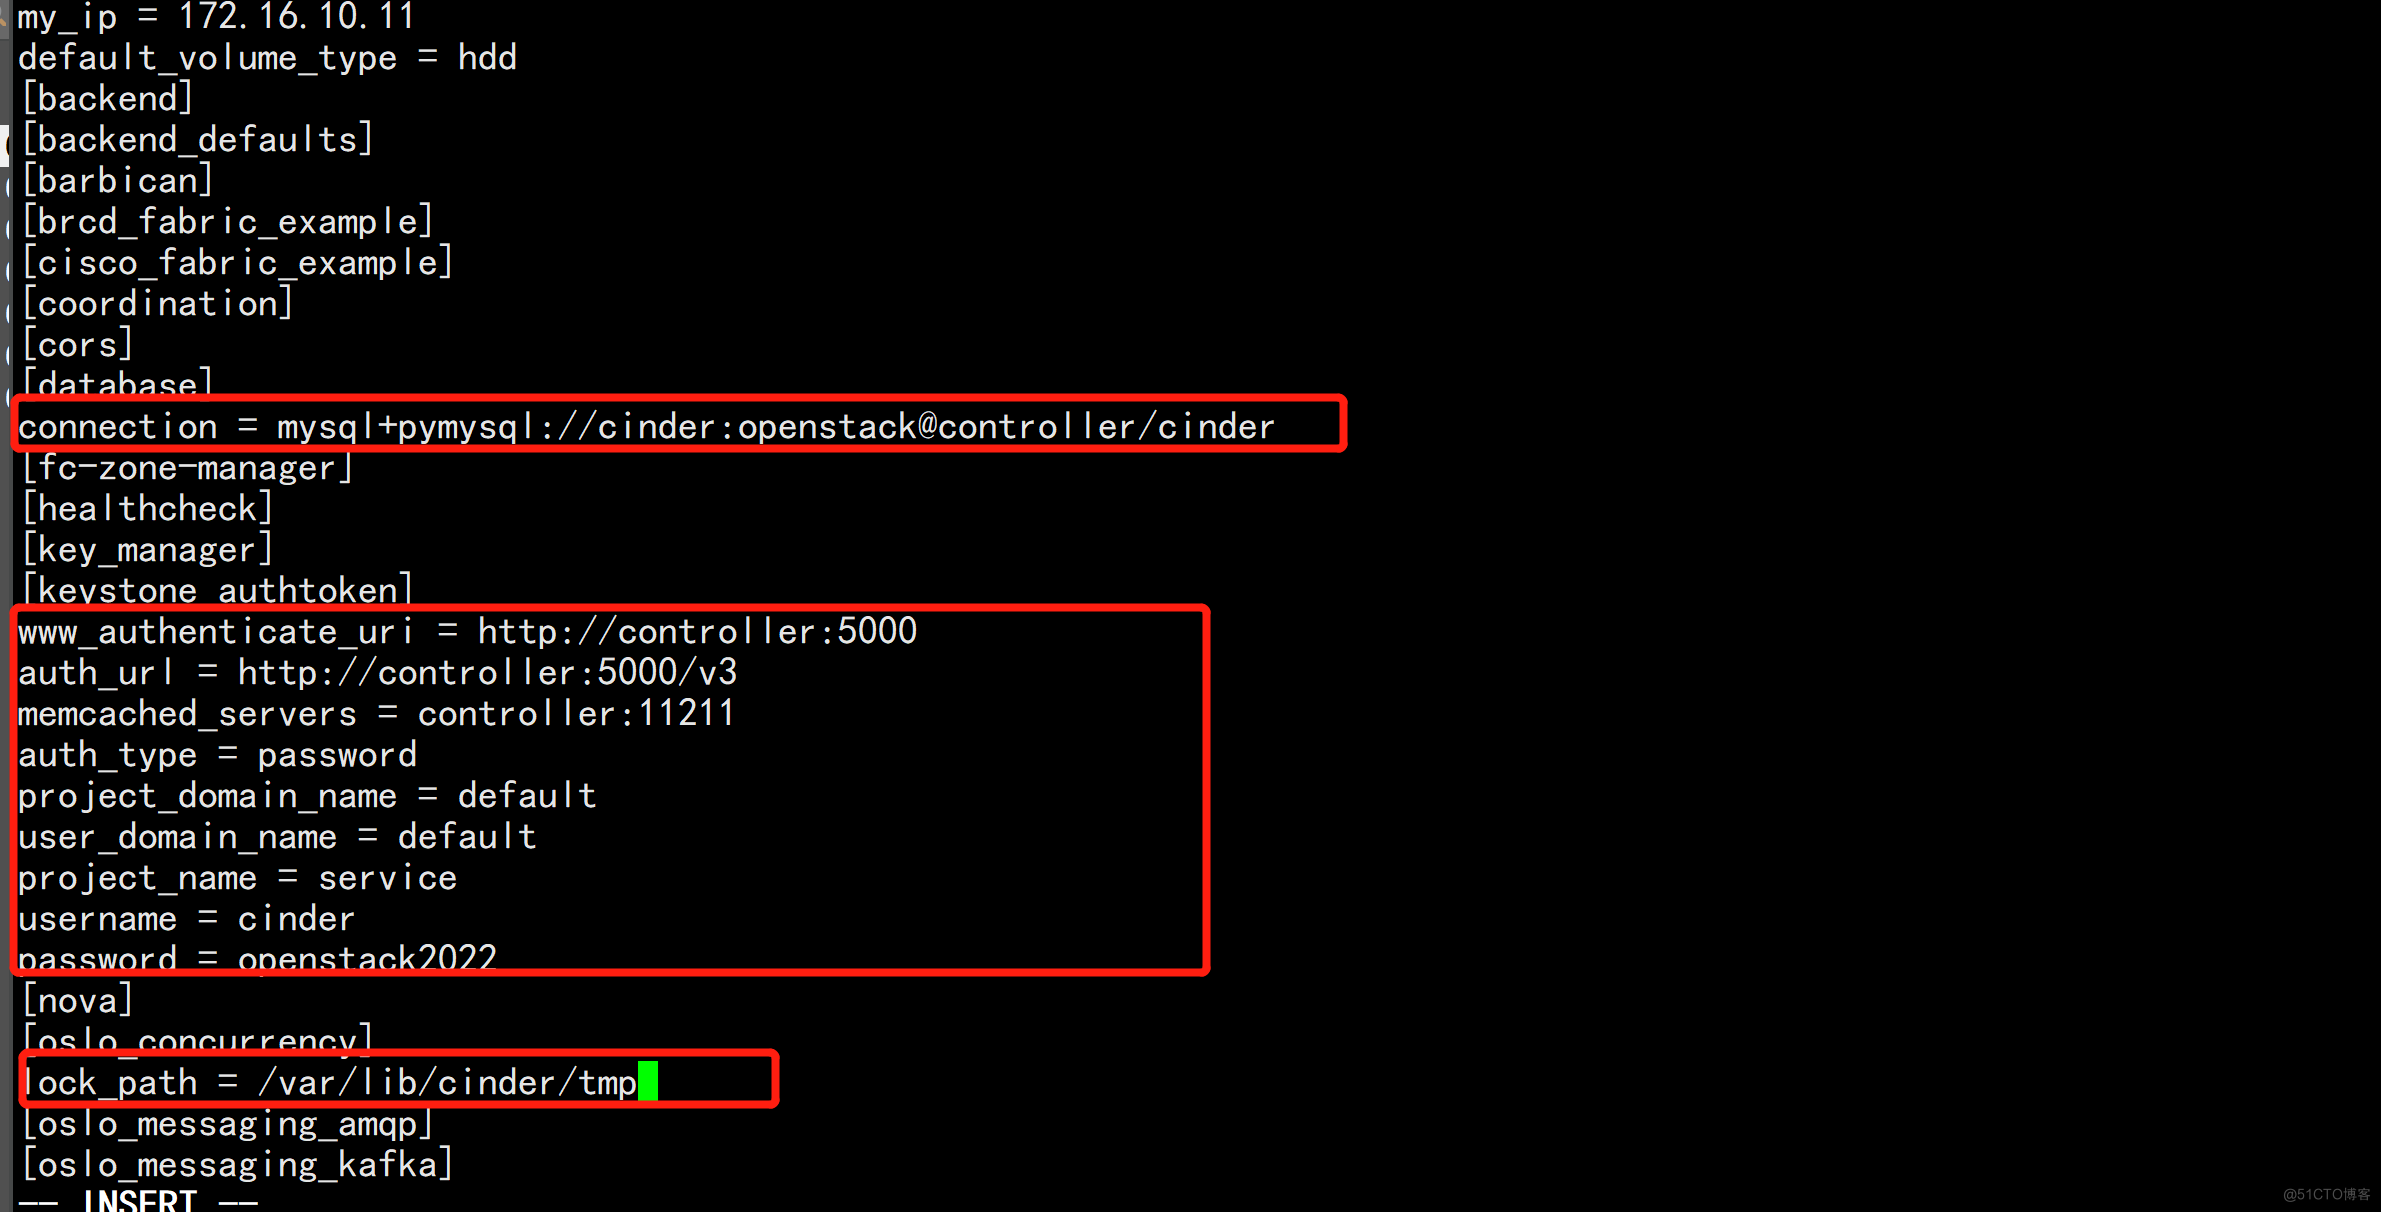
connection = mysql+pymysql://cinder:openstack@controller/cinder
在[keystone_authtoken]部分,配置认证信息
[keystone_authtoken]
www_authenticate_uri = http://controller:5000
auth_url = http://controller:5000/v3
memcached_servers = controller:11211
auth_type = password
project_domain_name = default
user_domain_name = default
project_name = service
username = cinder
password = openstack2022
在[oslo_concurrency]配置锁定路径
[oslo_concurrency]
lock_path = /var/lib/cinder/tmp
修改配置文件 /etc/nova/nova.conf,让计算服务支持块存储
# vi /etc/nova/nova.conf
在[cinder]部分,增加如下配置
[cinder]
os_region_name = RegionOne

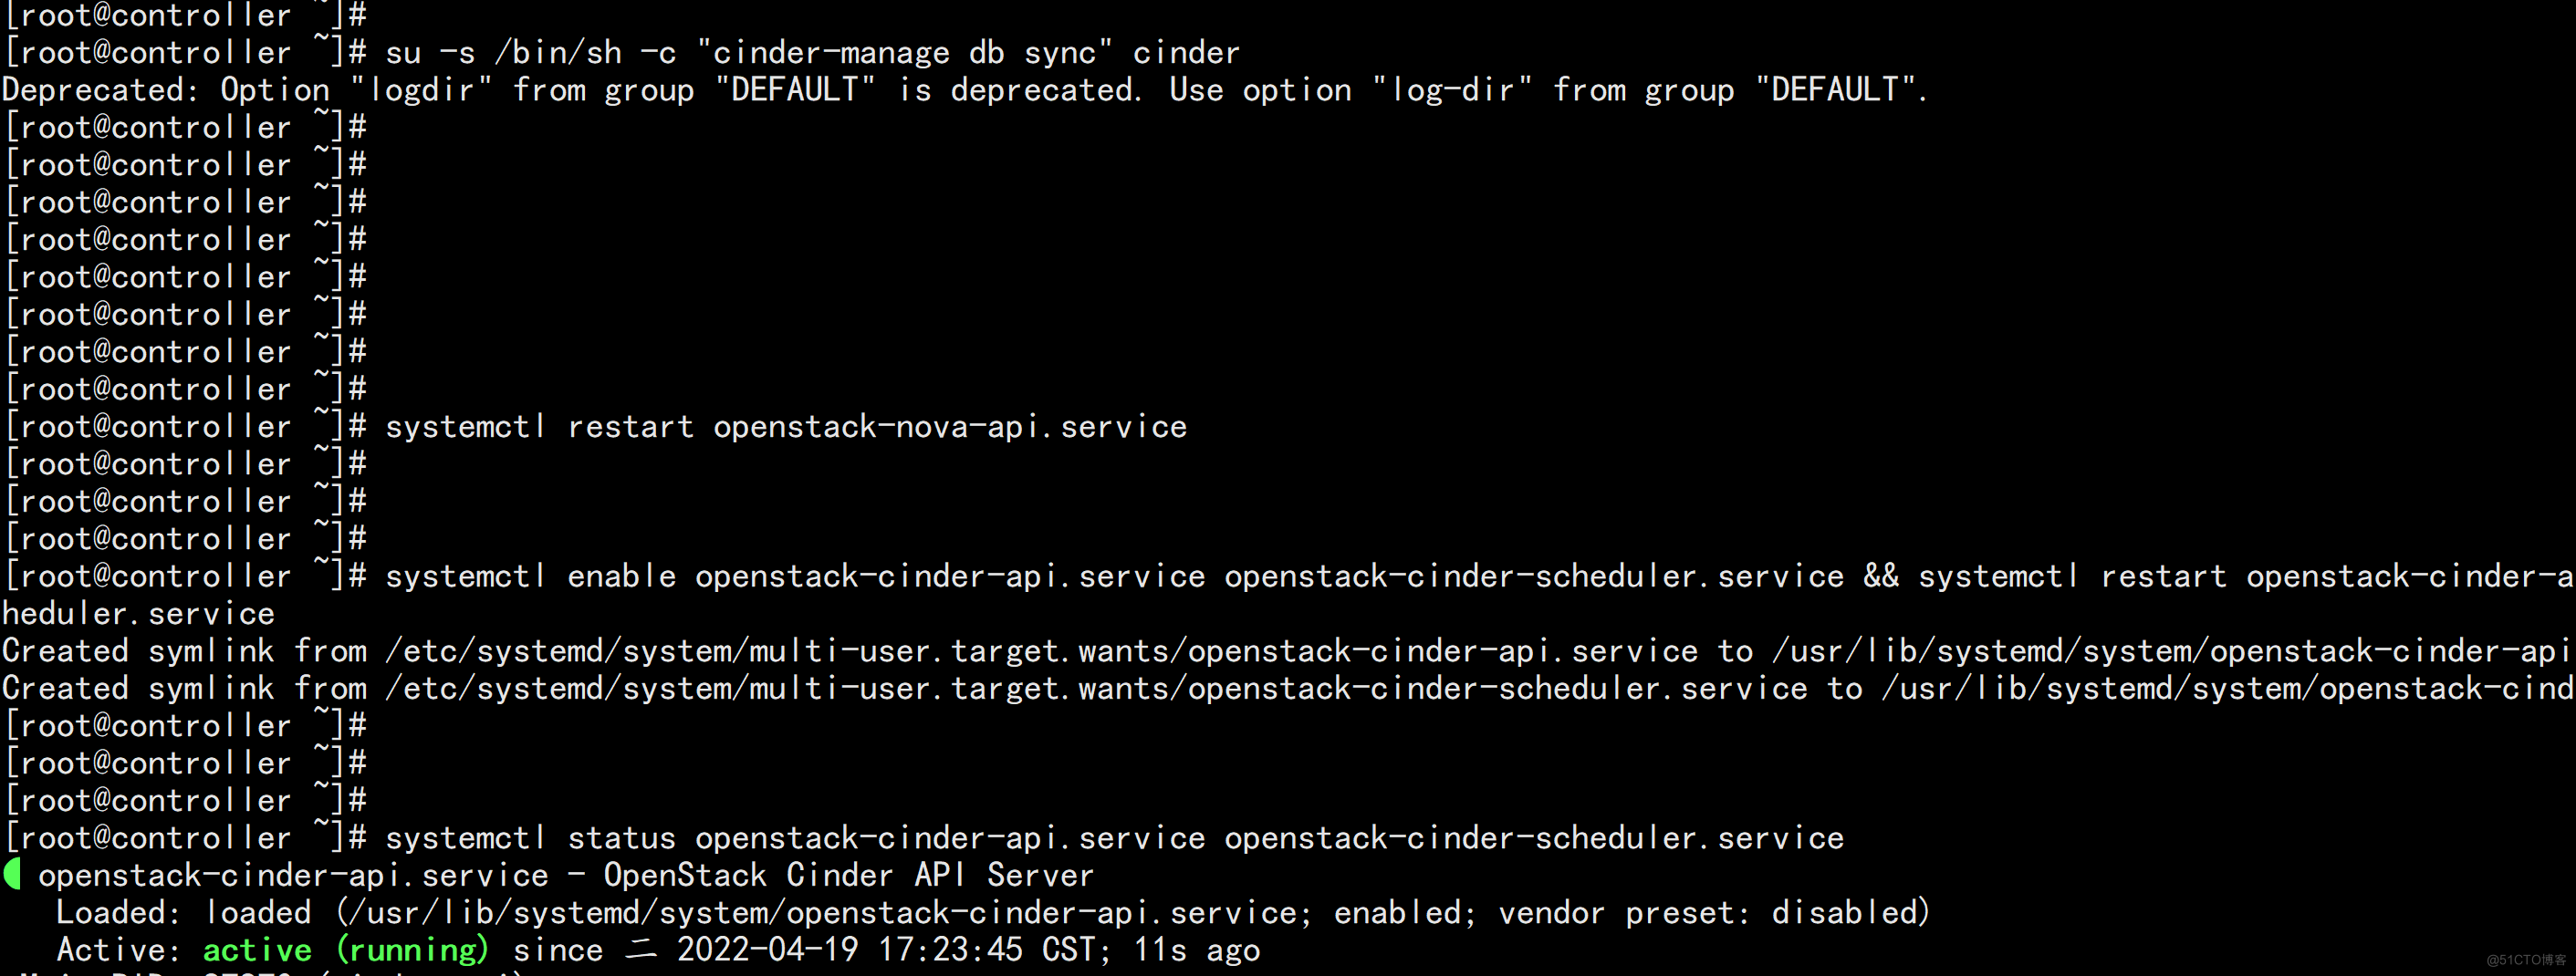
4、同步 cinder 数据库
# su -s /bin/sh -c "cinder-manage db sync" cinder
说明:忽略带有“Deprecated: Option...” 输出
5、重启服务并设置成开机自启动
重启 nova-api 服务
# systemctl restart openstack-nova-api.service
启动 cinder-api、cinder-scheduler 服务并将其设置为开机自启动。
# systemctl enable openstack-cinder-api.service openstack-cinder-scheduler.service && systemctl restart openstack-cinder-api.service openstack-cinder-scheduler.service
# systemctl status openstack-cinder-api.service openstack-cinder-scheduler.service
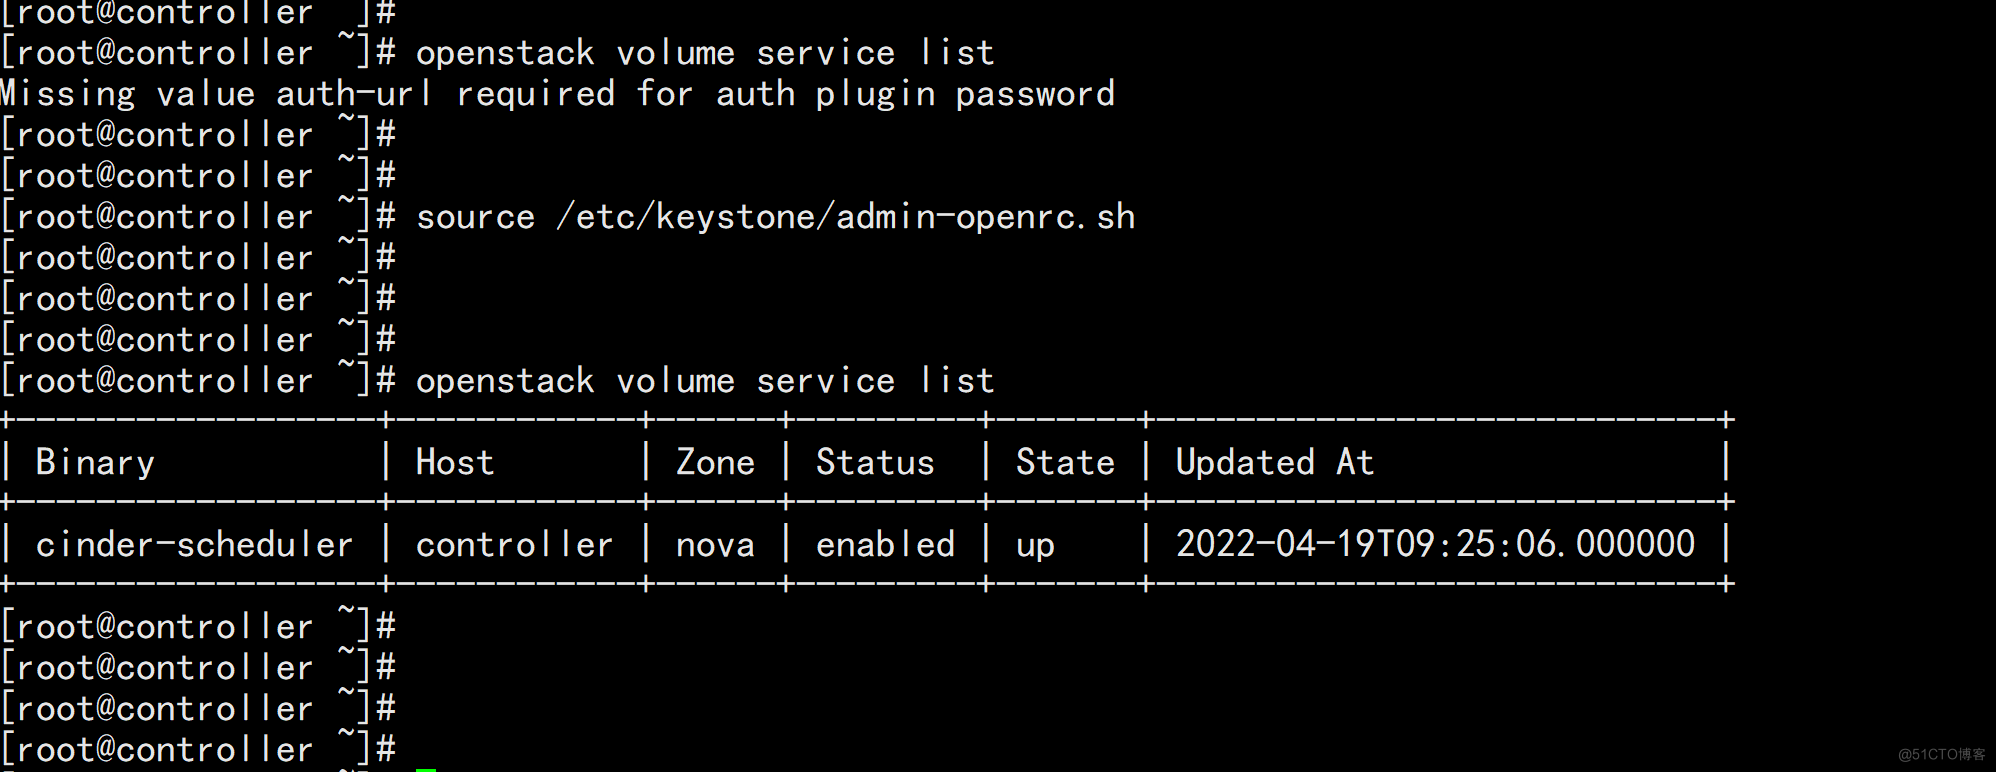
6、验证控制节点 cinder-scheduler,状态为 up 即正常
# openstack volume service list
cinder 在存储节点上运行的服务是:cinder-volume,当然其依赖 LVM、target 服务。
修改好配置后,需要启动的服务有:lvm2-lvmetad.service、openstack-cinder-volume.service target.service
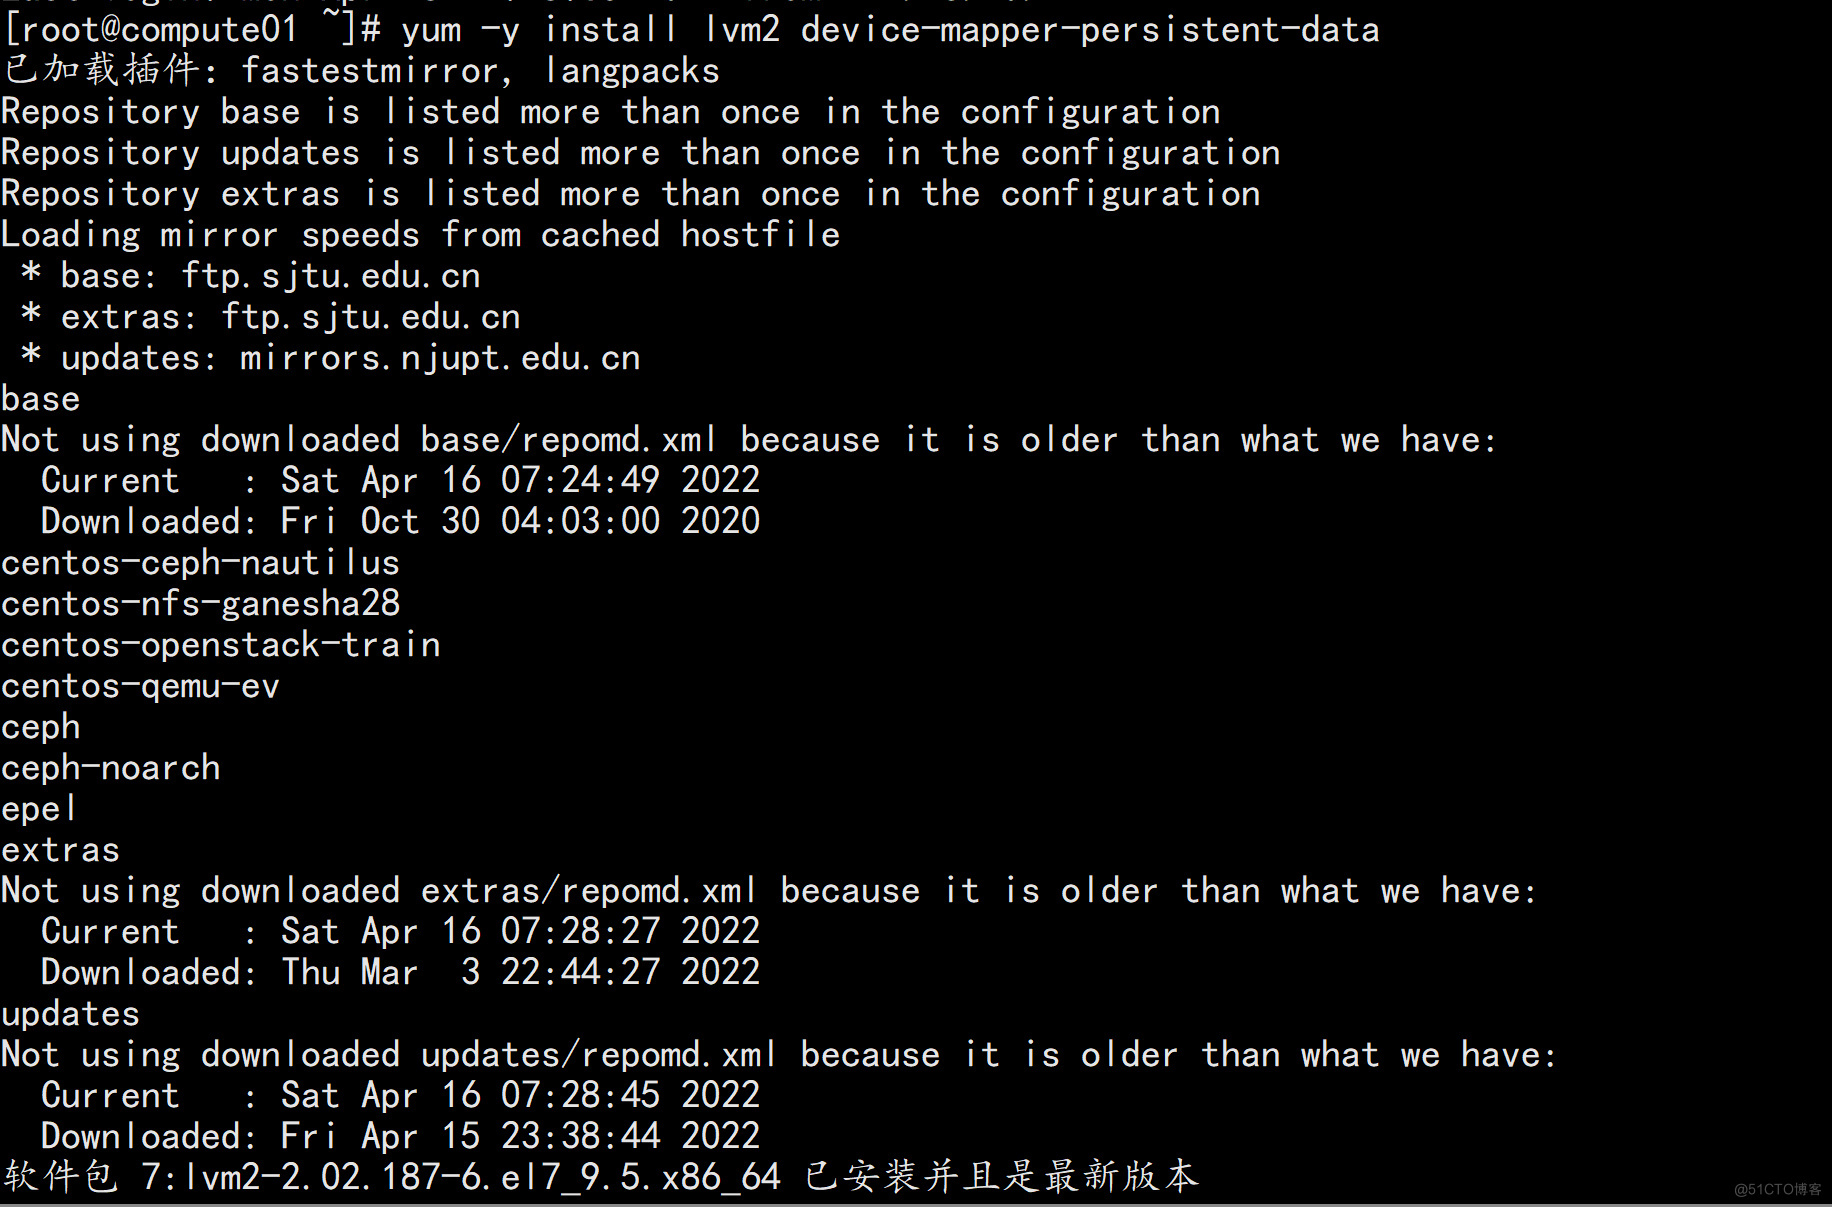
1、在存储节点安装和配置 LVM 并设置为开机自启动
# yum -y install lvm2 device-mapper-persistent-data
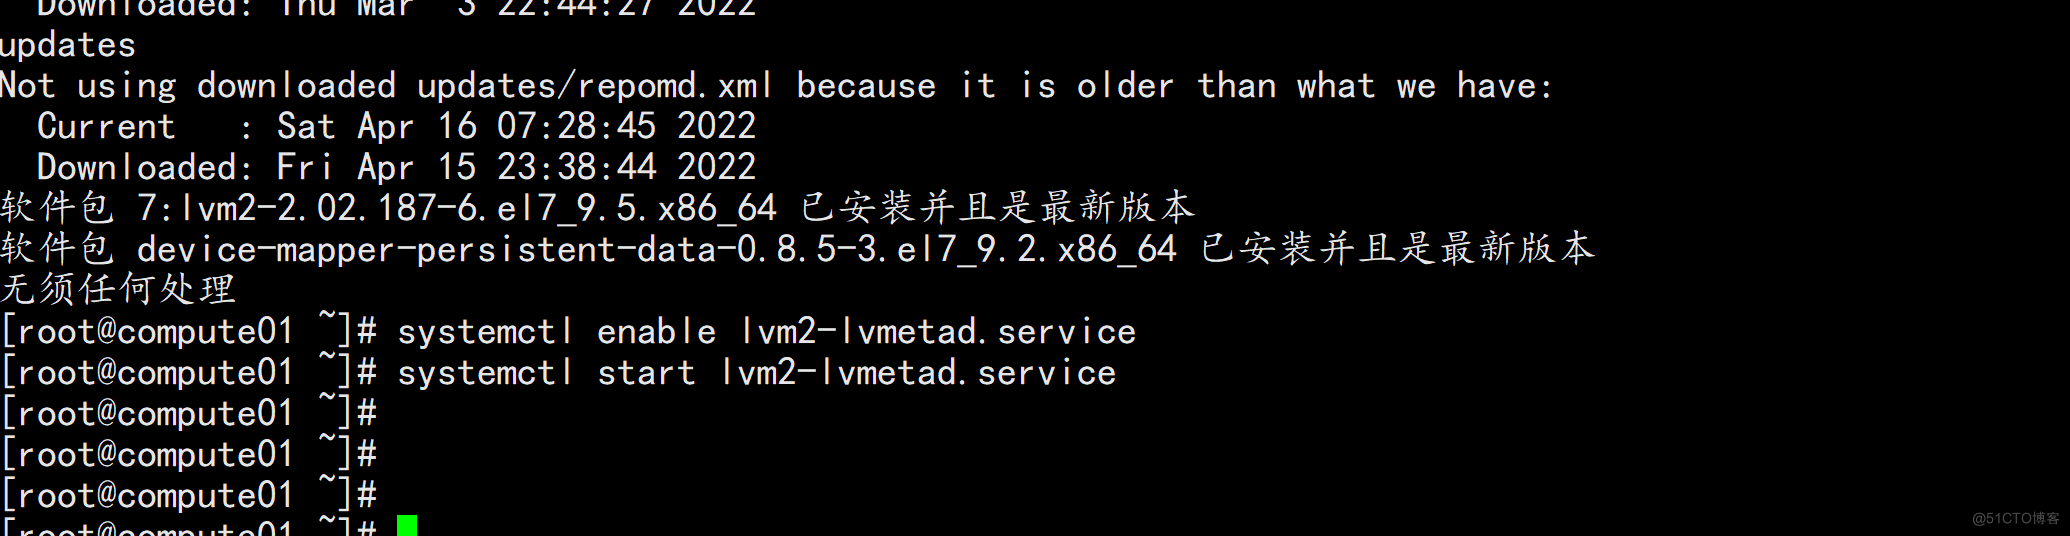
# systemctl enable lvm2-lvmetad.service
# systemctl start lvm2-lvmetad.service
/*
说明:系统安装时就采用的 lvm,所以操作可以忽略
*/
2、计算节点 compute01、compute02 分别规划了 1 个 50GB 的硬盘用作虚机存储,在系统上对应是/dev/sdb
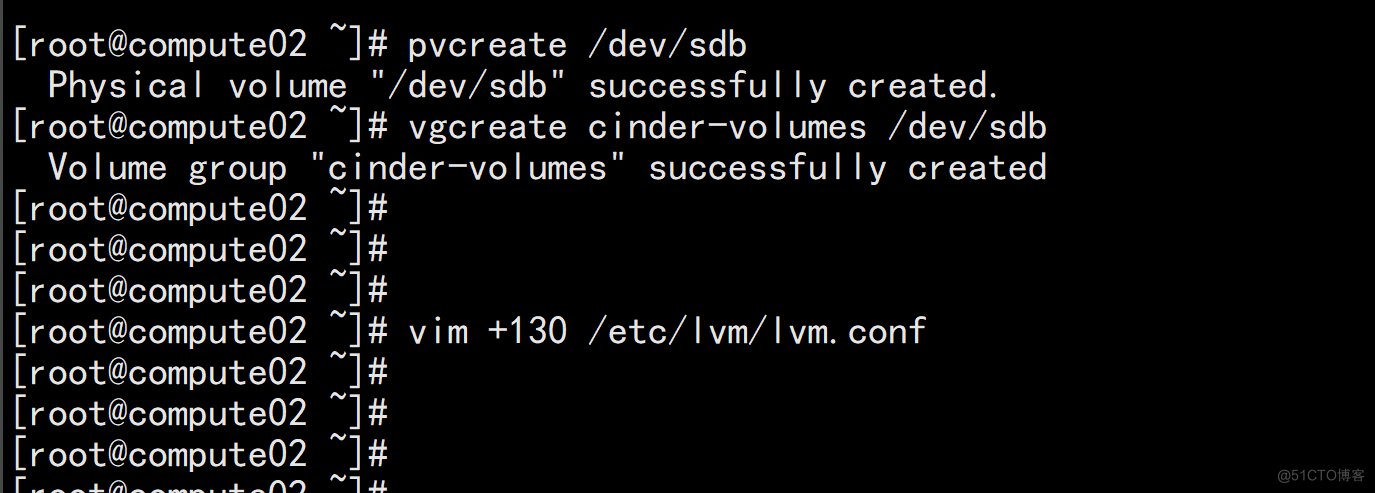
创建 PV
# pvcreate /dev/sdb
创建 VG,VG 名称定义为 cinder-volumes
# vgcreate cinder-volumes /dev/sdb
/*
说明:不同存储节点上相同用途的 VG 名称设置成相同,因为 cinder.conf 中需要指定 volume_group,另外 volume_backend_name 也可以设置成相同
*/
3、修改配置文件/etc/lvm/lvm.conf
# vi /etc/lvm/lvm.conf
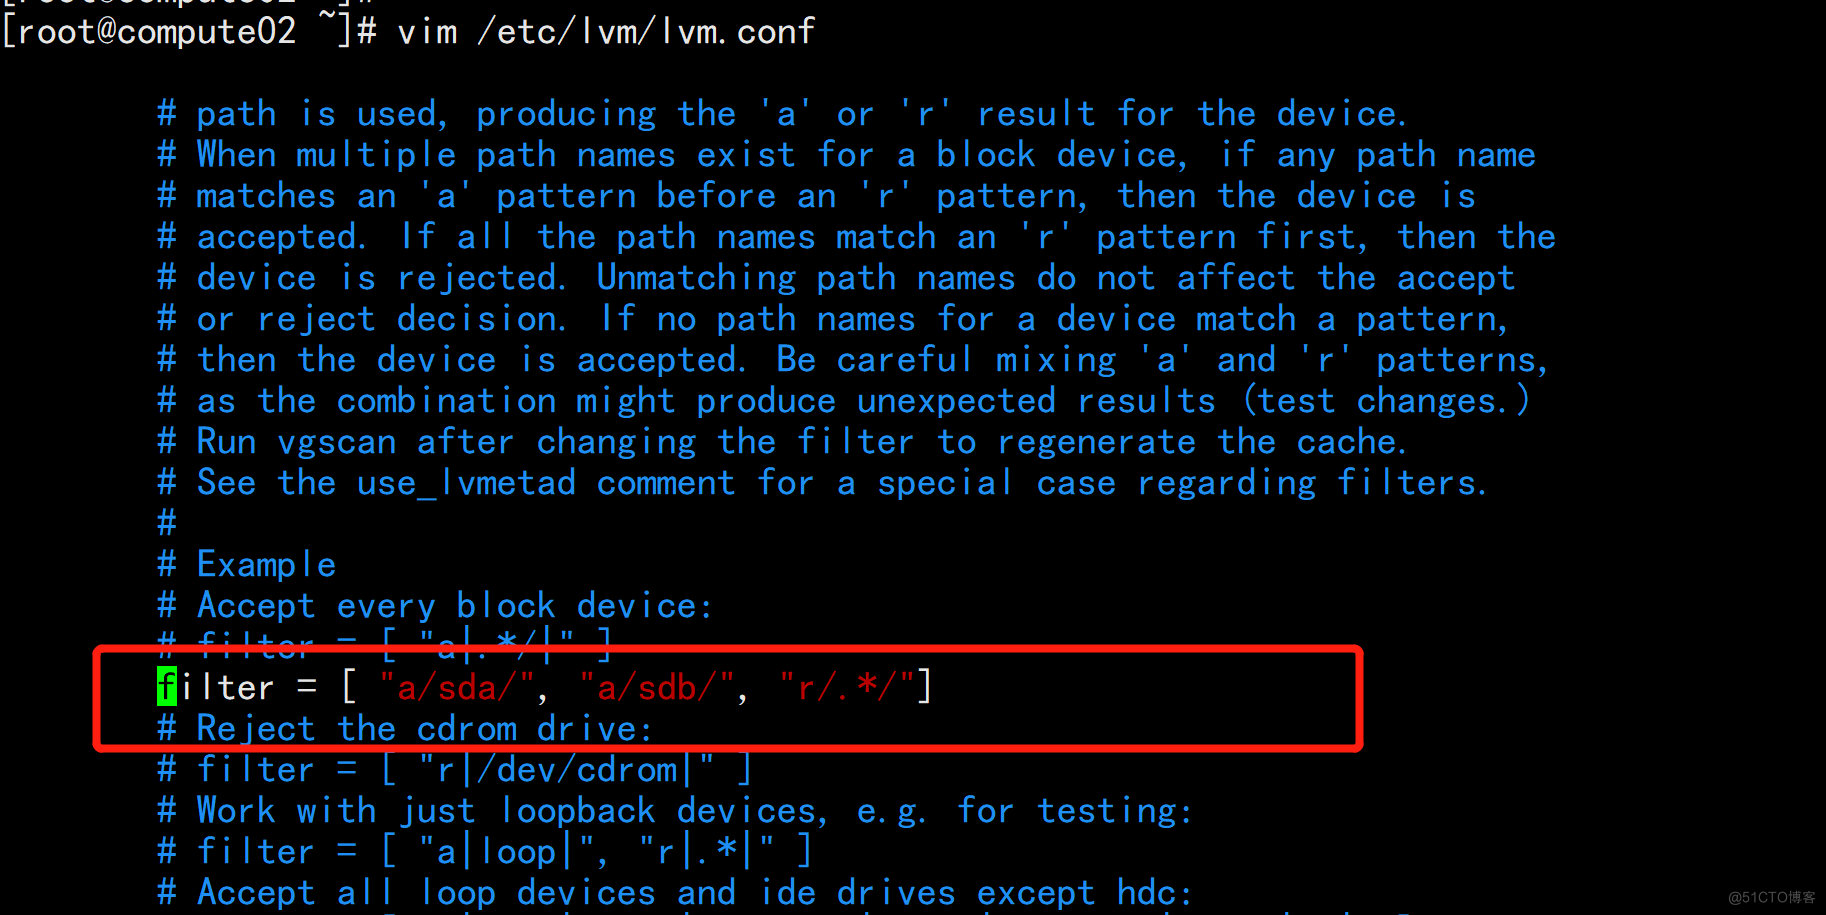
在 devices 部分中,添加一个接受/dev/sdb 设备的过滤器并拒绝所有其他设备。
devices {
# 在 130 行下方插入以下记录
filter = [ "a/sda/", "a/sdb/", "r/.*/"]
说明:filter 过滤器阵列中的每个项目开头为“a”或者“r”,用于接受或用于拒绝某个设备,如果存储节点在操作系统磁盘上使用 LVM,则还必须将关联的
系统盘设备添加到过滤器。同样,如果计算节点在操作系统磁盘上使用 LVM,也需要修改这些节点上“/etc/lvm/lvm.conf”文件中的过滤器以包括操作系
统磁盘。例如,如果“/dev/sda”设备包含操作系统,则需要将“sda”添加到过滤器。
参考:https://docs.openstack.org/mitaka/zh_CN/install-guide-rdo/cinder-storage-install.html
4、安装和配置存储节点
/*
说明:存储节点的 cinder.conf 包含了控制节点的 cinder.conf,如果控制节点即是存储节点,可以直接用存储节点的 cinder.conf
*/
安装软件包
# yum -y install openstack-cinder targetcli python-keystone

修改配置文件/etc/cinder/cinder.conf
# cd /etc/cinder/ && mv cinder.conf cinder.conf.source && cat cinder.conf.source |grep -Ev "^#|^$" > cinder.conf && chown cinder:root cinder.conf
# vi /etc/cinder/cinder.conf
在[DEFAULT]部分,配置 RabbitMQ 消息队列 URL 和身份证等信息
[DEFAULT]
transport_url = rabbit://openstack:openstack@controller
auth_strategy = keystone
配置 my_ip 为为存储节点上管理网络接口的 IP 地址,compute01 为 31,compute02 为 32
my_ip = 172.16.10.12
启用 LVM 后端,这里的 lvm 对应下方的[lvm]块名称
enabled_backends = lvm
配置 Image 服务 API 的位置
glance_api_servers = http://controller:9292
在[database]部分,配置数据库访问
[database]
connection = mysql+pymysql://cinder:openstack@controller/cinder
在[keystone_authtoken]部分,配置身份认证服务信息
[keystone_authtoken]
www_authenticate_uri = http://controller:5000
auth_url = http://controller:5000/v3
memcached_servers = controller:11211
auth_type = password
project_domain_name = default
user_domain_name = default
project_name = service
username = cinder
password = openstack2022
新增[lvm]部分,使用 LVM 驱动程序,cinder-volumes 卷组,iSCSI 协议和相应的 iSCSI 服务配置 LVM 后端。
[lvm]
volume_driver = cinder.volume.drivers.lvm.LVMVolumeDriver
# volume_group 对应前面创建的 VG 名字
volume_group = cinder-volumes
target_protocol = iscsi
target_helper = lioadm
volume_backend_name = cinder-volumes
在[oslo_concurrency]部分,配置锁定路径
[oslo_concurrency]
lock_path = /var/lib/cinder/tmp
5、启动 cinder-volume、 target 服务,并设置开机自启动
# systemctl enable openstack-cinder-volume.service target.service
# systemctl restart openstack-cinder-volume.service target.service
同步 compute01 上的 cinder.conf 到 compute02 上,然后在 compute02 上只需要修改 cinder.conf 中的 my_ip 为 13,重启 cinder-volume、 target 并设置为开机自启动即可
在 compute02 上操作
# scp -rp root@172.16.10.12:/etc/cinder/cinder.conf* /etc/cinder/
# sed -i 's/10.12/10.13/g' /etc/cinder/cinder.conf
# systemctl enable openstack-cinder-volume.service target.service
# systemctl restart openstack-cinder-volume.service target.service


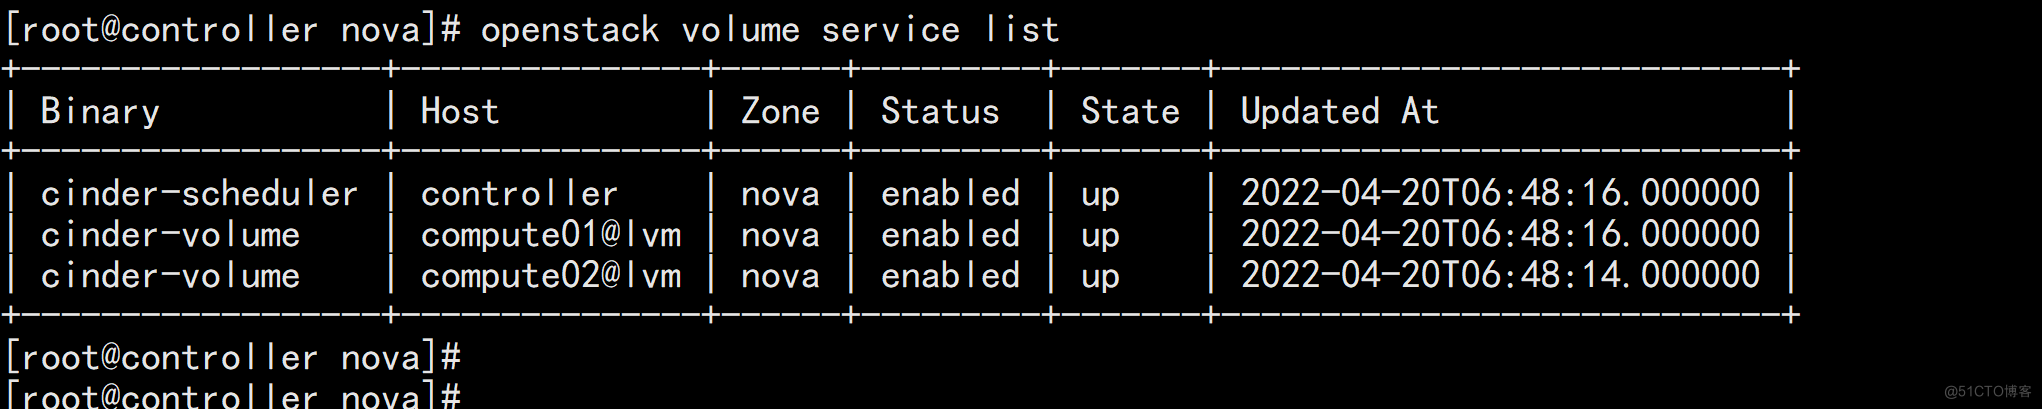
1、列出存储服务组件,若状态均为 up 即正常
# source /etc/keystone/admin-openrc.sh
# openstack volume service list
Cinder 常用命令
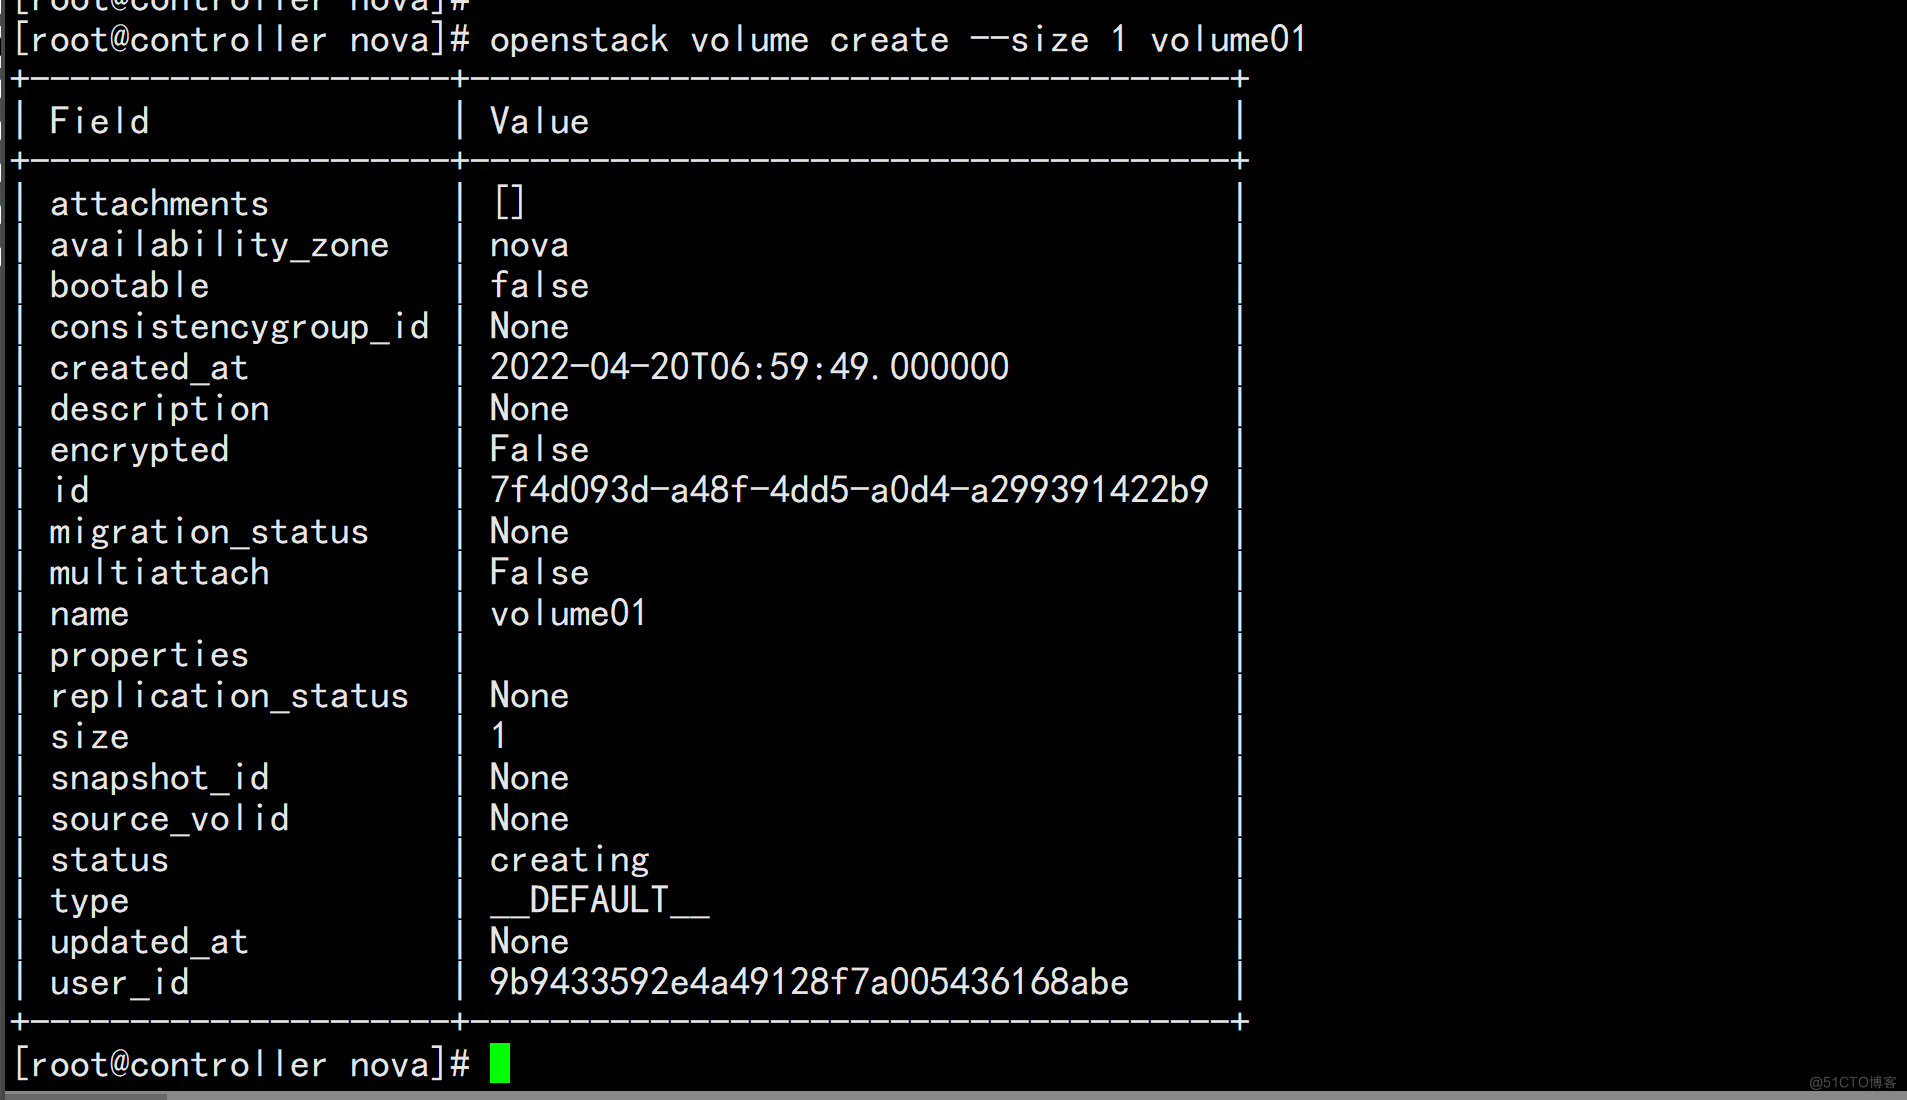
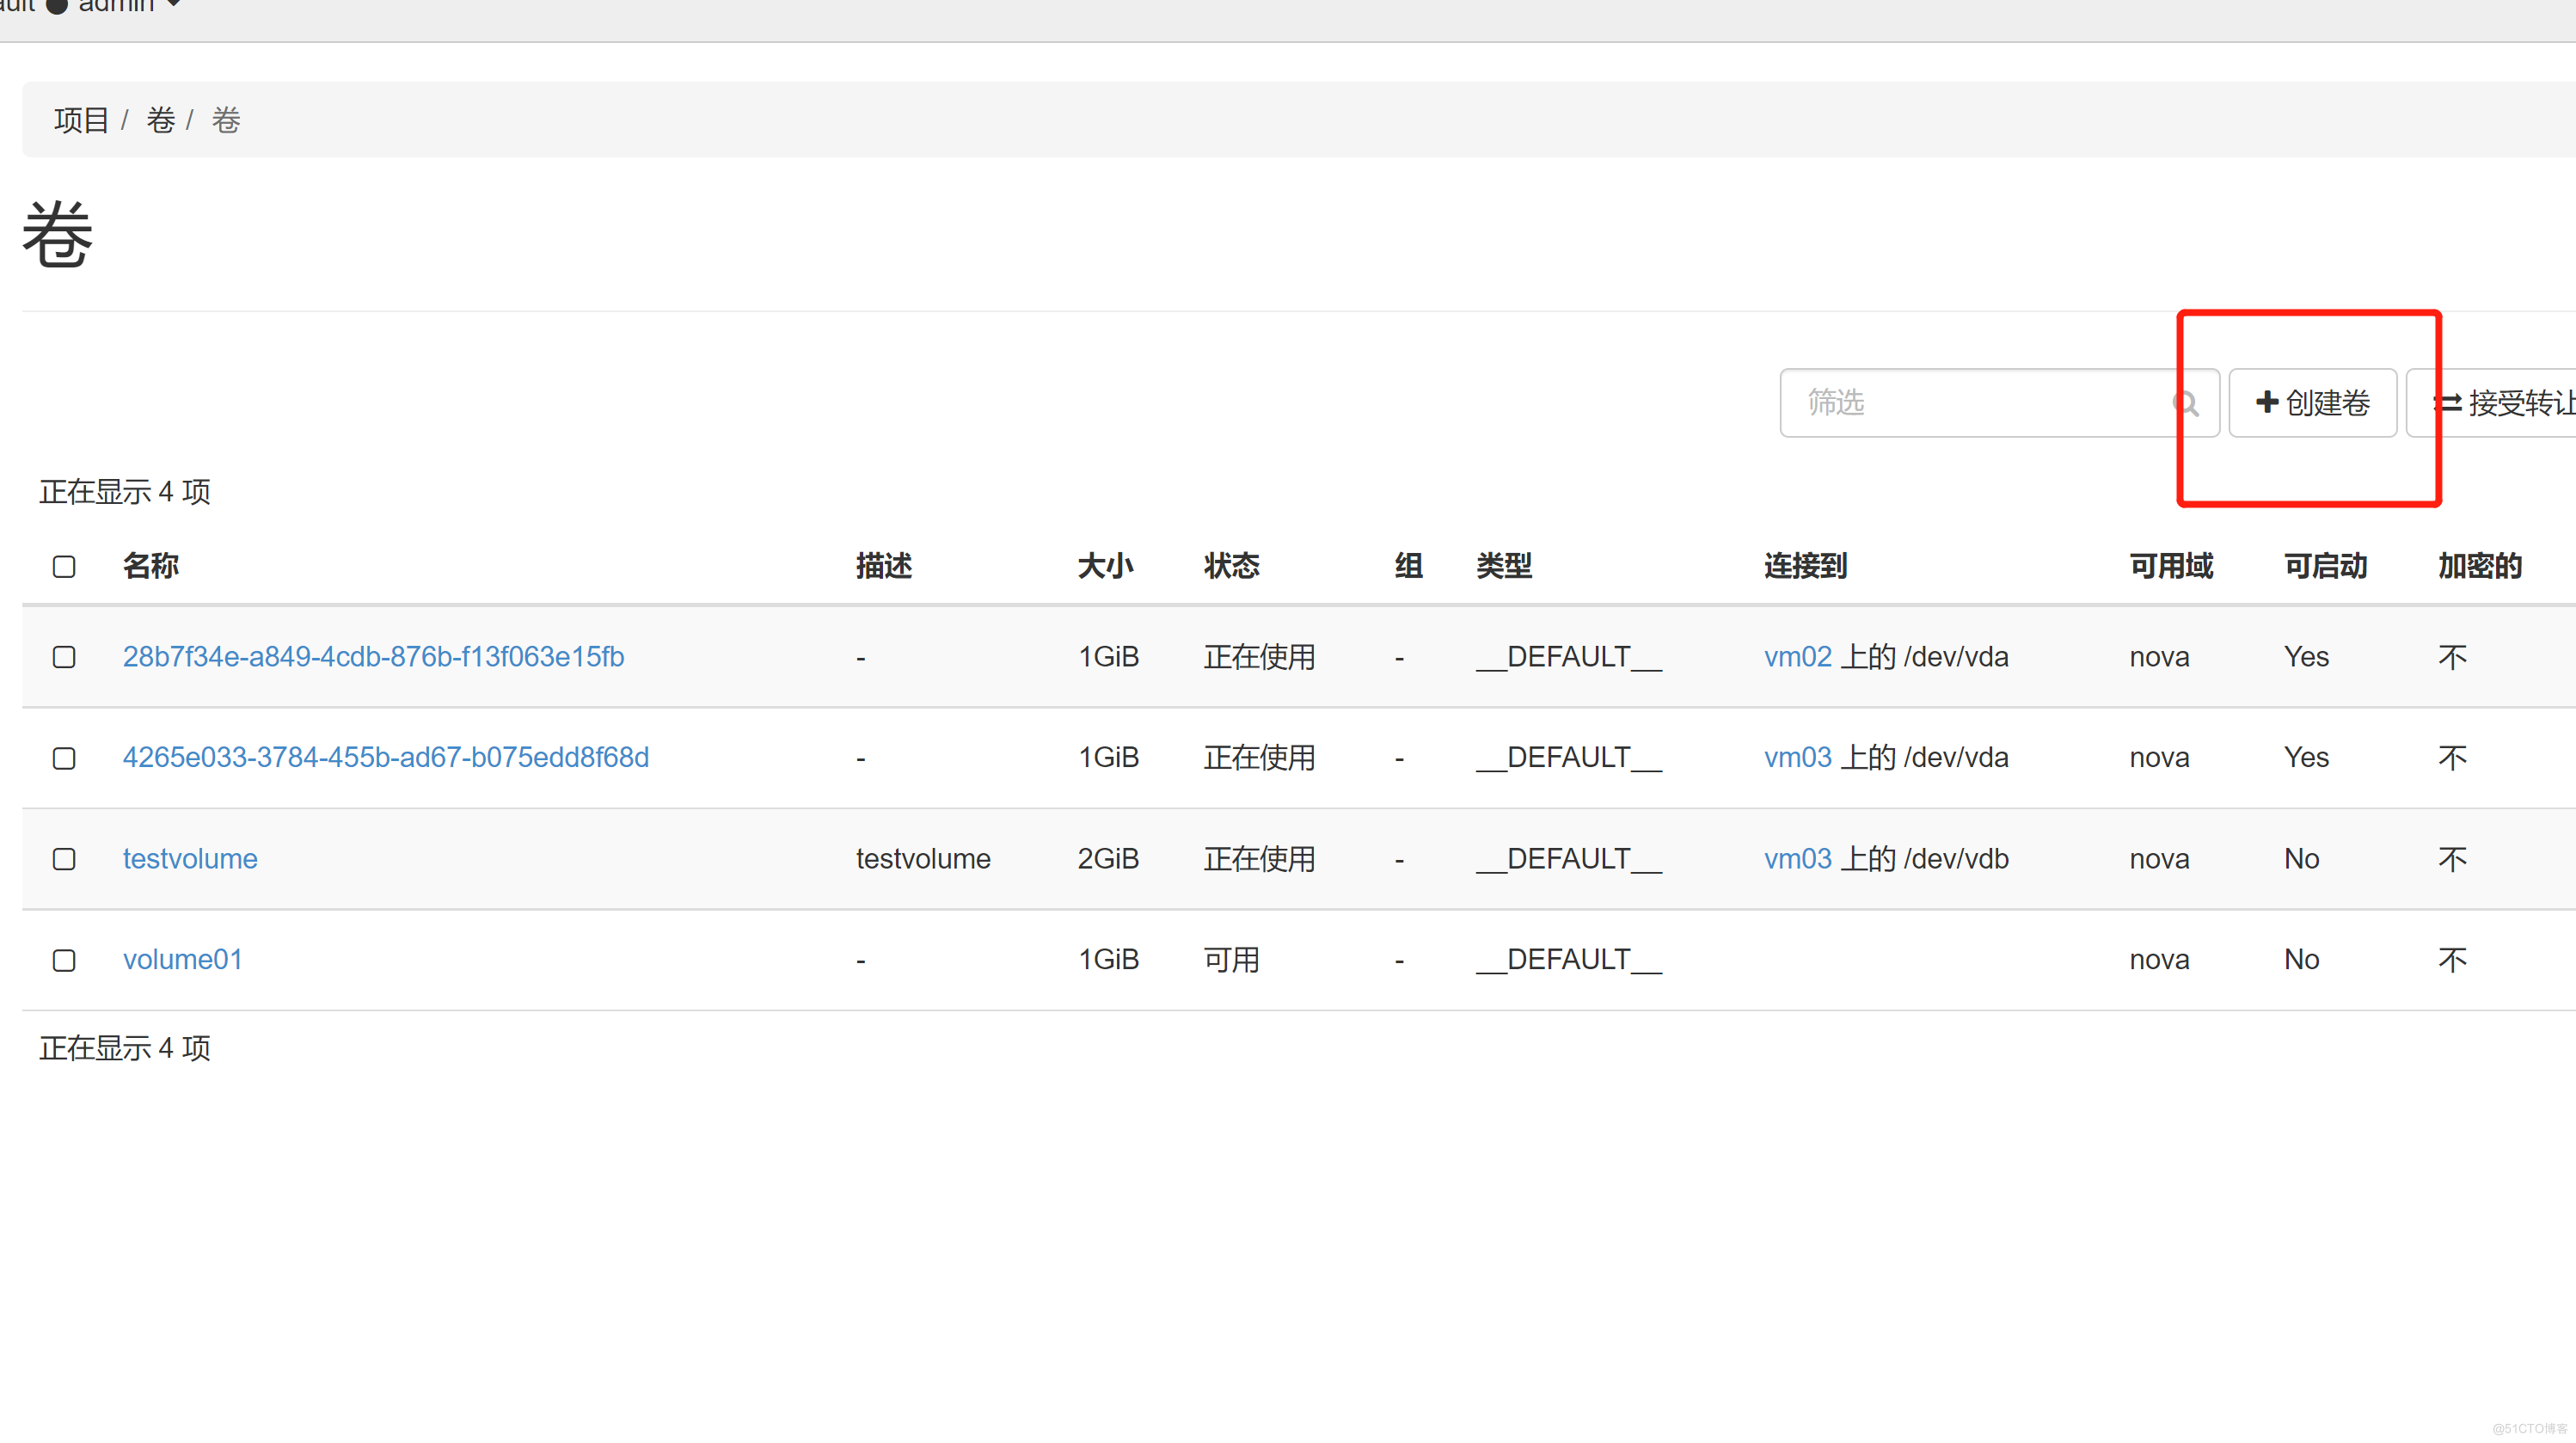
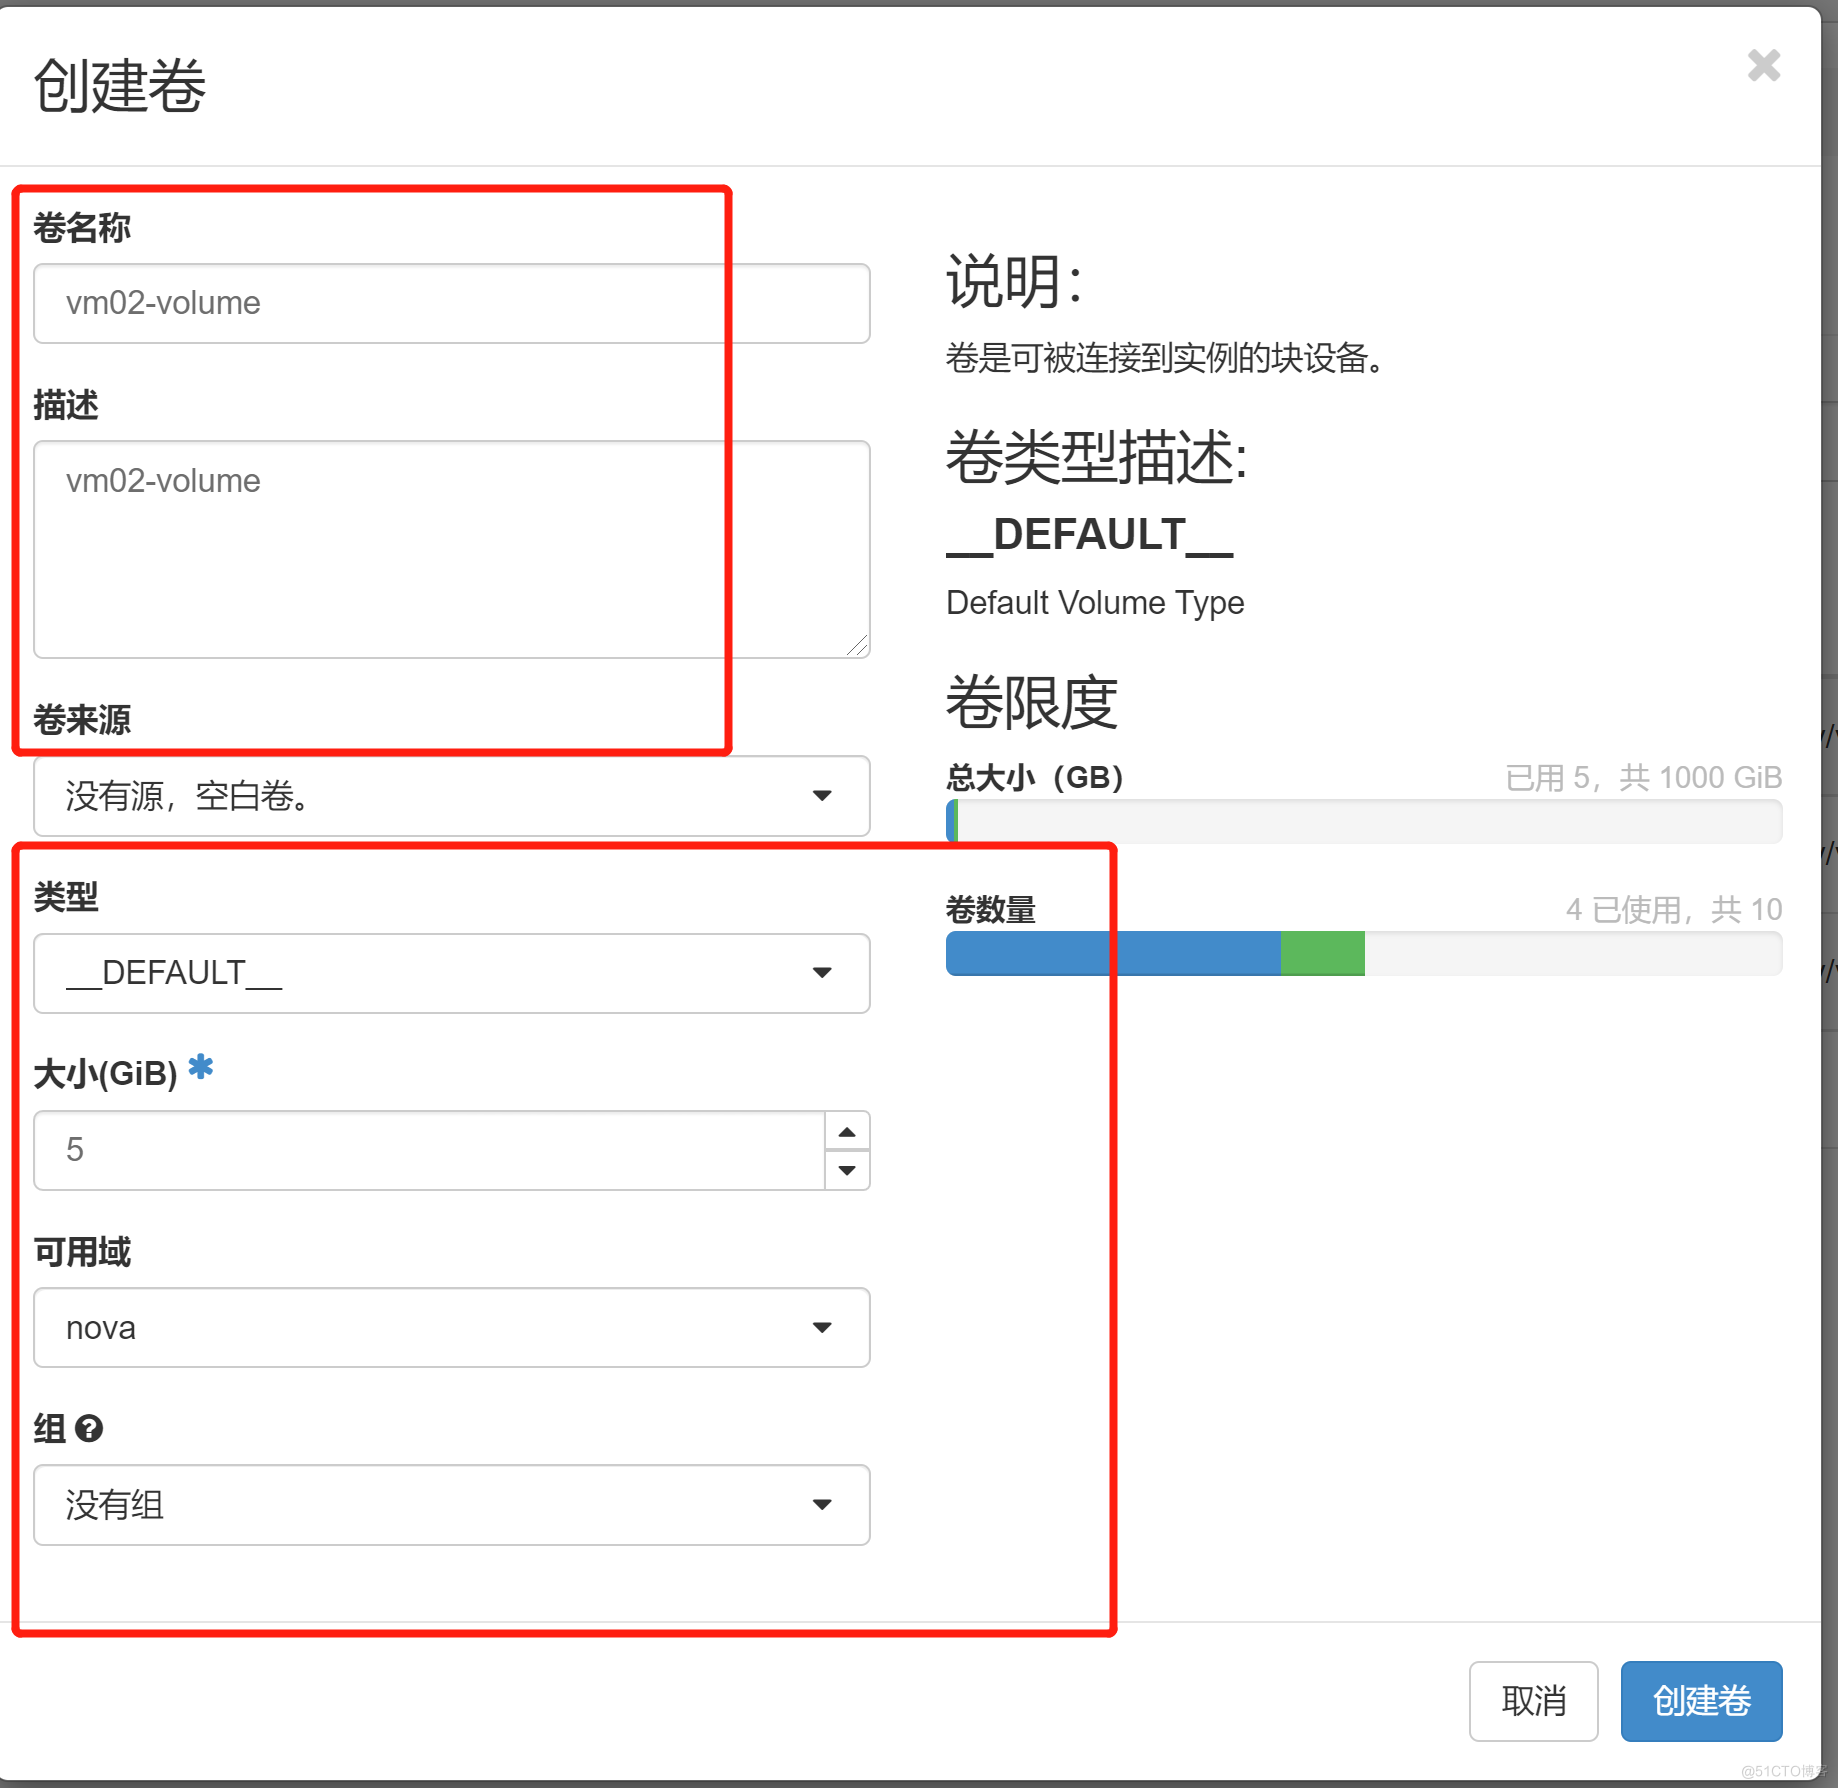
a、创建存储卷
# openstack volume create --size 1 volume01
说明:创建一个卷名为 volume01 大小为 1GB 的卷
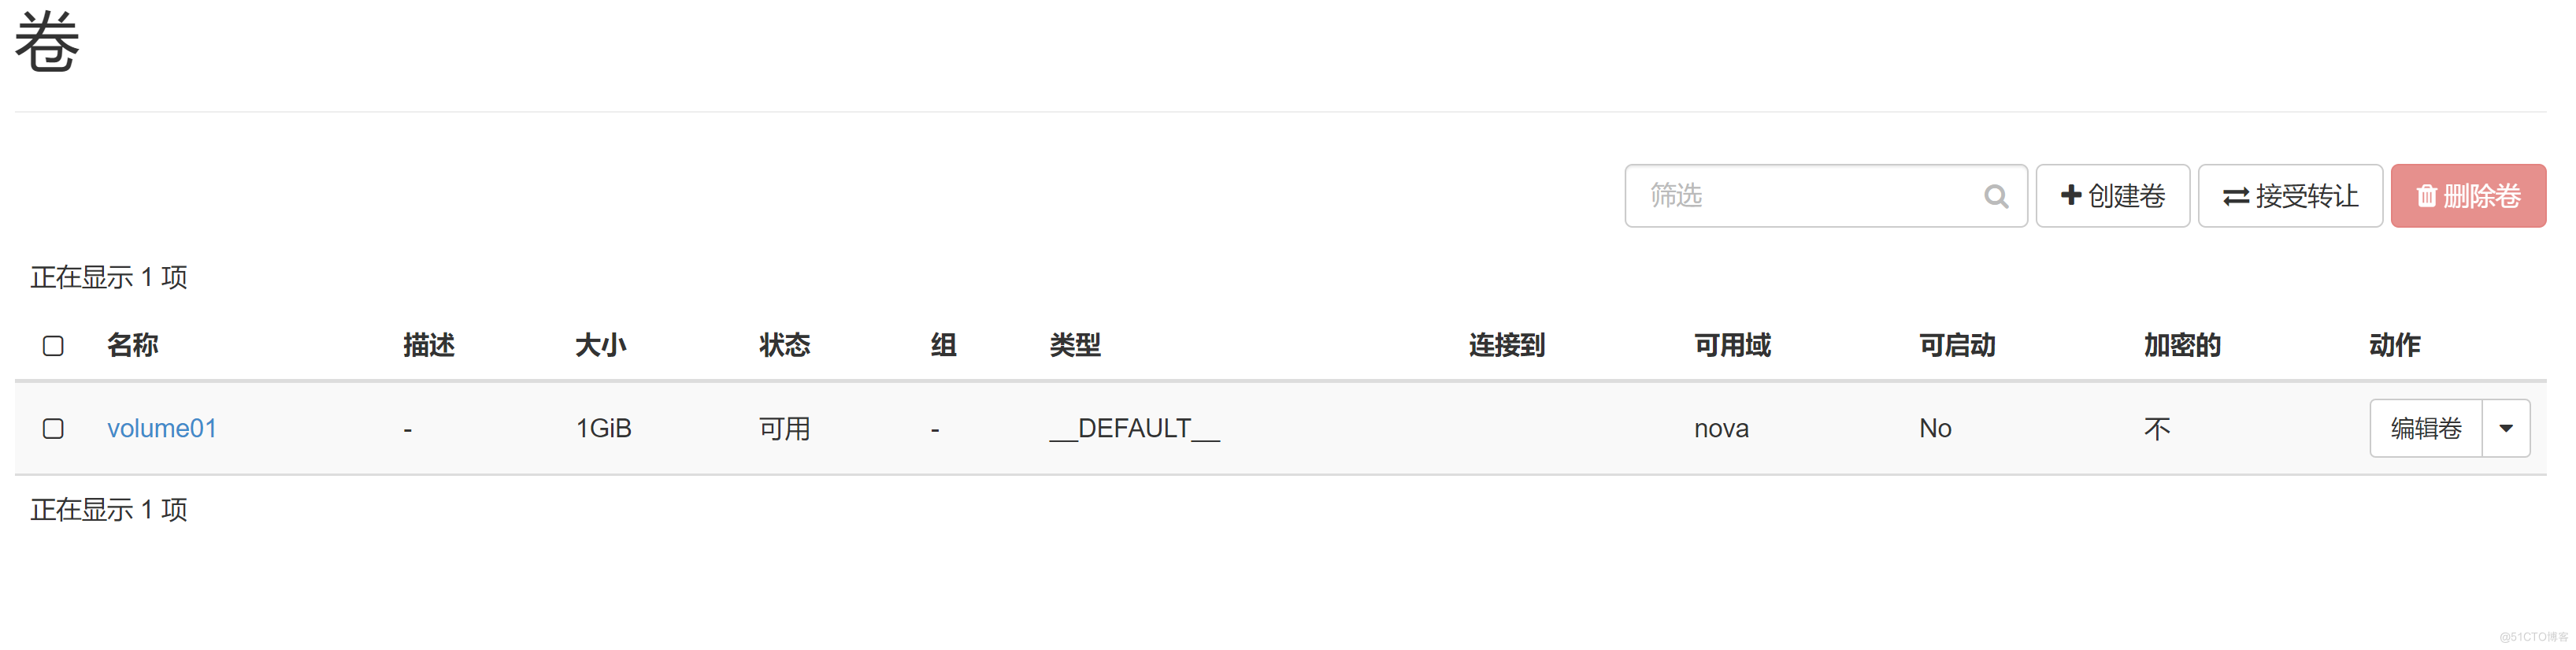
b、查看存储卷列表
# openstack volume list
c、为存储卷创建快照
# openstack volume snapshot create --volume volume01 snap-volume01
说明:为卷 volume01 创建一个名为 snap-volume01 的快照
d、查看快照列表
# openstack volume snapshot list
e、挂载卷到实例
# nova volume-attach vm01 ead55f47-a0f3-4eb9-854e-9dff638ff534 /dev/vdb
说明:挂载卷时,要指定卷 id,此处要指定卷 volume01 的 id,然后是连接到实例 vm01 的/dev/vdb 上
虚拟机卸载卷
# nova volume-detach vm01 ead55f47-a0f3-4eb9-854e-9dff638ff534
说明:卸载卷时,请先在操作系统层停止正在使用要卸载的应用,umount 掉,然后再执行 volume-detach
删除所选存储卷
# openstack volume snapshot delete snap-volume01
# openstack volume delete volume01
说明:删除卷要具备 2 个条件,第一个是卷状态是可用(available)或其他而非使用中;第二个就是要删除的卷上没有快照,如果有要先删除快照。
# openstack volume show volume01
# 禁用存储节点
# openstack volume service set --disable compute02@lvm cinder-volume
# 启用存储节点
# openstack volume service set --enable compute02@lvm cinder-volume
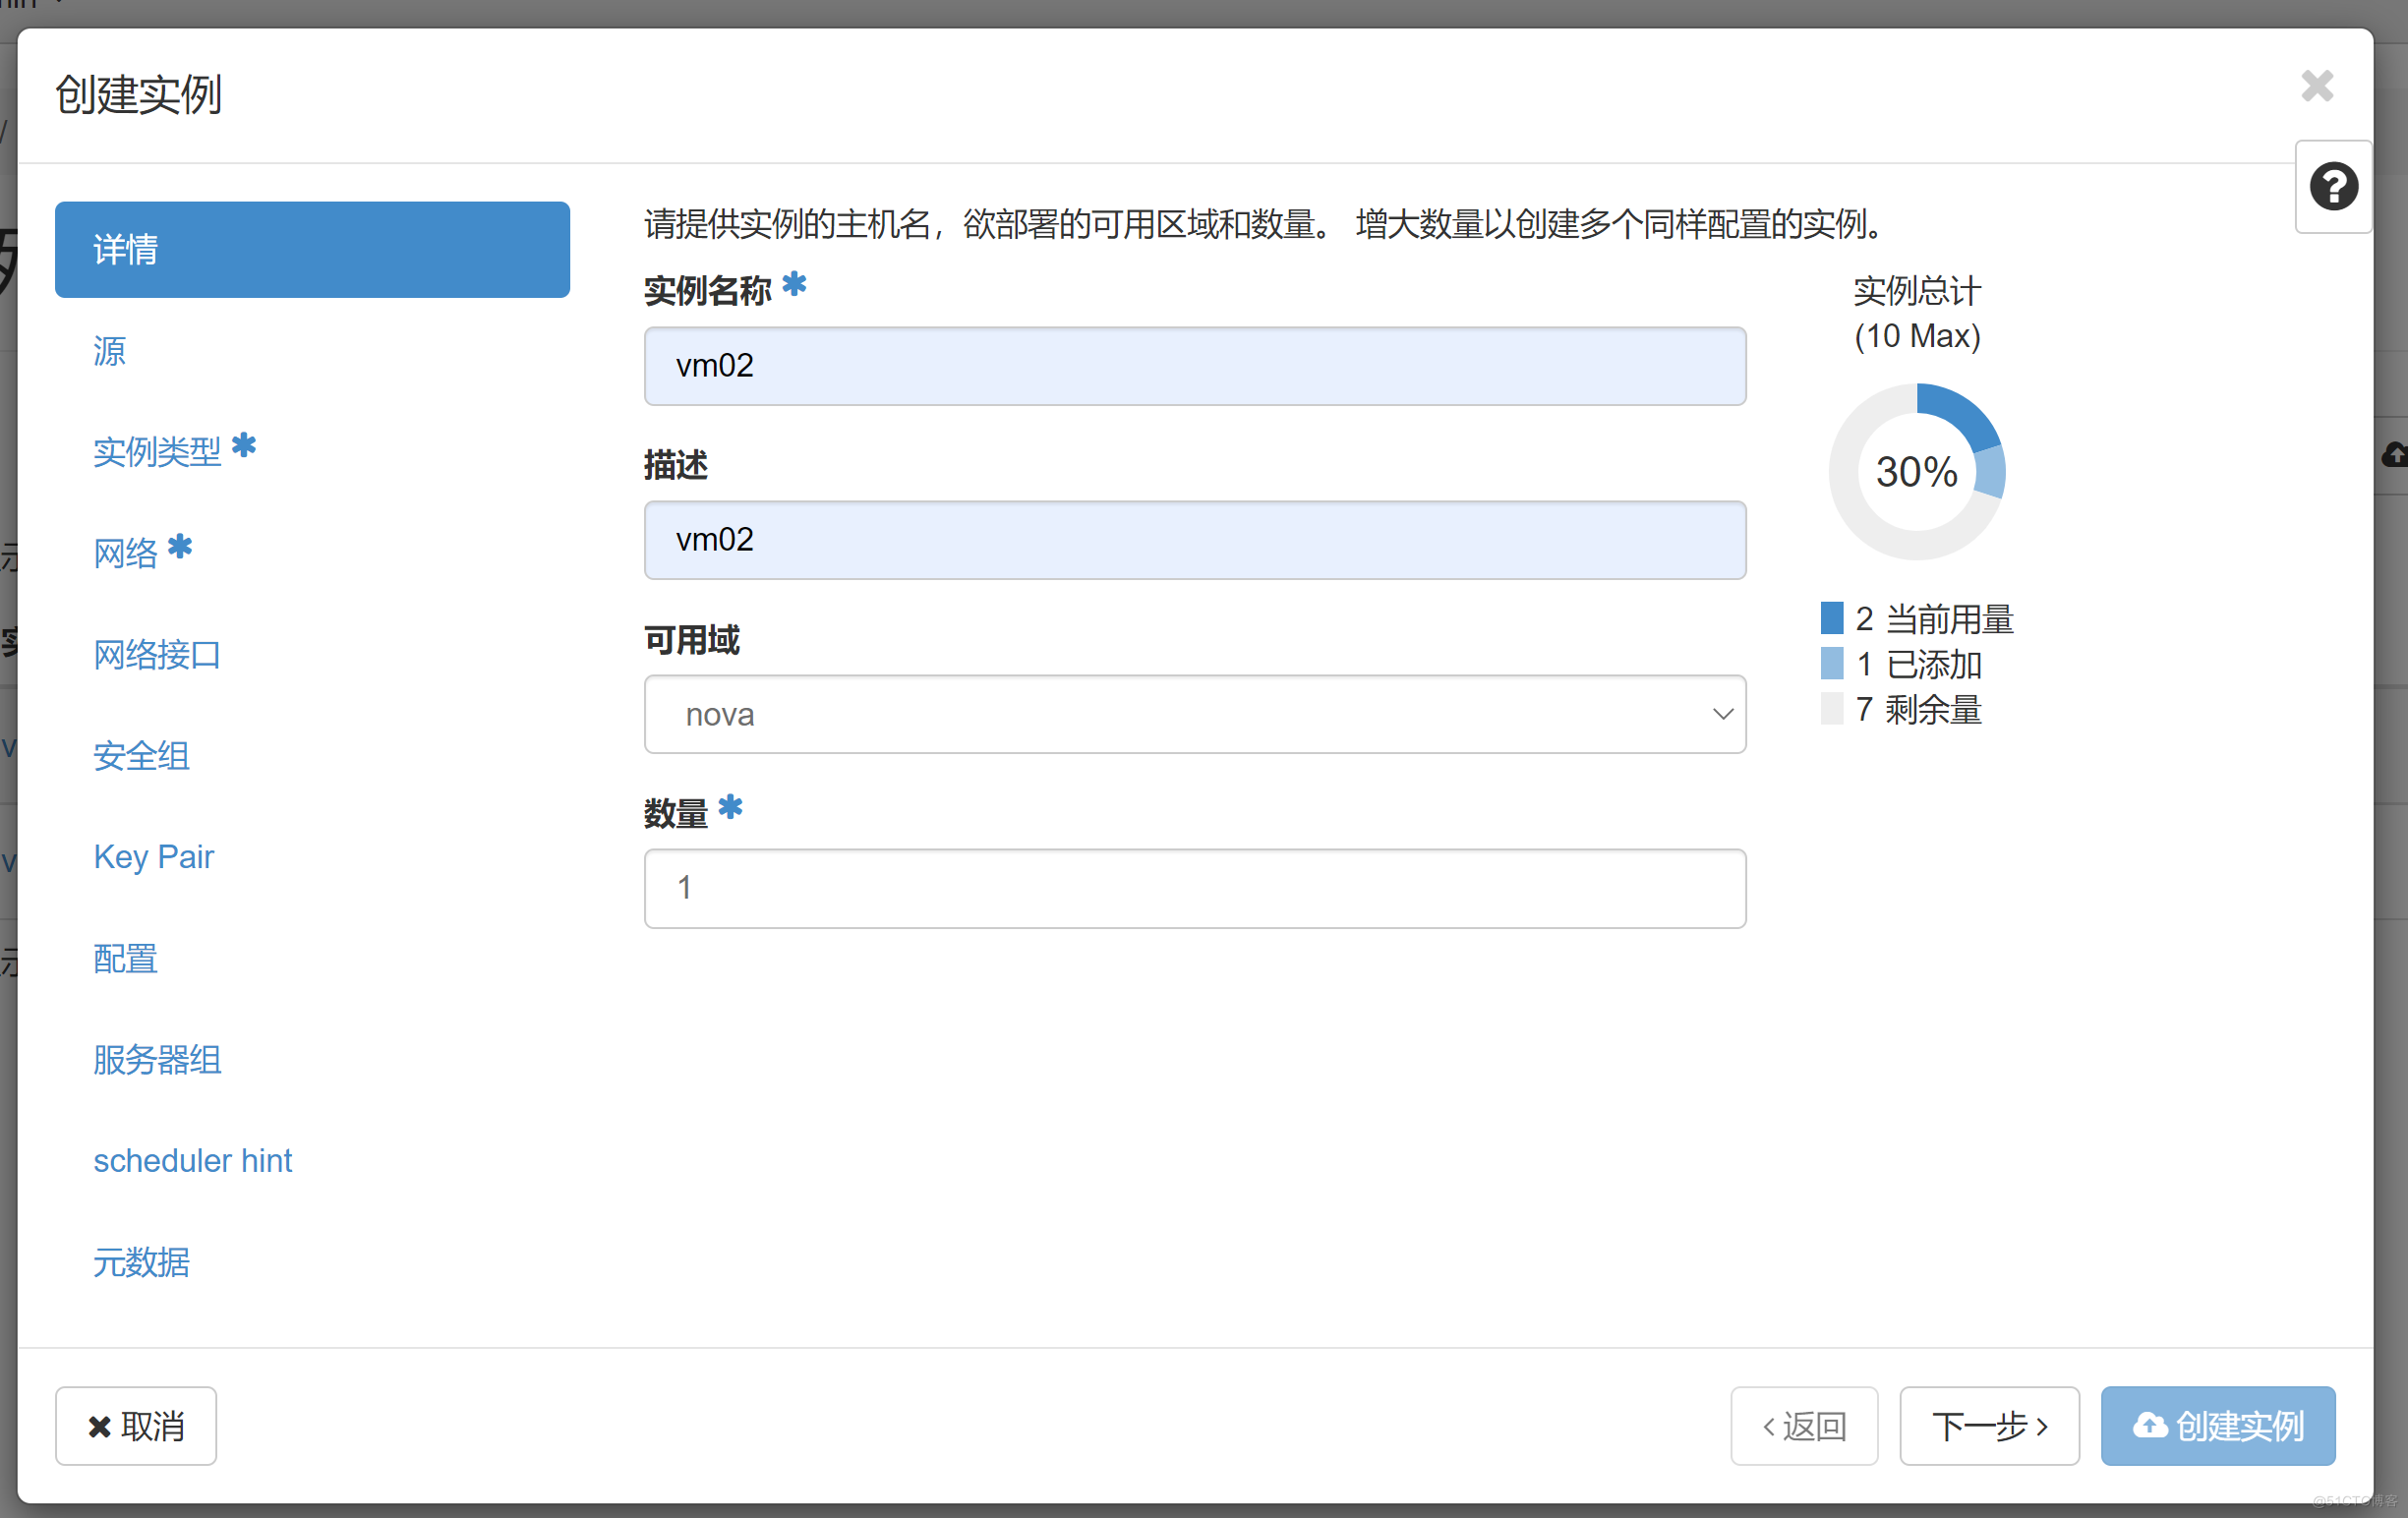
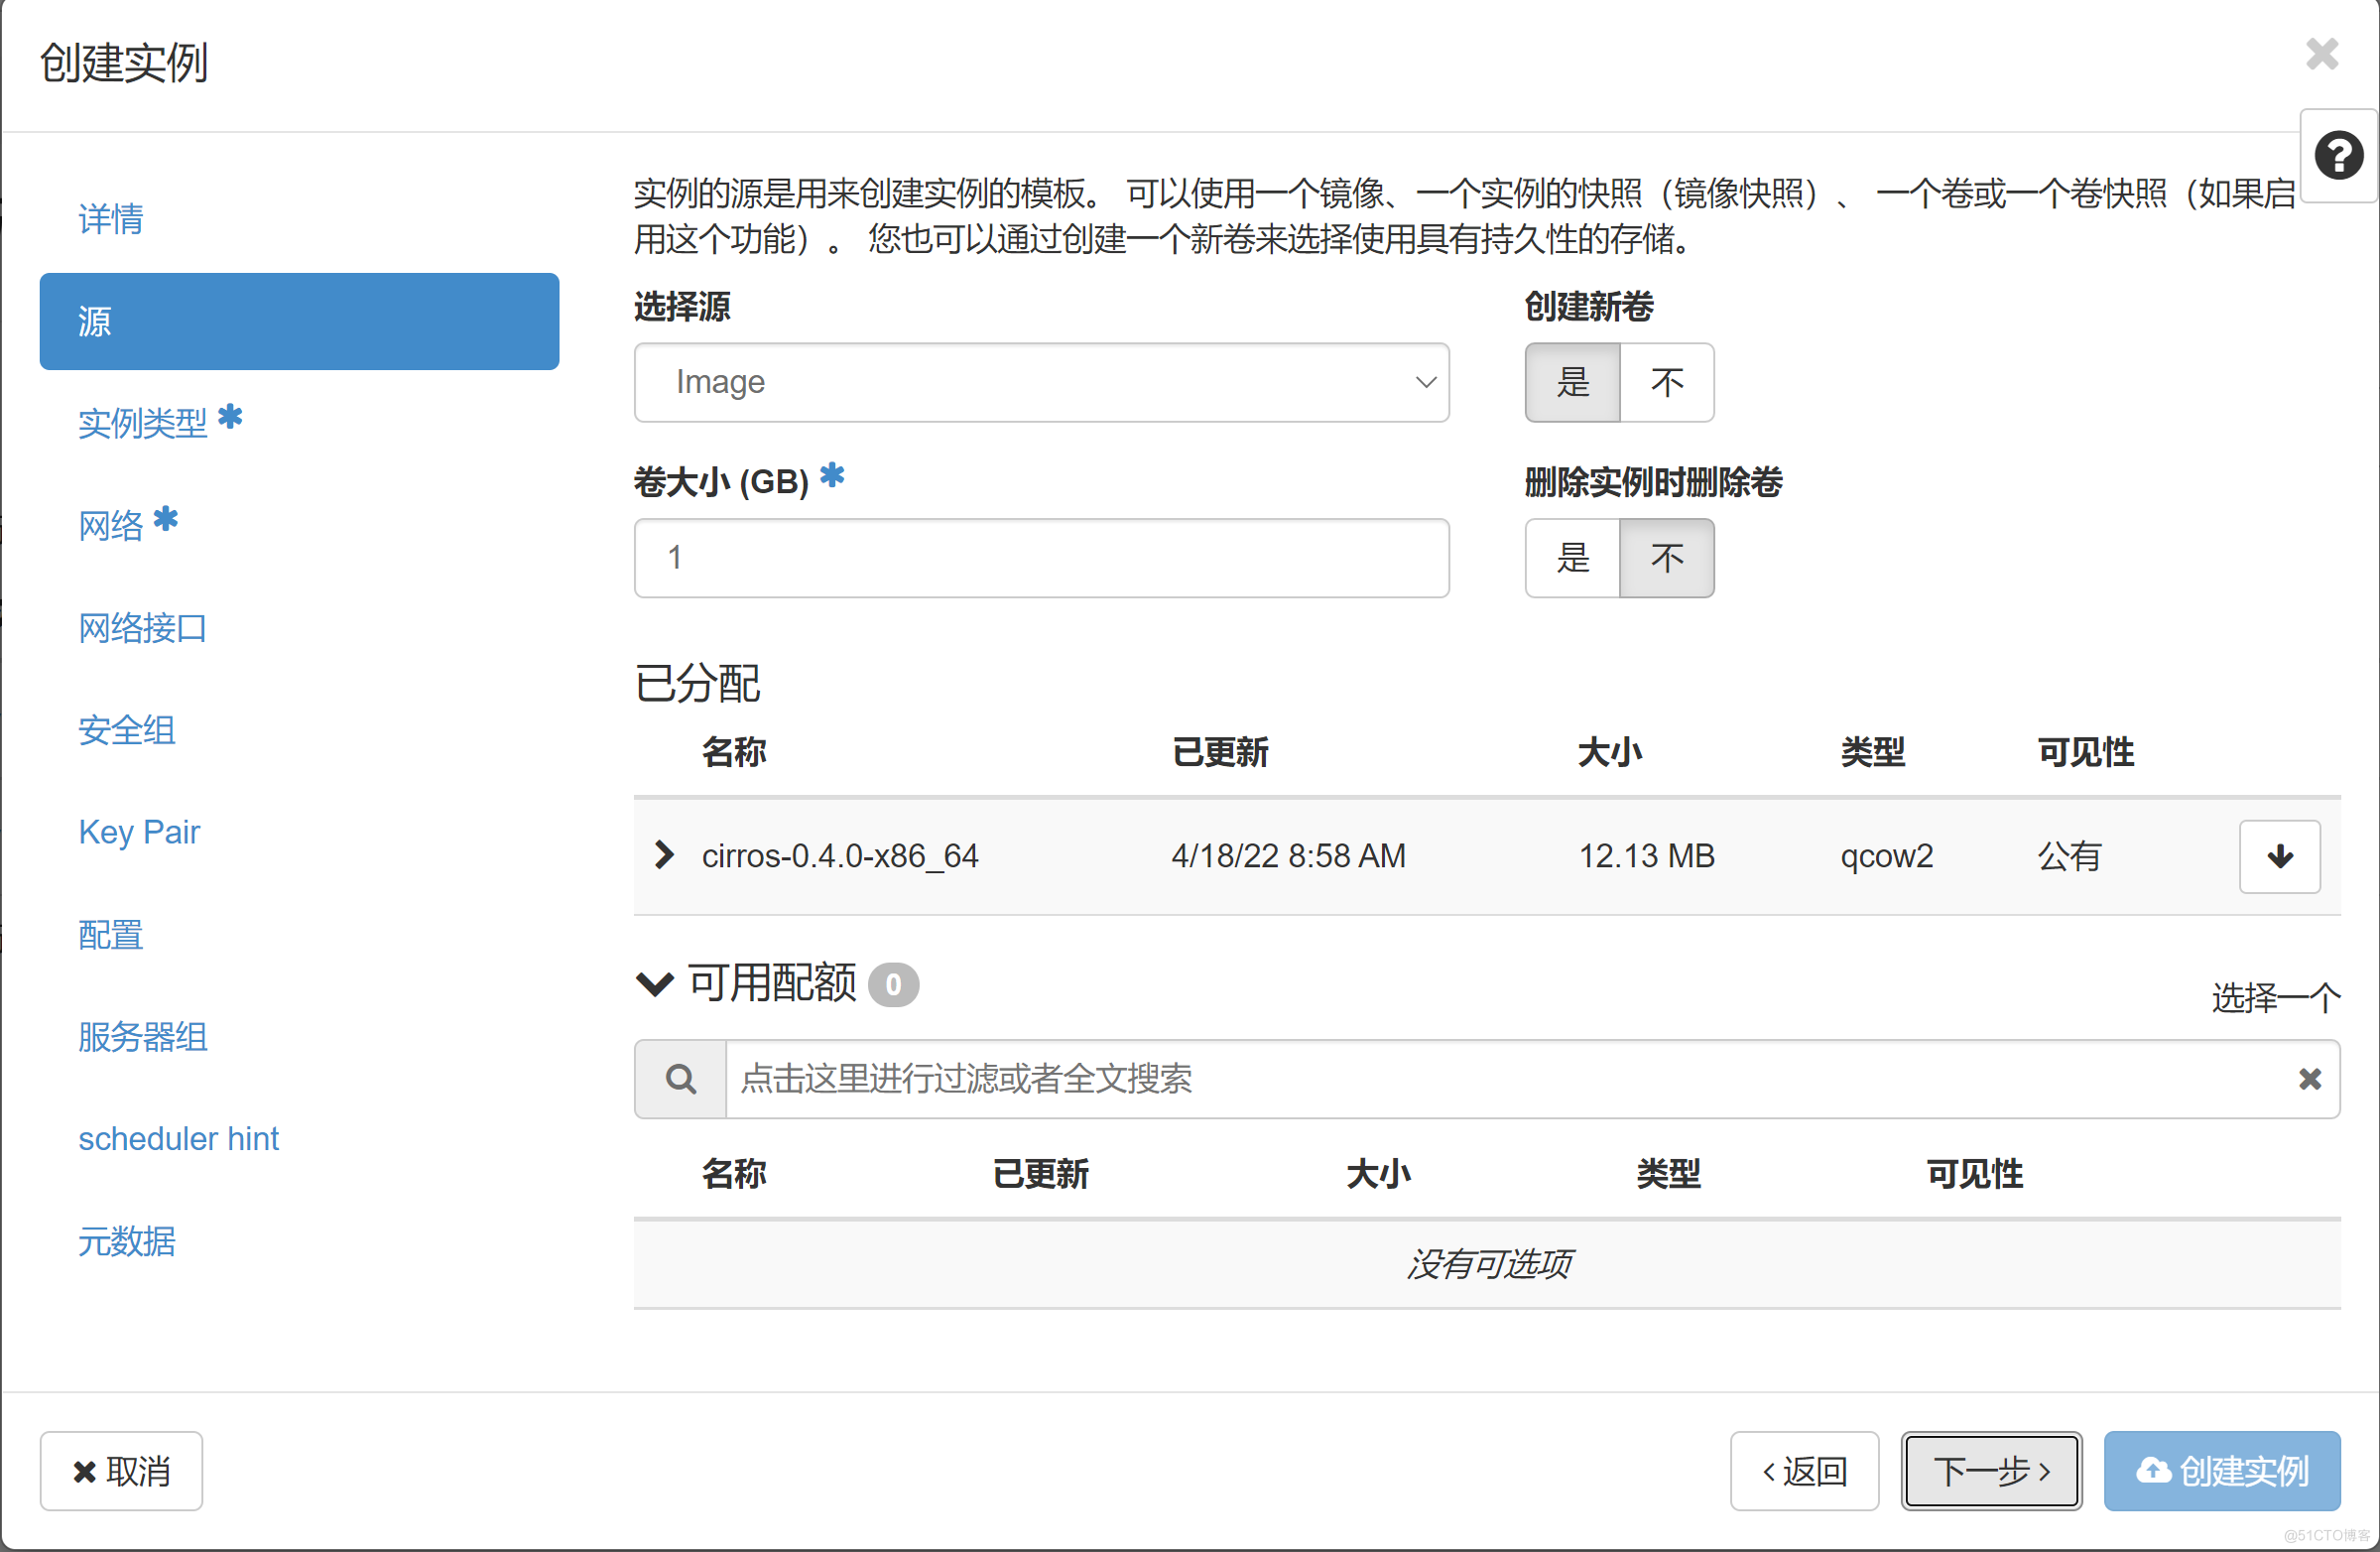
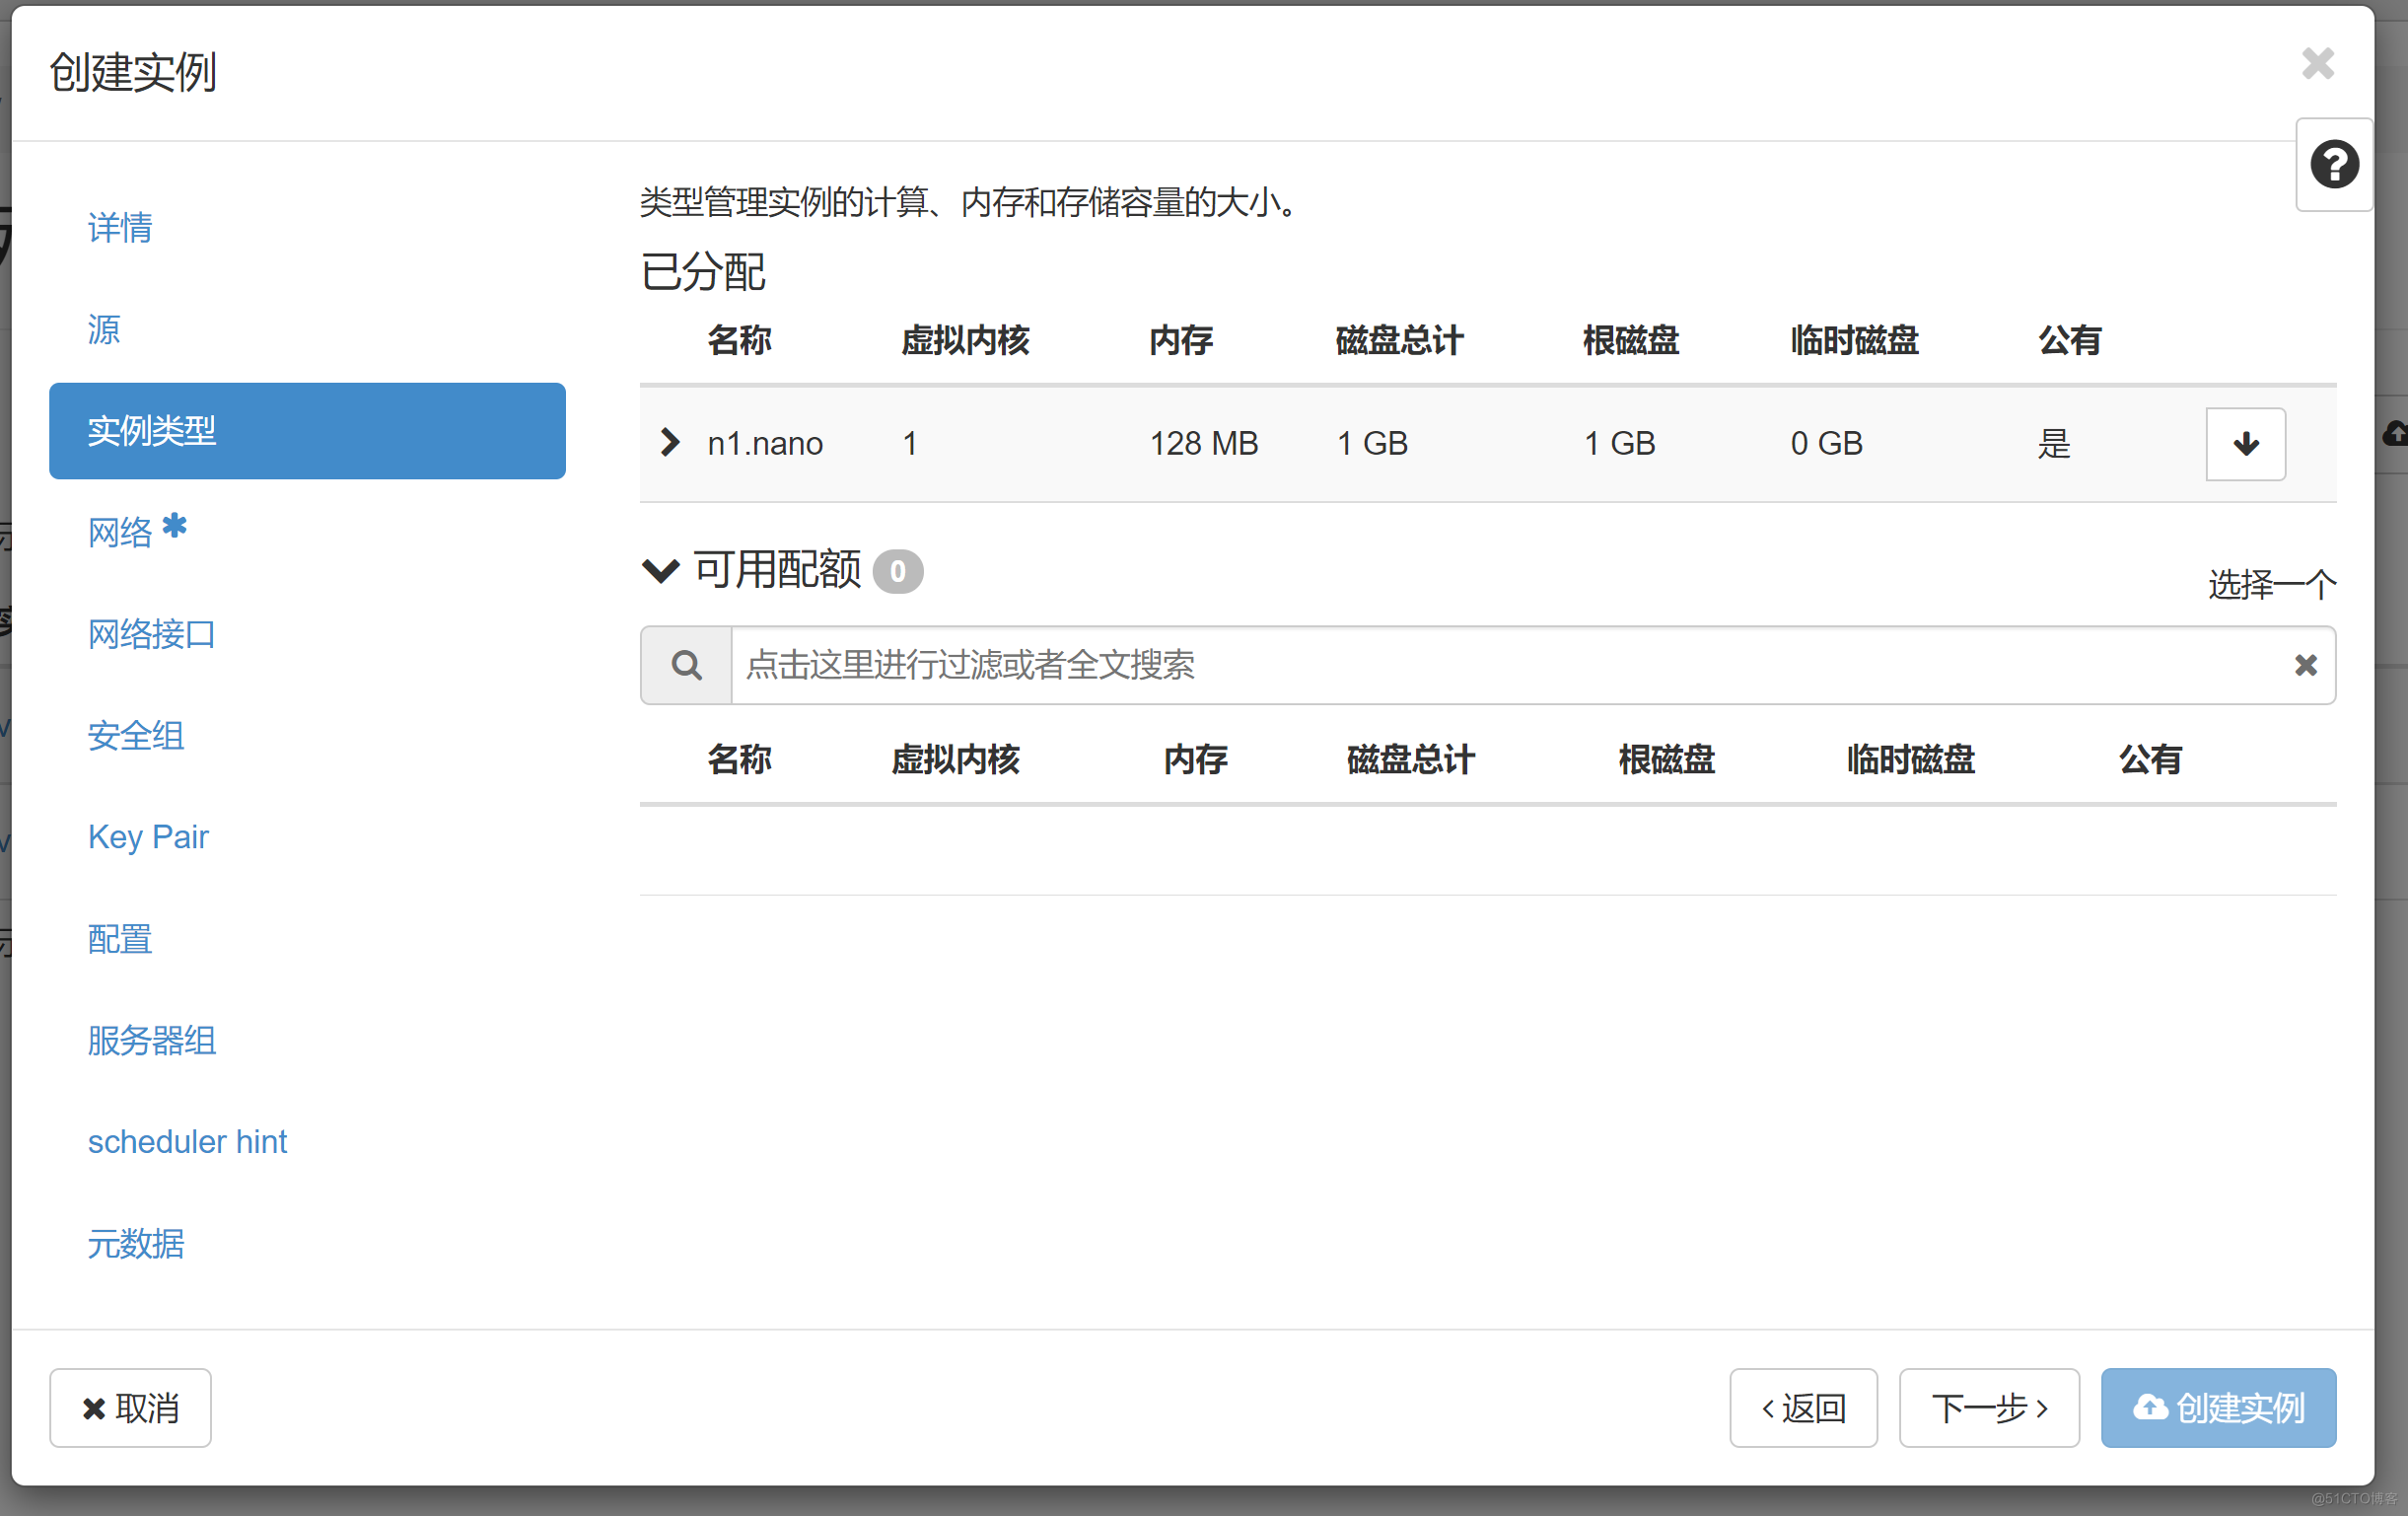
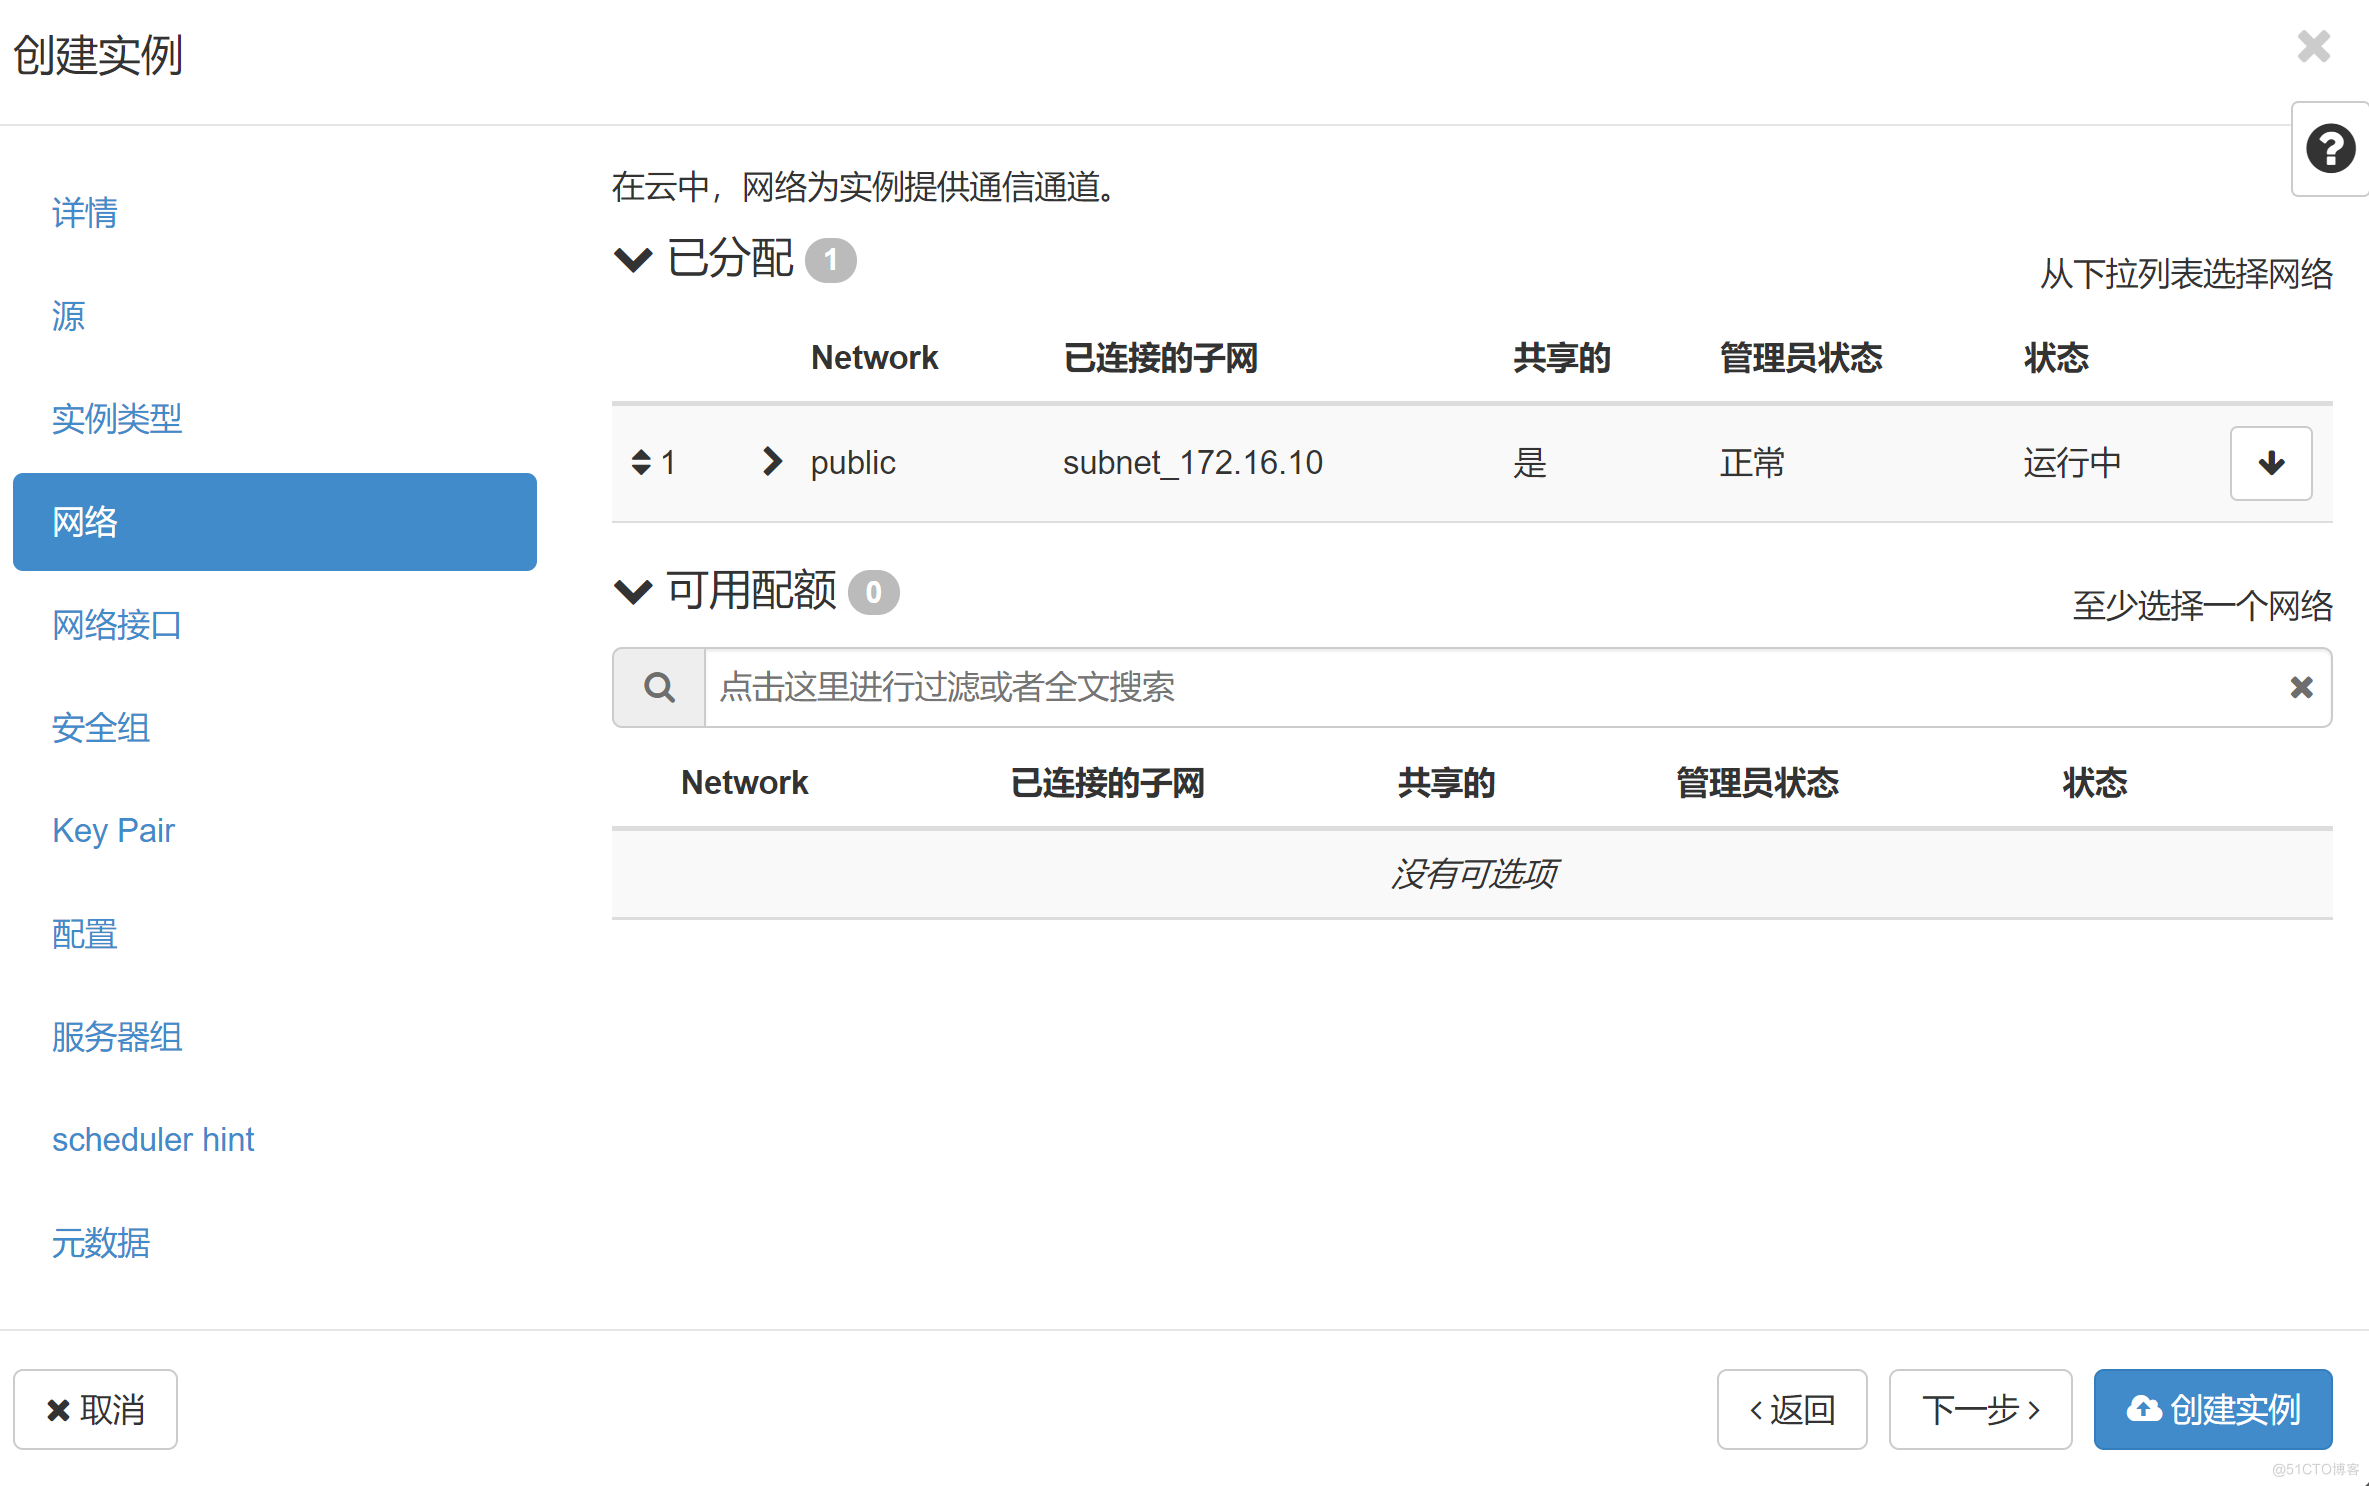
创建一个VM虚拟机 看一下硬盘是不是在卷上面
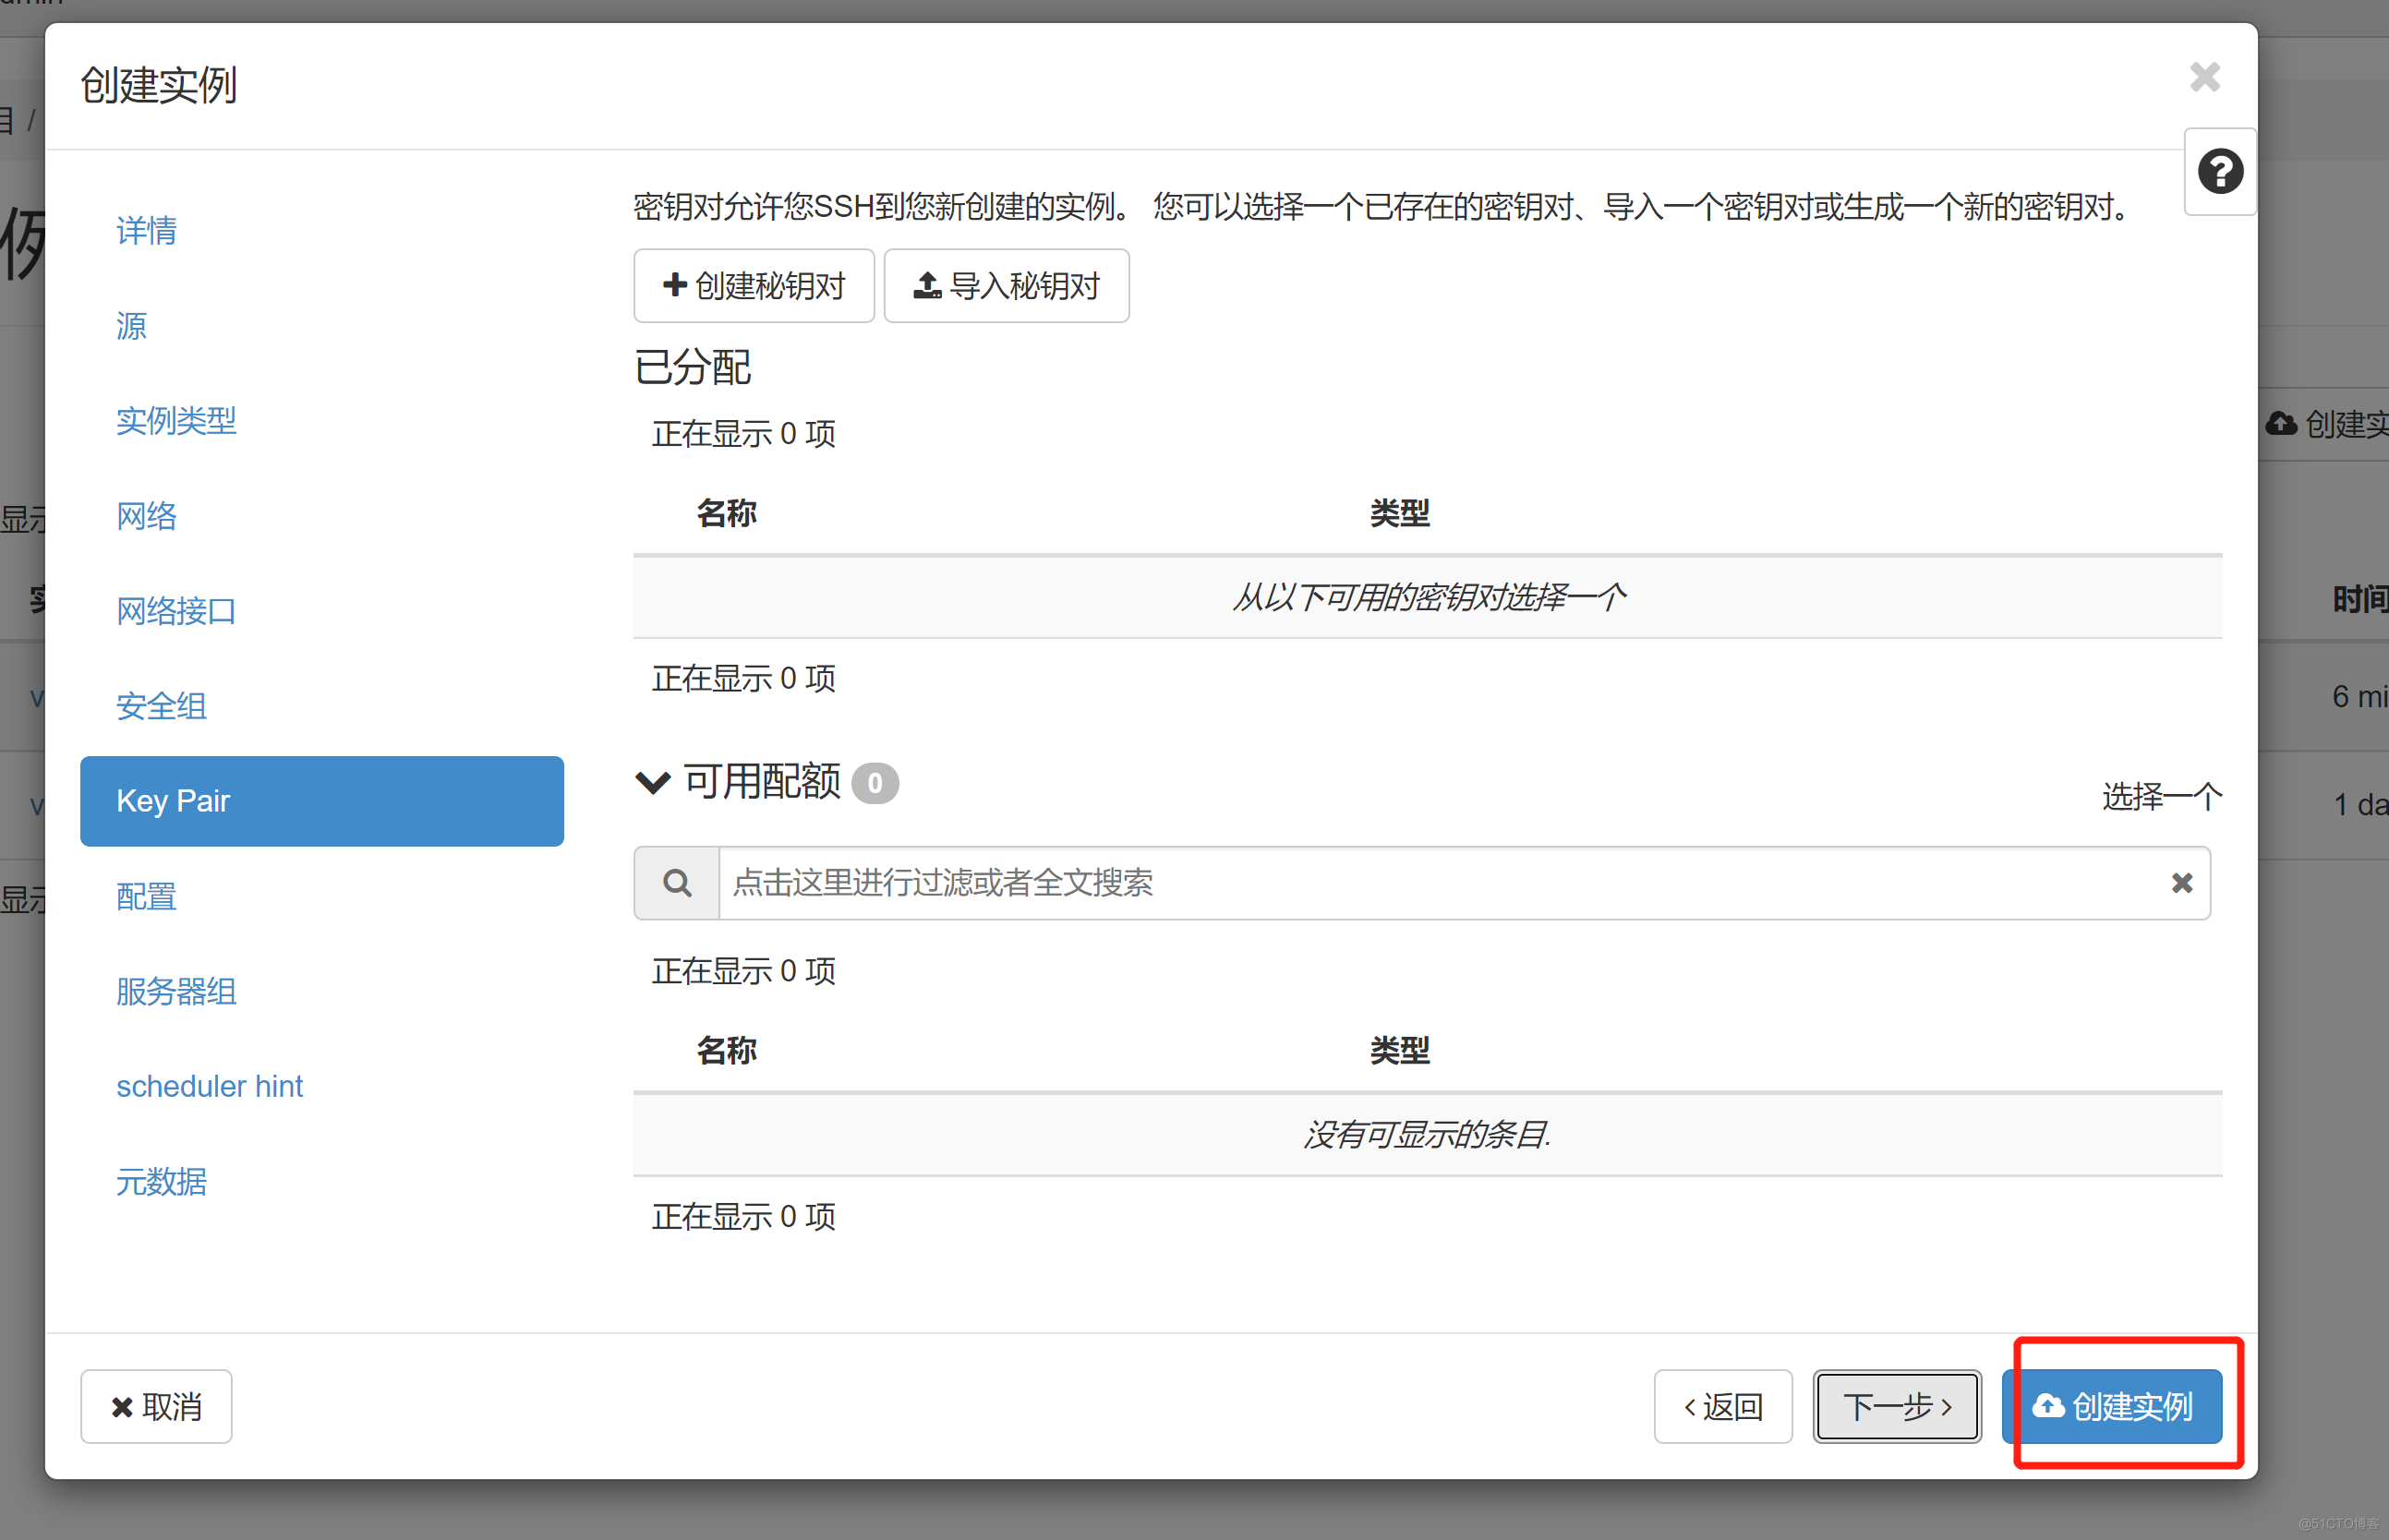

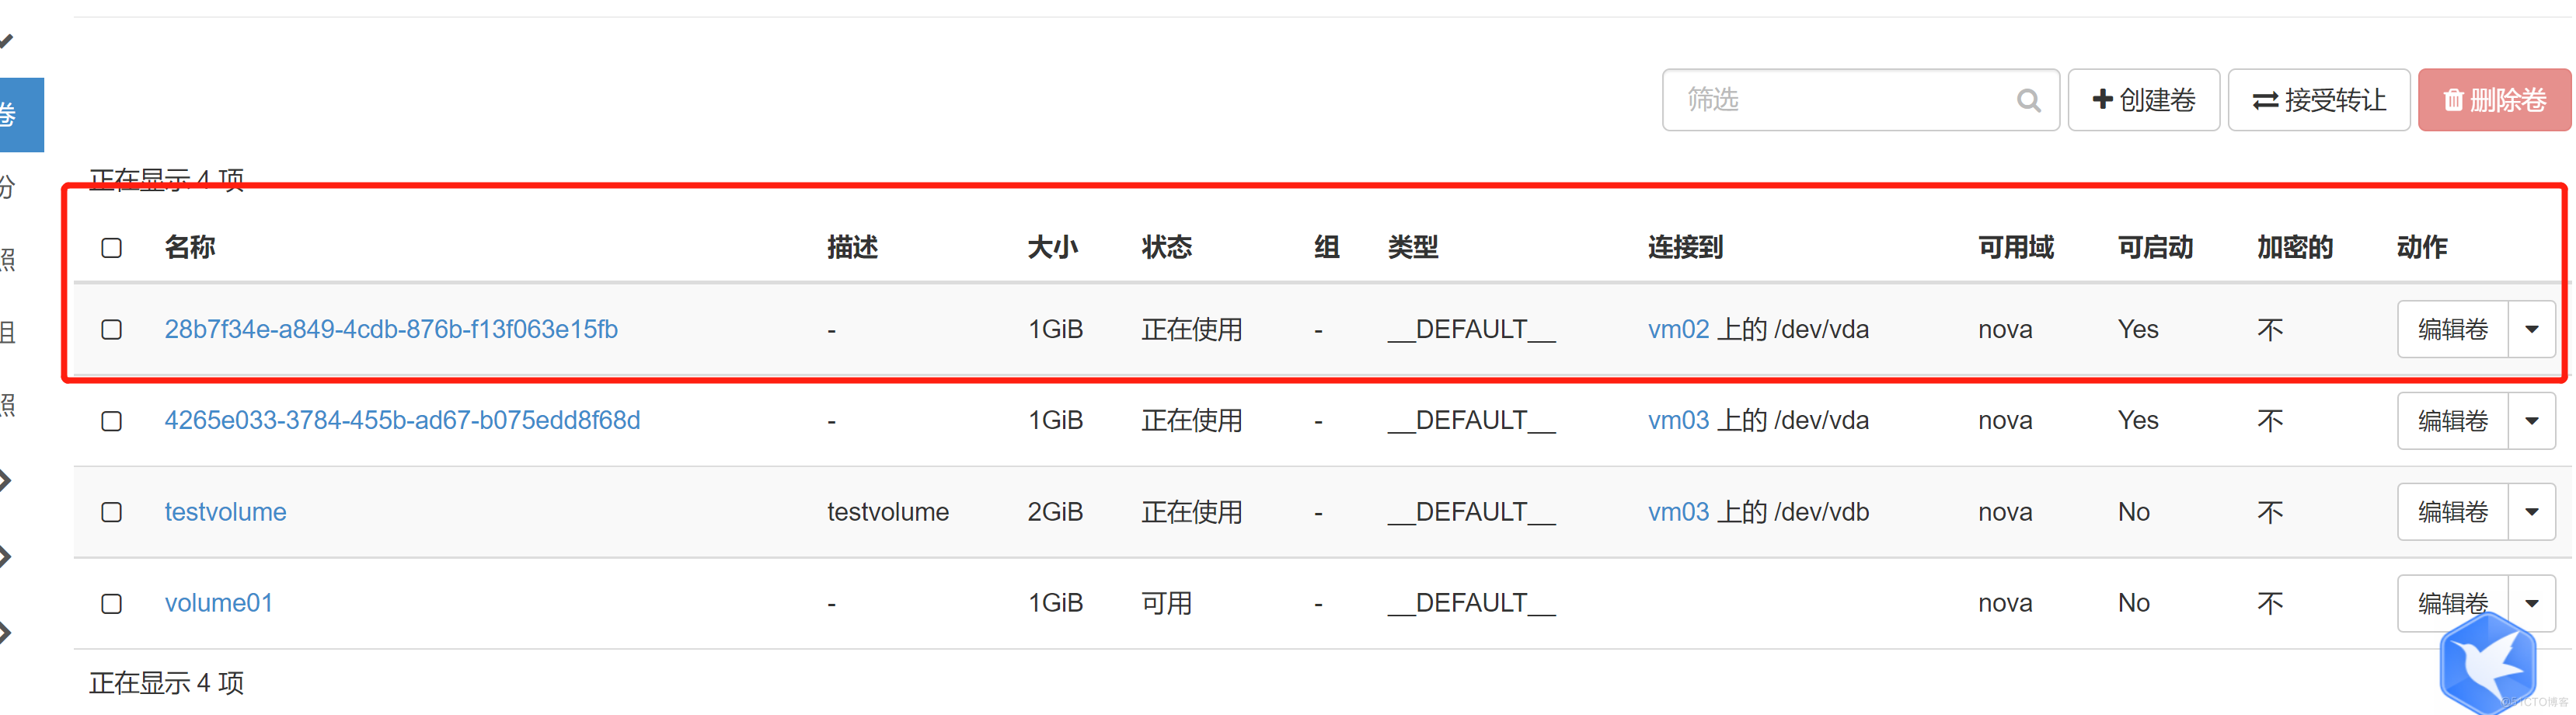
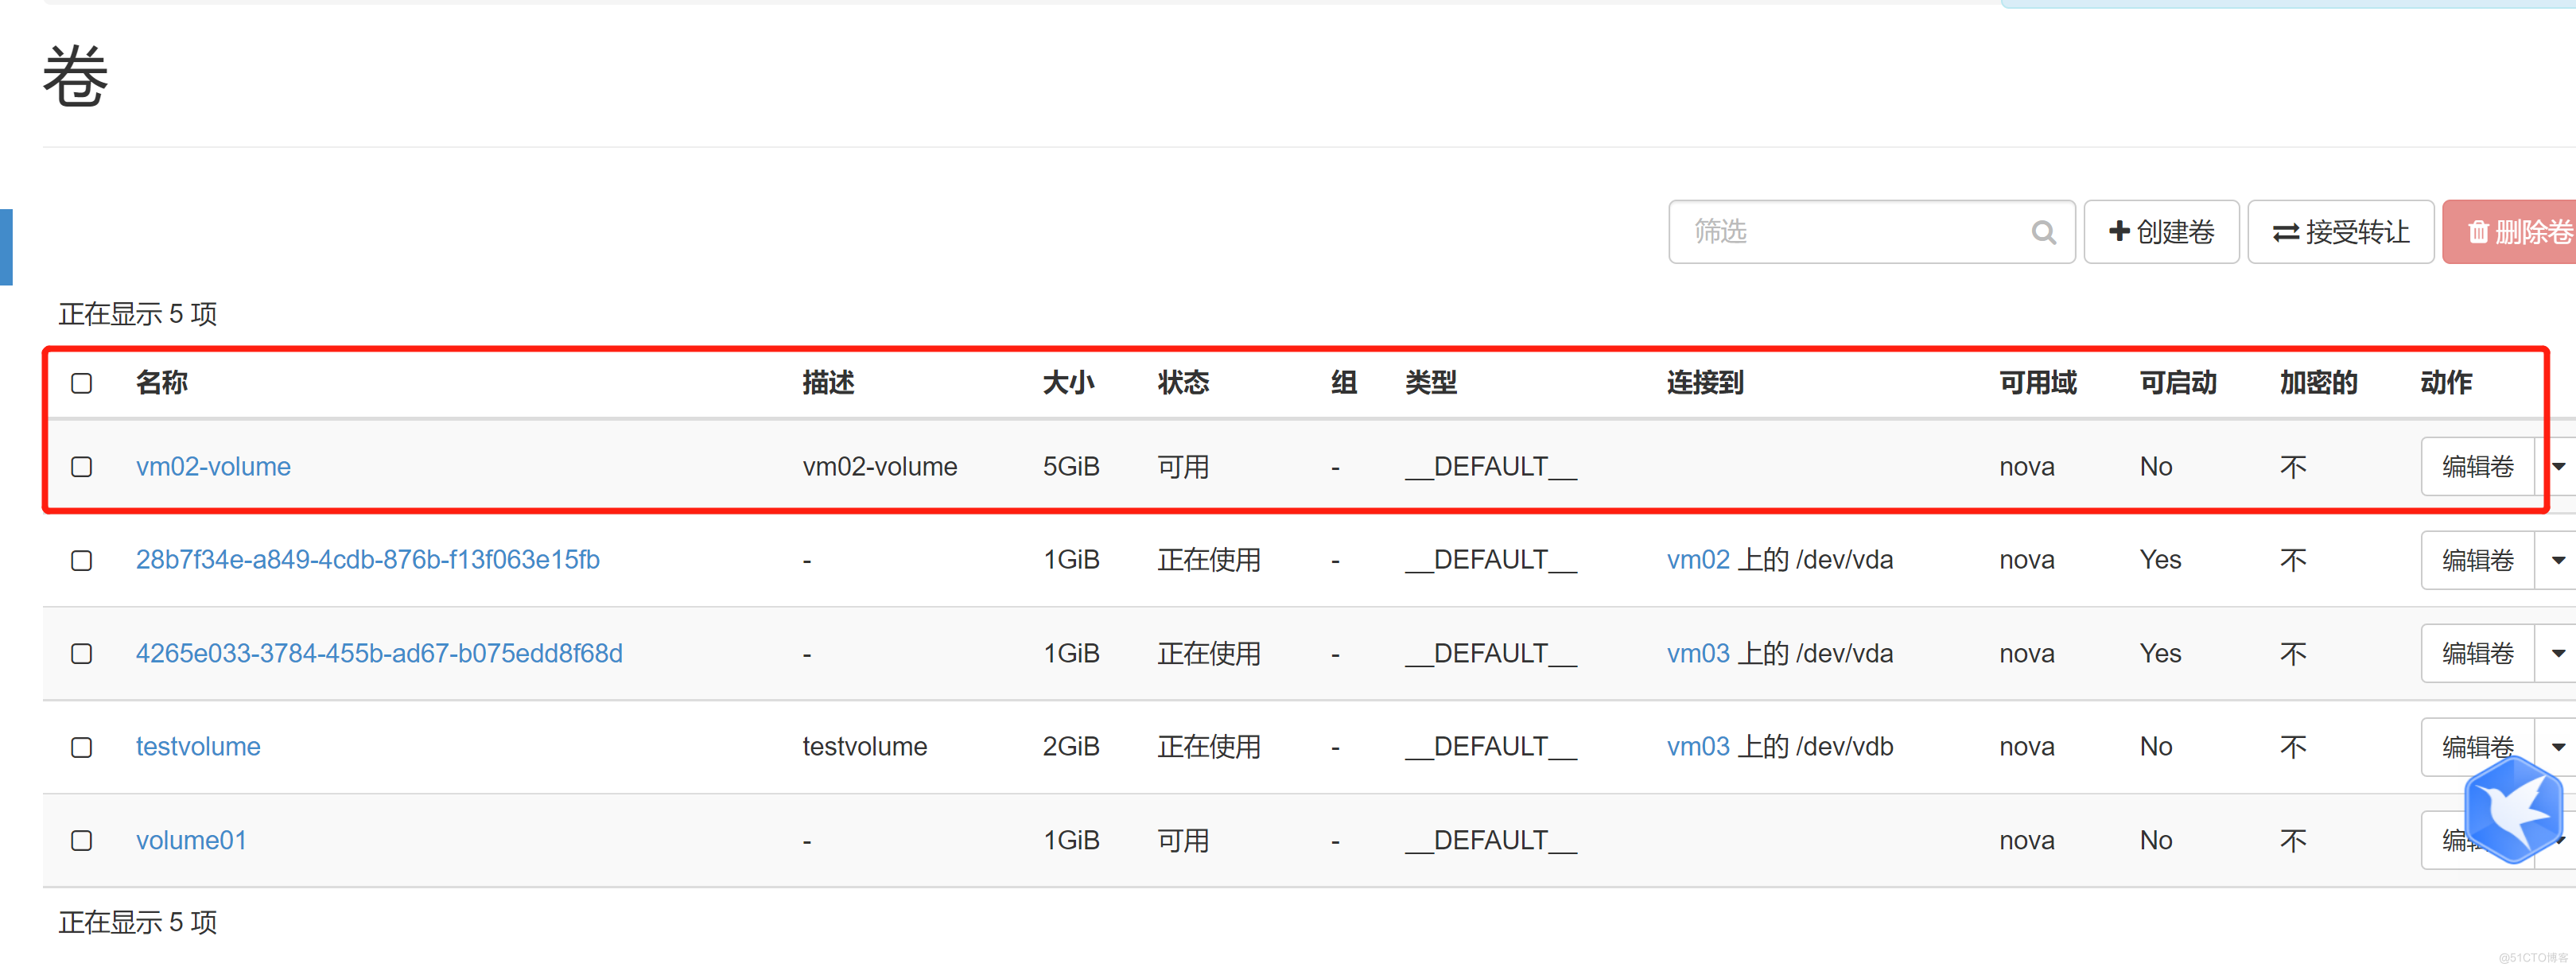

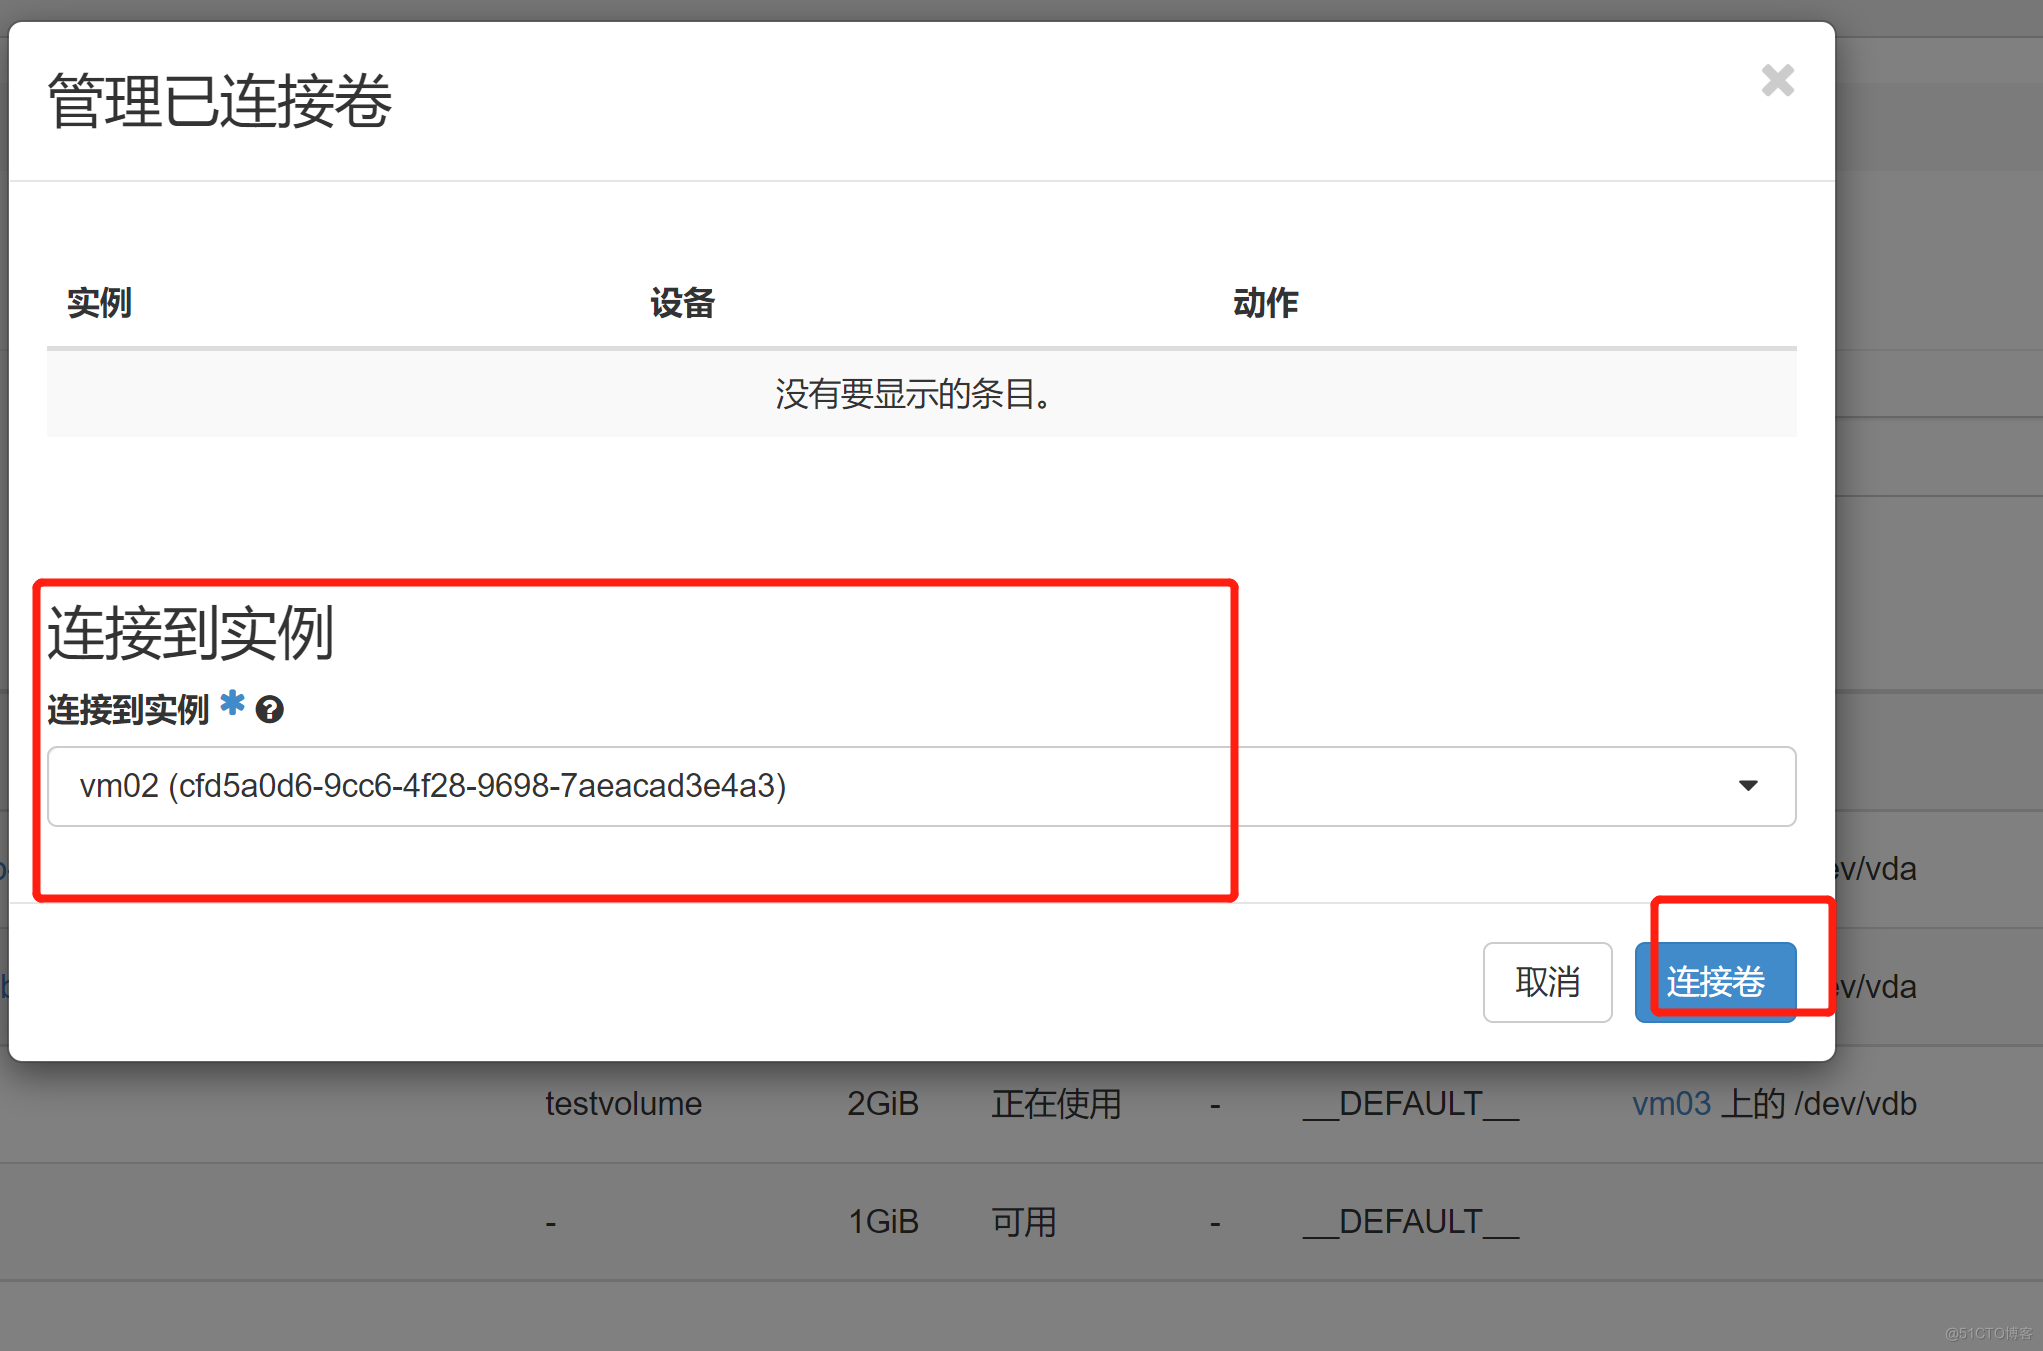
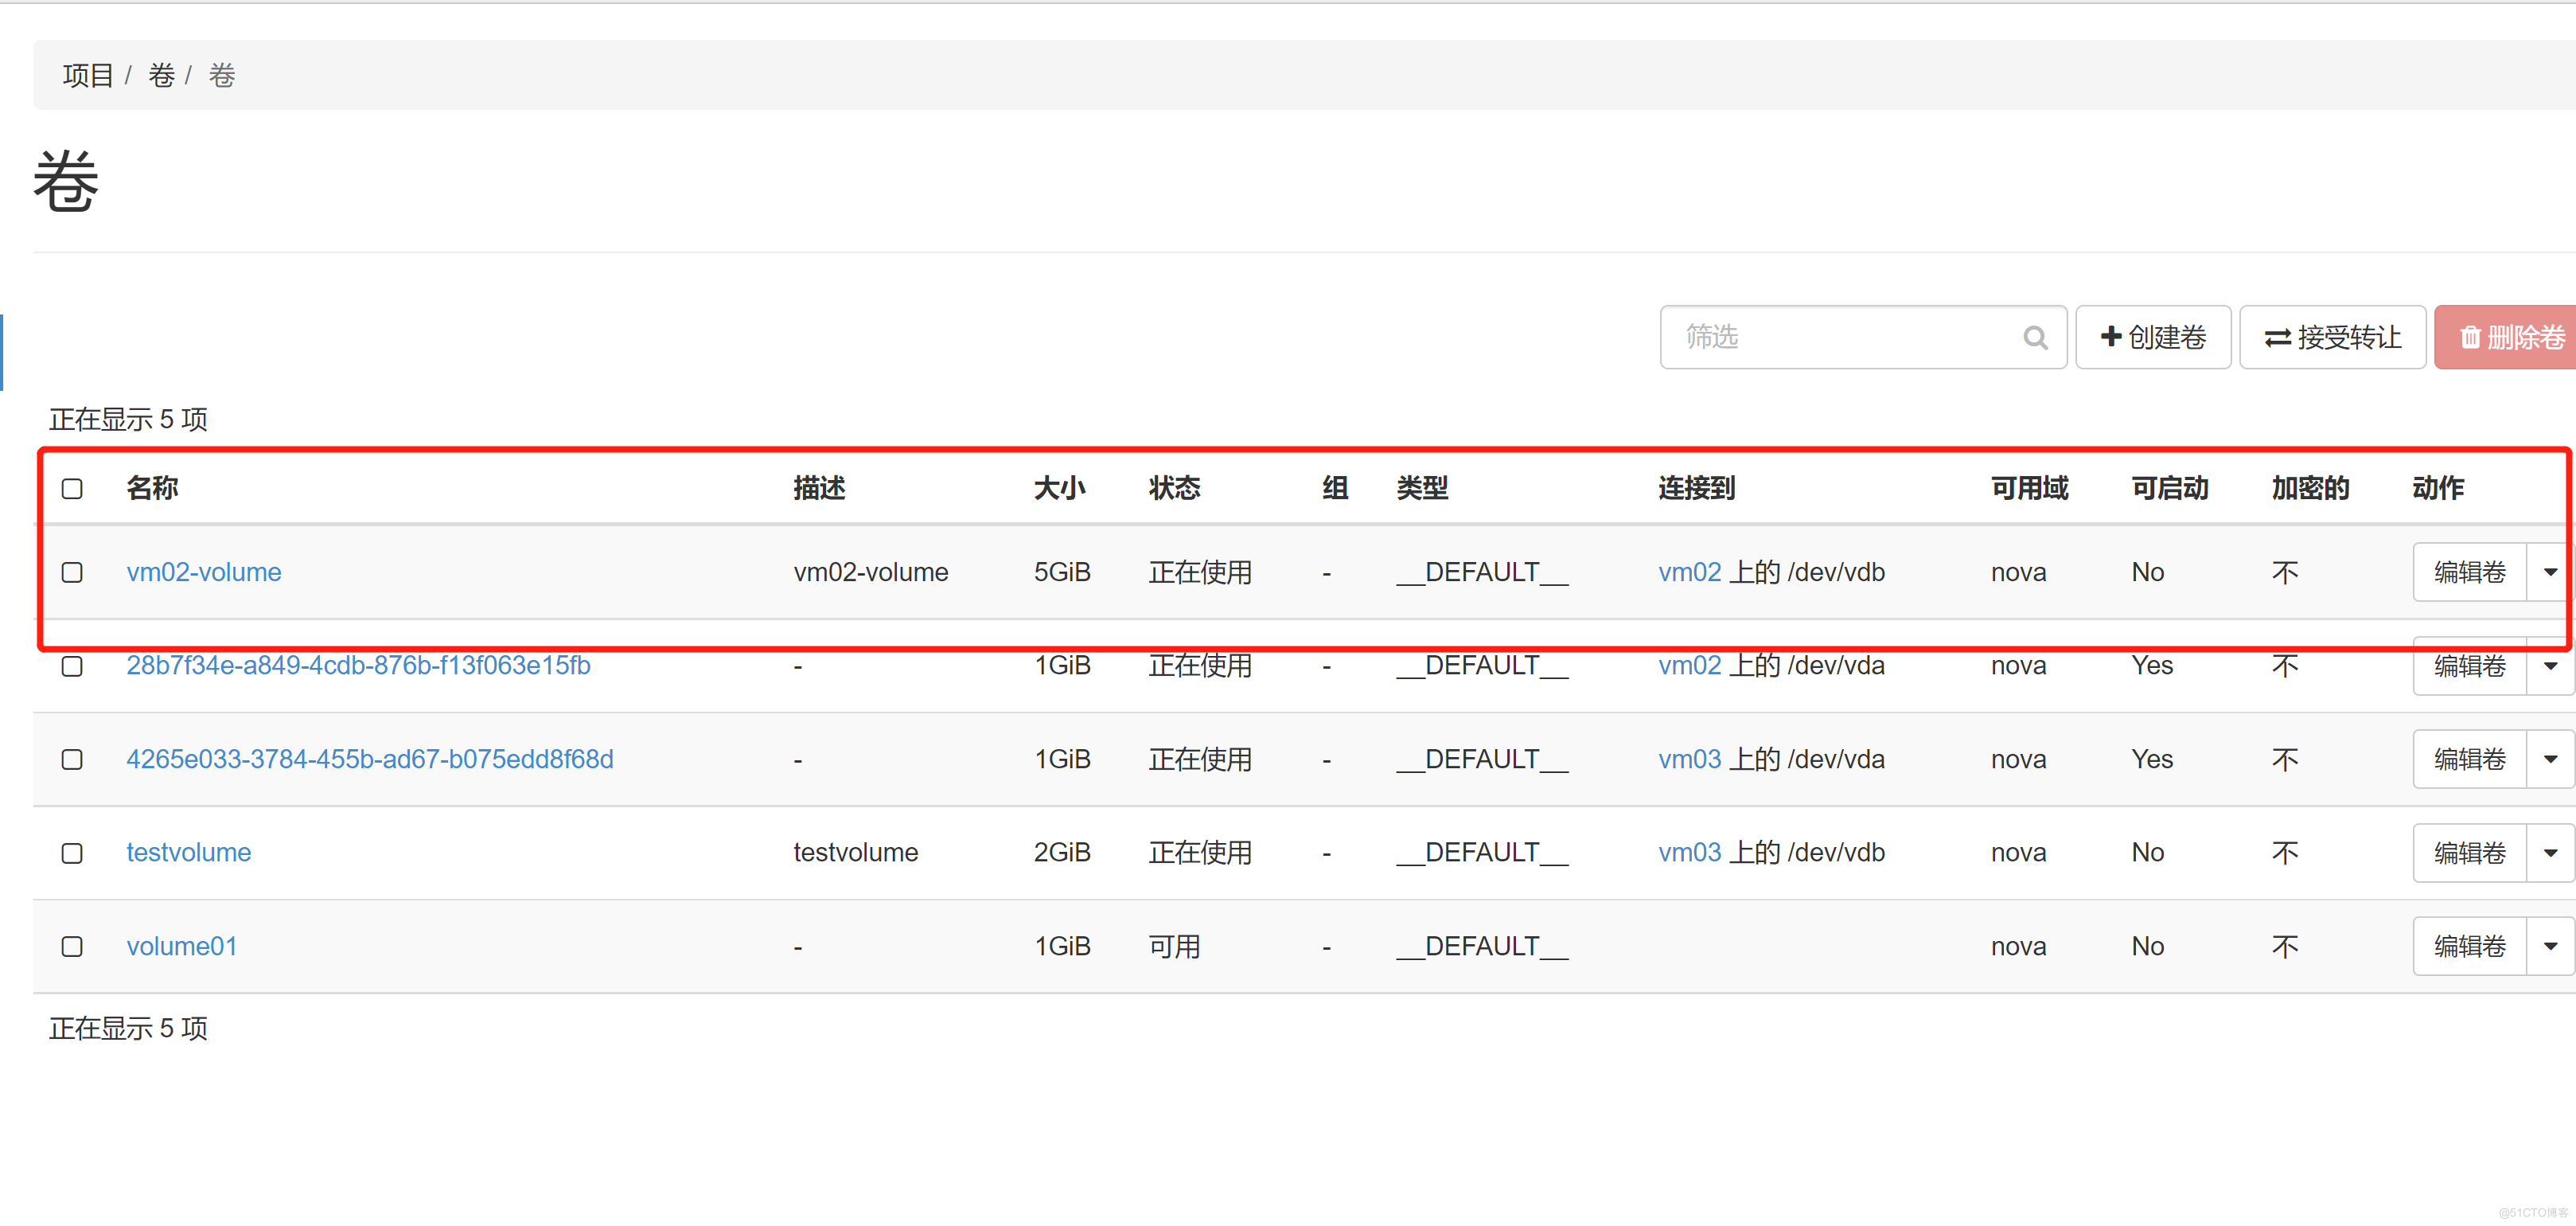
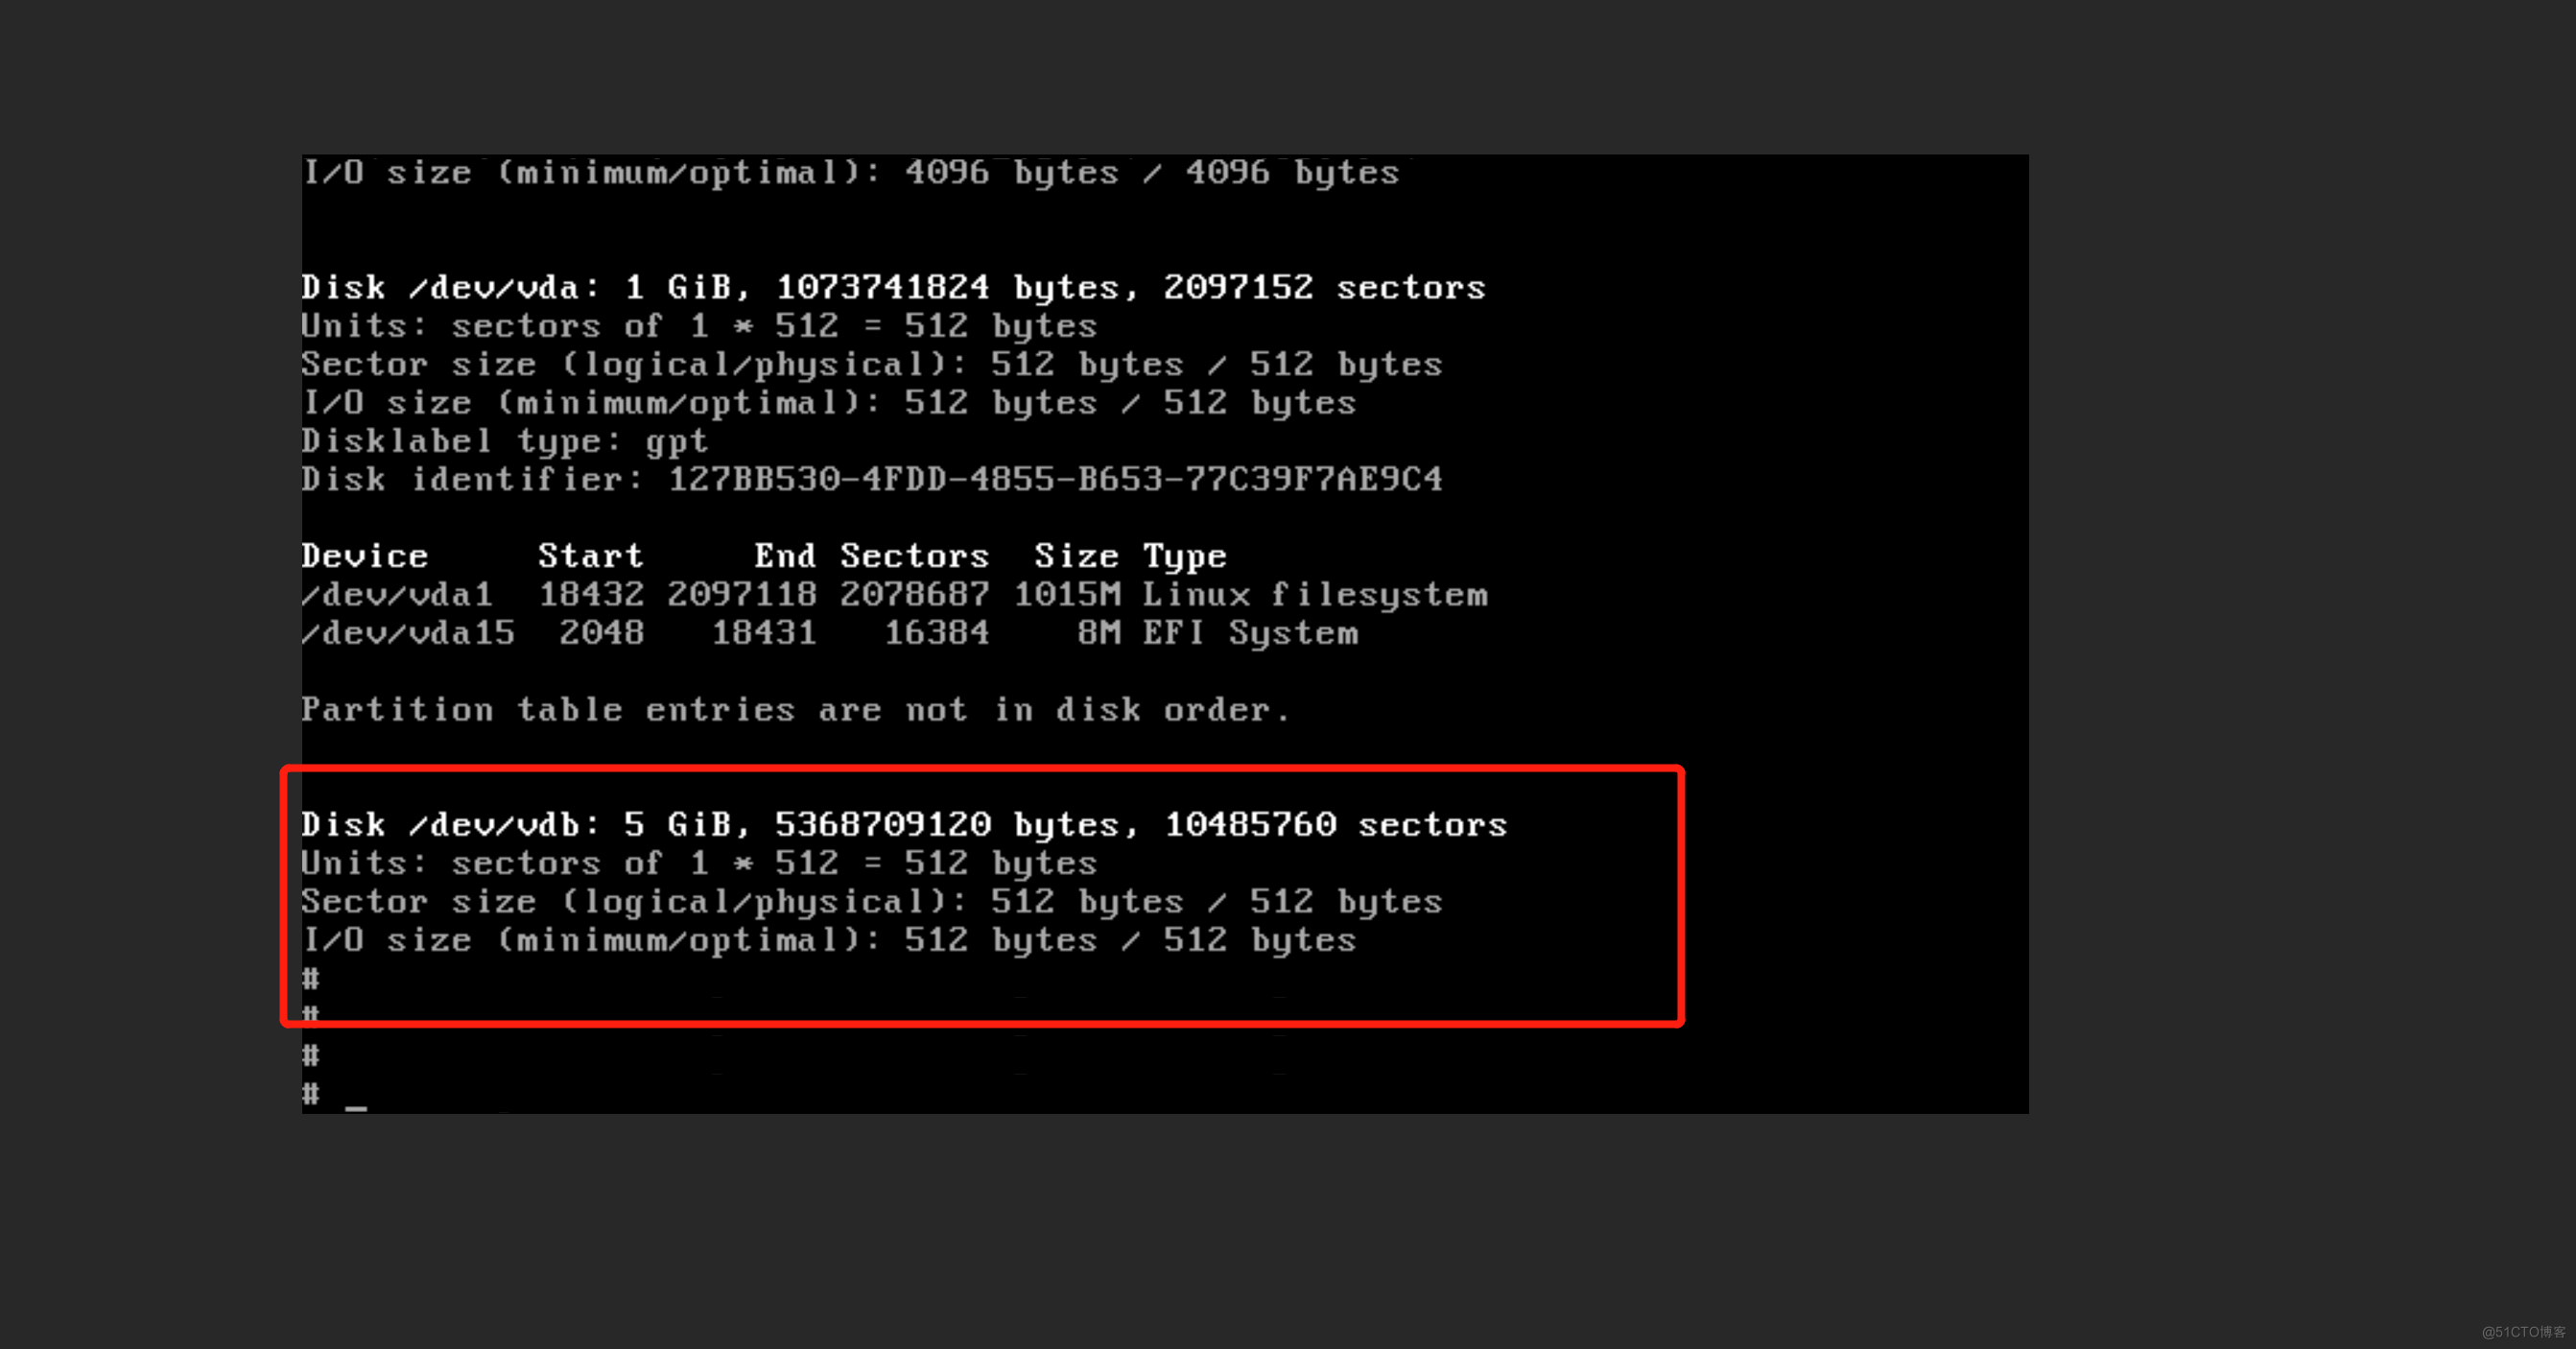
去查看这个5G 的 卷有没有挂载到 VM02 上面
我想为Heroku构建一个Rails3应用程序。他们使用Postgres作为他们的数据库,所以我通过MacPorts安装了postgres9.0。现在我需要一个postgresgem并且共识是出于性能原因你想要pggem。但是我对我得到的错误感到非常困惑当我尝试在rvm下通过geminstall安装pg时。我已经非常明确地指定了所有postgres目录的位置可以找到但仍然无法完成安装:$envARCHFLAGS='-archx86_64'geminstallpg--\--with-pg-config=/opt/local/var/db/postgresql90/defaultdb/po
我打算为ruby脚本创建一个安装程序,但我希望能够确保机器安装了RVM。有没有一种方法可以完全离线安装RVM并且不引人注目(通过不引人注目,就像创建一个可以做所有事情的脚本而不是要求用户向他们的bash_profile或bashrc添加一些东西)我不是要脚本本身,只是一个关于如何走这条路的快速指针(如果可能的话)。我们还研究了这个很有帮助的问题:RVM-isthereawayforsimpleofflineinstall?但有点误导,因为答案只向我们展示了如何离线在RVM中安装ruby。我们需要能够离线安装RVM本身,并查看脚本https://raw.github.com/wayn
我有一个奇怪的问题:我在rvm上安装了rubyonrails。一切正常,我可以创建项目。但是在我输入“railsnew”时重新启动后,我有“程序'rails'当前未安装。”。SystemUbuntu12.04ruby-v"1.9.3p194"gemlistactionmailer(3.2.5)actionpack(3.2.5)activemodel(3.2.5)activerecord(3.2.5)activeresource(3.2.5)activesupport(3.2.5)arel(3.0.2)builder(3.0.0)bundler(1.1.4)coffee-rails(
我刚刚为fedora安装了emacs。我想用emacs编写ruby。为ruby提供代码提示、代码完成类型功能所需的工具、扩展是什么? 最佳答案 ruby-mode已经包含在Emacs23之后的版本中。不过,它也可以通过ELPA获得。您可能感兴趣的其他一些事情是集成RVM、feature-mode(Cucumber)、rspec-mode、ruby-electric、inf-ruby、rinari(用于Rails)等。这是我当前用于Ruby开发的Emacs配置:https://github.com/citizen428/emacs
我正在尝试在我的centos服务器上安装therubyracer,但遇到了麻烦。$geminstalltherubyracerBuildingnativeextensions.Thiscouldtakeawhile...ERROR:Errorinstallingtherubyracer:ERROR:Failedtobuildgemnativeextension./usr/local/rvm/rubies/ruby-1.9.3-p125/bin/rubyextconf.rbcheckingformain()in-lpthread...yescheckingforv8.h...no***e
我的最终目标是安装当前版本的RubyonRails。我在OSXMountainLion上运行。到目前为止,这是我的过程:已安装的RVM$\curl-Lhttps://get.rvm.io|bash-sstable检查已知(我假设已批准)安装$rvmlistknown我看到当前的稳定版本可用[ruby-]2.0.0[-p247]输入命令安装$rvminstall2.0.0-p247注意:我也试过这些安装命令$rvminstallruby-2.0.0-p247$rvminstallruby=2.0.0-p247我很快就无处可去了。结果:$rvminstall2.0.0-p247Search
我实际上是在尝试使用RVM在我的OSX10.7.5上更新ruby,并在输入以下命令后:rvminstallruby我得到了以下回复:Searchingforbinaryrubies,thismighttakesometime.Checkingrequirementsforosx.Installingrequirementsforosx.Updatingsystem.......Errorrunning'requirements_osx_brew_update_systemruby-2.0.0-p247',pleaseread/Users/username/.rvm/log/138121
由于fast-stemmer的问题,我很难安装我想要的任何rubygem。我把我得到的错误放在下面。Buildingnativeextensions.Thiscouldtakeawhile...ERROR:Errorinstallingfast-stemmer:ERROR:Failedtobuildgemnativeextension./System/Library/Frameworks/Ruby.framework/Versions/2.0/usr/bin/rubyextconf.rbcreatingMakefilemake"DESTDIR="cleanmake"DESTDIR=
当我尝试安装Ruby时遇到此错误。我试过查看this和this但无济于事➜~brewinstallrubyWarning:YouareusingOSX10.12.Wedonotprovidesupportforthispre-releaseversion.Youmayencounterbuildfailuresorotherbreakages.Pleasecreatepull-requestsinsteadoffilingissues.==>Installingdependenciesforruby:readline,libyaml,makedepend==>Installingrub
当我执行>rvminstall1.9.2时一切顺利。然后我做>rvmuse1.9.2也很顺利。但是当涉及到ruby-v时..sam@sjones:~$rvminstall1.9.2/home/sam/.rvm/rubies/ruby-1.9.2-p136,thismaytakeawhiledependingonyourcpu(s)...ruby-1.9.2-p136-#fetchingruby-1.9.2-p136-#downloadingruby-1.9.2-p136,thismaytakeawhiledependingonyourconnection...%Total%Rece