Element-ui 提供的组件与想要目标情况的对比:1、Element-ui 提供组件情况:
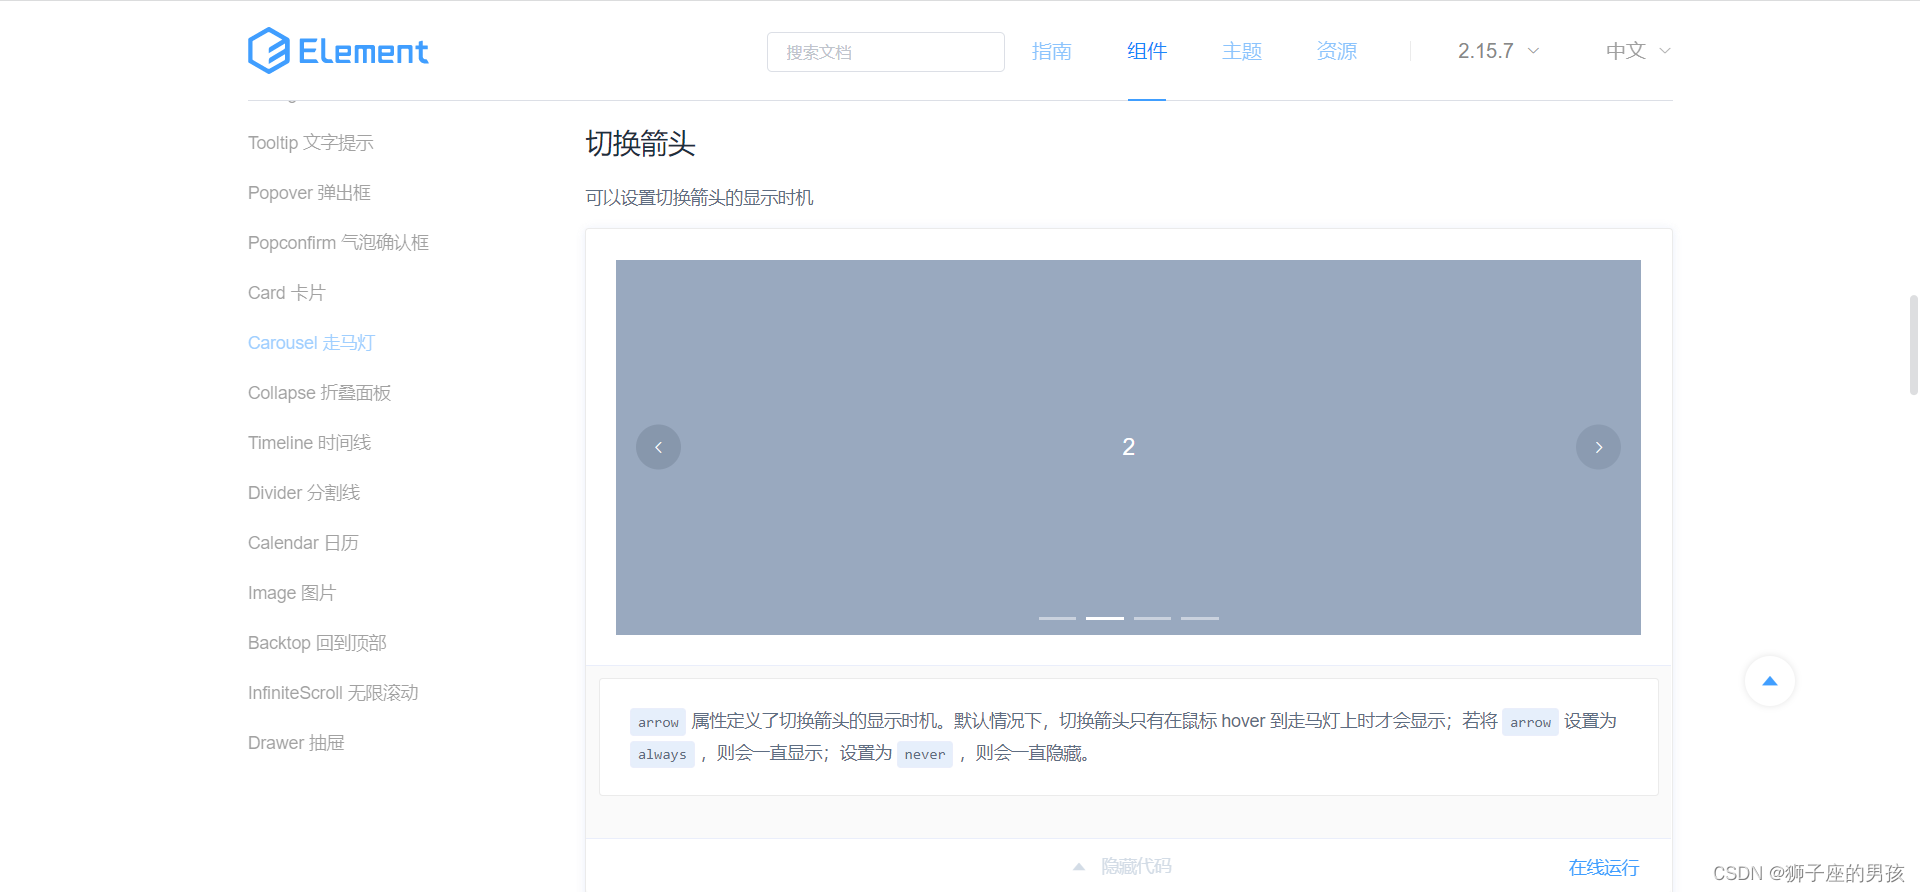
其一、Element-ui 自提供的代码情况为(示例的代码,例子如下):
// Element-ui 自提供的代码:
<template>
  <el-carousel :interval="5000" arrow="always">
    <el-carousel-item v-for="item in 4" :key="item">
      <h3>{{ item }}</h3>
    </el-carousel-item>
  </el-carousel>
</template>

<style>
  .el-carousel__item h3 {
    color: #475669;
    font-size: 18px;
    opacity: 0.75;
    line-height: 300px;
    margin: 0;
  }

  .el-carousel__item:nth-child(2n) {
    background-color: #99a9bf;
  }

  .el-carousel__item:nth-child(2n+1) {
    background-color: #d3dce6;
  }
</style>
代码地址:https://element.eleme.cn/#/zh-CN/component/carousel
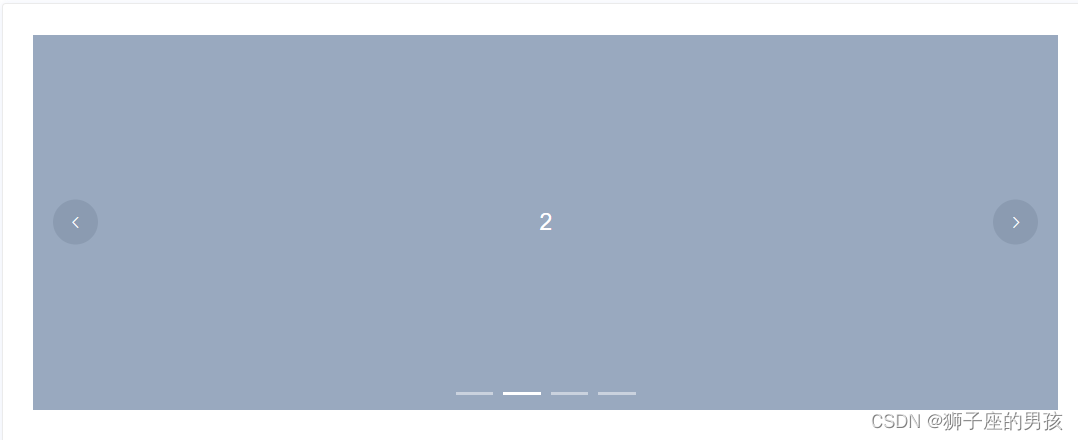
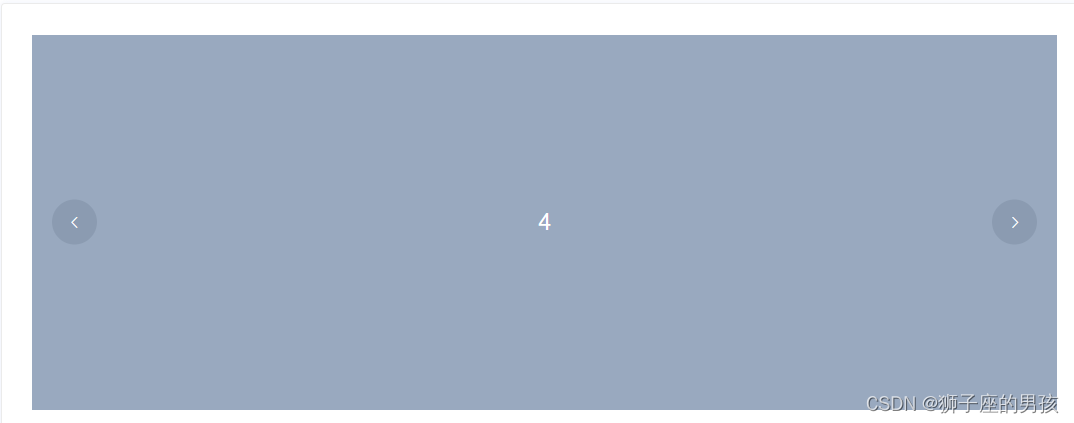
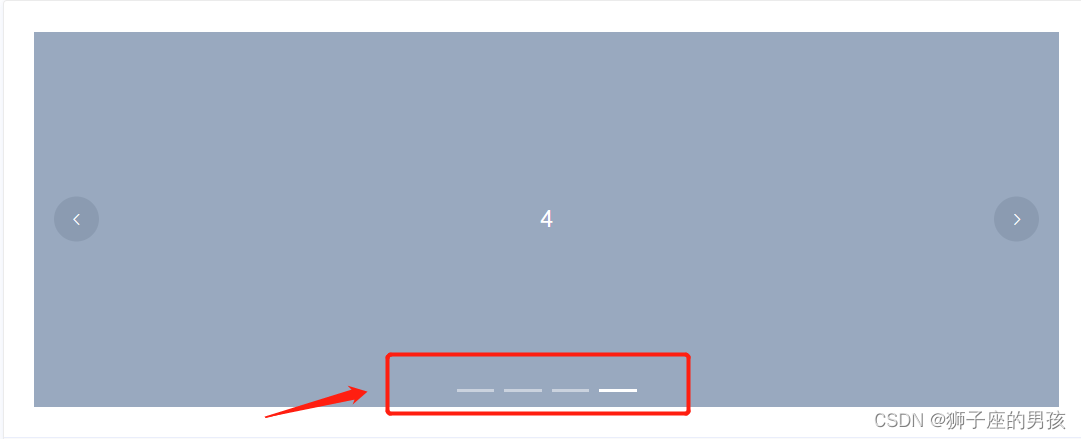
其二、页面的显示情况为:
1、 Carousel 自提供的代码的实践:
其一、代码为:
<template>
    <div>
        <div style="font-weight:bolder; font-size:20px">走马灯的使用:</div>
        <div>
            <div style="margin:20px 0;">方法一:原本样式</div>
            <div class="block" style="width:50%;">
                <el-carousel :interval="5000" arrow="always">
                    <el-carousel-item v-for="item in arrayList" :key="item">
                    <h3>{{ item }}</h3>
                    </el-carousel-item>
                </el-carousel>
            </div>
        </div>
    </div>
</template>

<script>
export default {
    data() {
        return {
            arrayList:['王二','张三','李四','麻五']
        }
    }
}
</script>

<style lang="scss" scoped>
.block {
  .el-carousel__item h3 {
    color: #475669;
    font-size: 18px;
    opacity: 0.75;
    line-height: 100px;
    margin: 0;
  }
  .el-carousel__item:nth-child(2n) {
    background-color: #99a9bf;
  }
  .el-carousel__item:nth-child(2n+1) {
    background-color: #d3dce6;
  }
  // 此时是:设置 carousel 走马灯的高度为:100px;
  /deep/.el-carousel__container {
    height: 100px;
  }
}
</style>
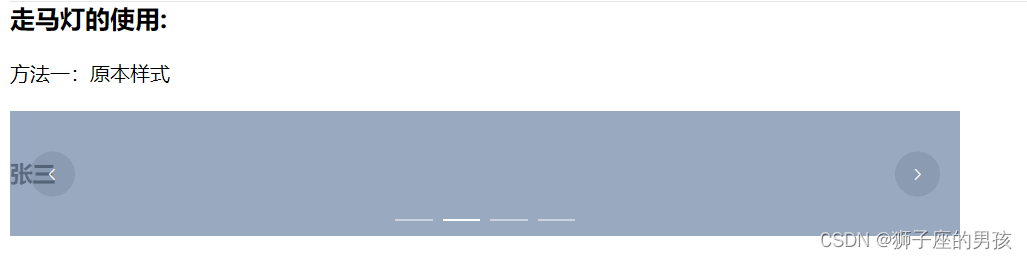
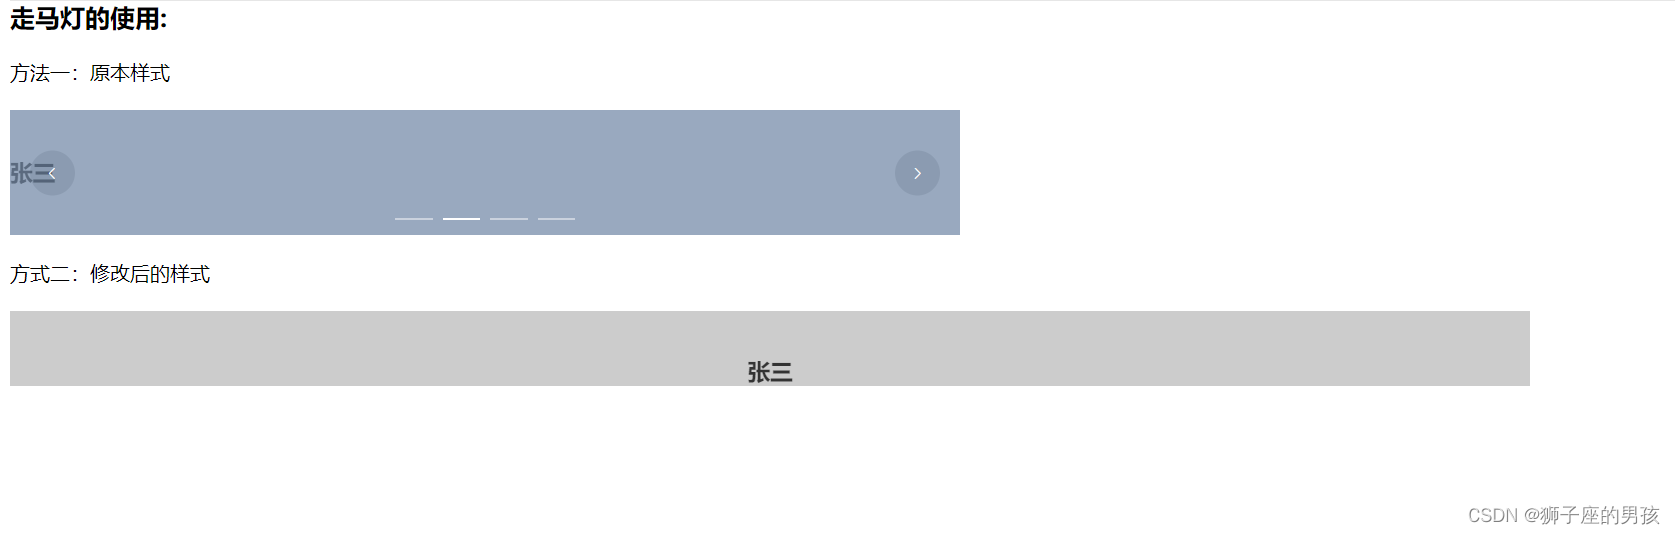
其二、页面展示为:
2、 Carousel 代码相关属性的使用:
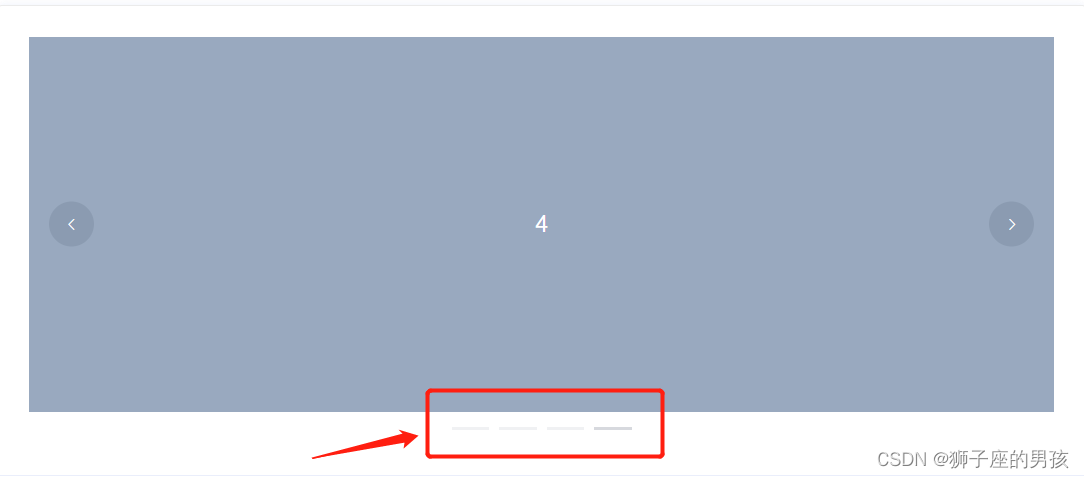
其一、indicator-position(指示器) 属性的使用:
A、代码:
indicator-position="none"     //此时的指示器就不显示了;

indicator-position="outside"  //表示指示器在外面显示;
// 而默认不设置的指示器是在里面的;
B、状态显示:
//显示器不显示的情况:
//显示器在内部的情况:
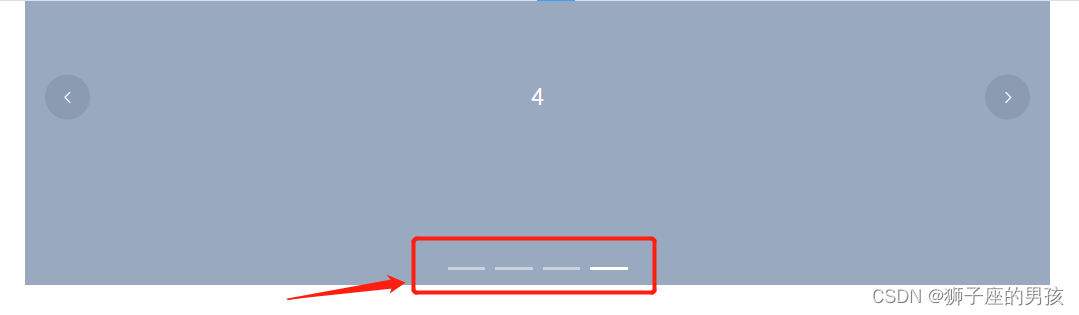
//显示器在外部的情况:
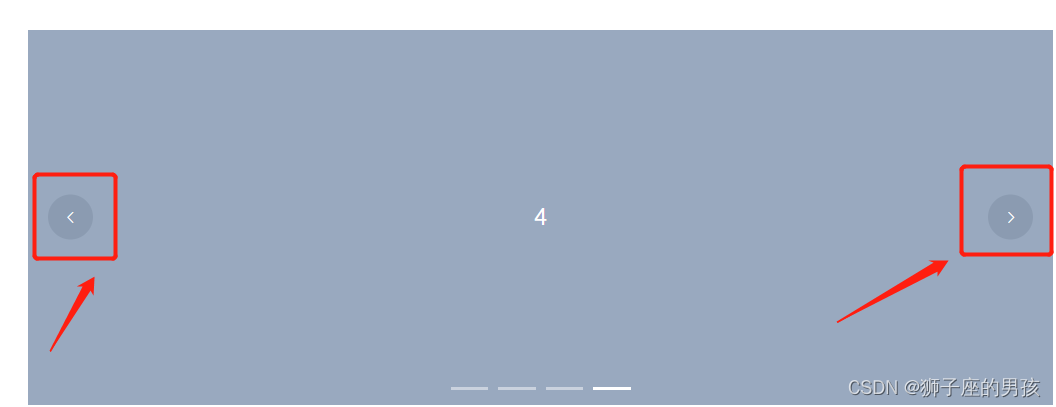
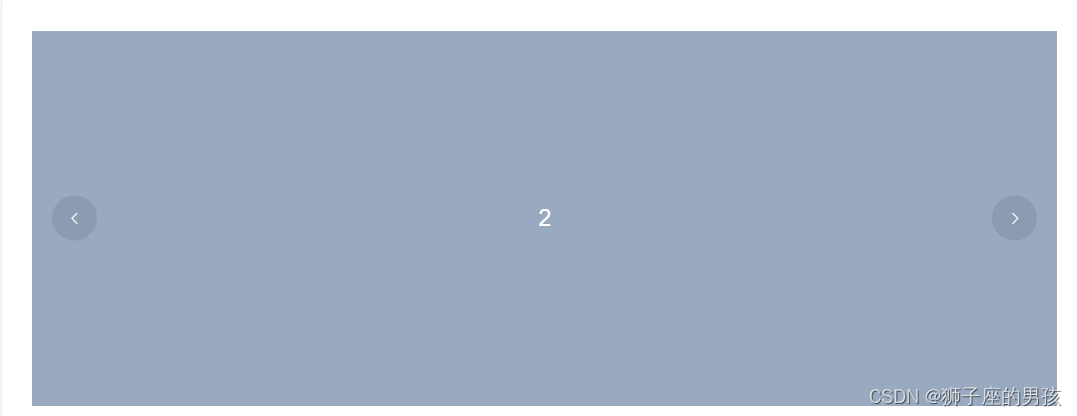
其二、arrow(箭头) 属性的使用:
A、代码:
arrow="always"     //此时是:箭头一直显示;

arrow="never"     //此时是:箭头不再显示;

// 默认是 hover 时箭头才显示(即:不设置 arrow 属性时)
B、状态显示:
//箭头一直显示的情况:
//箭头不显示的情况:

//箭头 hover 时显示的情况(即:此时仅 hover 时才显示箭头):
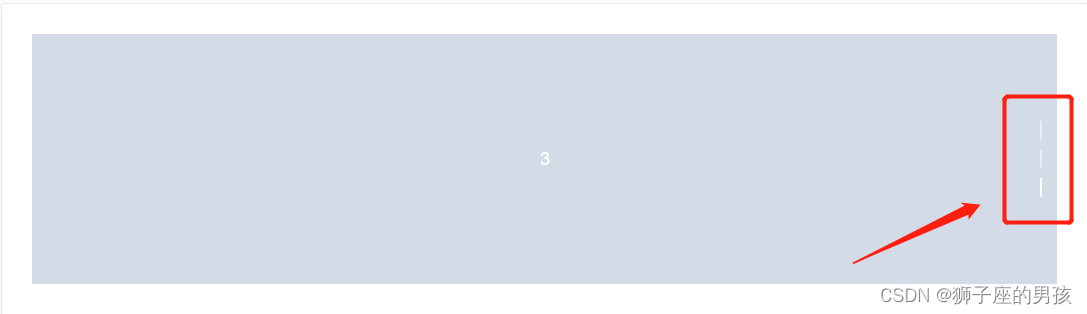
其三、direction(方向) 属性的使用:
A、代码:
direction="vertical"  //此时表示:让走马灯在垂直方向上显示;

 //而默认是:走马灯在水平方向上显示;
B、状态显示:
// 走马灯在水平方向上显示为:
// 走马灯在垂直方向上显示为:
其四、autoplay(是否自动播放) 属性的使用:
:autoplay="false"   //此时表示是:非自动播放;

//而默认是:自动播放;
3、 Carousel 代码相关样式修改的过程:
其一、走马灯高度设置:
  /deep/.el-carousel__container {
      height: 60px;
    }
其二、设置 item 背景色:
/deep/.el-carousel {
    .el-carousel__item {
      background-color: #ccc;  //设置每一个 item 待切换页面的背景色;
      margin-top: 0px;
    }
  }
其三、调整箭头大小:
 /deep/.el-carousel__arrow{
    font-size: 20px;
  }
其四、调整箭头的位置:
/deep/.el-carousel__arrow--left,
  /deep/.el-carousel__arrow--right{
    background-color: transparent !important; // 此时是将其外面的圆框变成透明(即:彻底消失);
    position: relative;
    top: 7px;
  }
  /deep/.el-carousel__arrow--left {
      left: 20px;
  }
  /deep/.el-carousel__arrow--right {
      left: 80px;
  }
3、 Carousel 代码相关样式修改的整体代码为:
其一、代码为:
<template>
    <div>
        <div>
            <div style="margin:20px 0;">方式二:修改后的样式</div><!-- 可以通过该 div 调整走马灯的位置; -->
            <div class="project" style="width:80%;margin-top:20px;"><!-- 通过外层的 project 类来调整走马灯的位置; -->
                <el-carousel :interval="5000" arrow="none" indicator-position="none" style="margin-top:20px;">
                  <!-- 也可以通过 el-carousel 的设置 style 属性来调整走马灯的位置; -->
                    <el-carousel-item v-for="item in arrayList" :key="item">
                    <h3>{{ item }}</h3>
                    </el-carousel-item>
                </el-carousel>
            </div>
        </div>
    </div>
</template>

<script>
export default {
    data() {
        return {
            arrayList:['王二','张三','李四','麻五']
        }
    }
}
</script>

<style lang="scss" scoped>
.project {
  //下面代码:此时是调整 arrayList 值的大小和位置;
  .el-carousel__item h3 {
    line-height: 60px;   //此时是调整 arrayList 的值上下位置;
    text-align: center;  //此时是使 arrayList 的值居中;
    font-size: 18px;
    opacity: 0.75;
  }

  //下面代码:此时是调整走马灯的高度,但设置不了盒子上面的距离(暂时没找到合适的 css 位置);
  /deep/.el-carousel__container {
      height: 60px;
    }

  /deep/.el-carousel {
    .el-carousel__item {
      background-color: #ccc;  //设置每一个 item 待切换页面的背景色;
      margin-top: 0px;
    }
  }

  //下面代码:此时是调整箭头的大小;
  /deep/.el-carousel__arrow{
    font-size: 20px;
  }

  //下面代码:此时是调整箭头的位置;
  /deep/.el-carousel__arrow--left,
  /deep/.el-carousel__arrow--right{
    background-color: transparent !important; // 此时是将其外面的圆框变成透明(即:彻底消失);
    position: relative;
    top: 7px;
  }
  /deep/.el-carousel__arrow--left {
    left: 20px;
  }
  /deep/.el-carousel__arrow--right {
    left: 80px;
  }
}
</style>
其二、页面显示为:

1、整体代码为:
<template>
    <div>
        <div style="font-weight:bolder; font-size:20px">走马灯的使用:</div>
        <div>
            <div style="margin:20px 0;">方法一:原本样式</div>
            <div class="block" style="width:50%;">
                <el-carousel :interval="5000" arrow="always">
                    <el-carousel-item v-for="item in arrayList" :key="item">
                    <h3>{{ item }}</h3>
                    </el-carousel-item>
                </el-carousel>
            </div>
        </div>
        <div>
            <div style="margin:20px 0;">方式二:修改后的样式</div><!-- 可以通过该 div 调整走马灯的位置; -->
            <div class="project" style="width:80%;margin-top:20px;"><!-- 通过外层的 project 类来调整走马灯的位置; -->
                <el-carousel :interval="5000" arrow="none" indicator-position="none" style="margin-top:20px;">
                  <!-- 也可以通过 el-carousel 的设置 style 属性来调整走马灯的位置; -->
                    <el-carousel-item v-for="item in arrayList" :key="item">
                    <h3>{{ item }}</h3>
                    </el-carousel-item>
                </el-carousel>
            </div>
        </div>
    </div>
</template>

<script>
export default {
    data() {
        return {
            arrayList:['王二','张三','李四','麻五']
        }
    }
}
</script>

<style lang="scss" scoped>
.block {
  .el-carousel__item h3 {
    color: #475669;
    font-size: 18px;
    opacity: 0.75;
    line-height: 100px;
    margin: 0;
  }
  .el-carousel__item:nth-child(2n) {
    background-color: #99a9bf;
  }
  .el-carousel__item:nth-child(2n+1) {
    background-color: #d3dce6;
  }
  /deep/.el-carousel__container {
    height: 100px;
  }
}
.project {
  //备用代码: 可能需要的 hover 状态;
  // &:hover {
    // /deep/.el-carousel__arrow--left,
    // /deep/.el-carousel__arrow--right{
    //     background-color: transparent !important;
    //     position: relative;
    //     top: 7px;
    // }
    // /deep/.el-carousel__arrow--left {
    //   left: -67px;
    // }
    // /deep/.el-carousel__arrow--right {
    //   right: -67px;
    // }
  // }

  //下面代码:此时是调整 arrayList 值的大小和位置;
  .el-carousel__item h3 {
    line-height: 60px;   //此时是调整 arrayList 的值上下位置;
    text-align: center;  //此时是使 arrayList 的值居中;
    font-size: 18px;
    opacity: 0.75;
  }

  //下面代码:此时是调整走马灯的高度,但设置不了盒子上面的距离(暂时没找到合适的 css 位置);
  /deep/.el-carousel__container {
      height: 60px;
    }

  /deep/.el-carousel {
    .el-carousel__item {
      background-color: #ccc;  //设置每一个 item 待切换页面的背景色;
      margin-top: 0px;
    }
  }

  //下面代码:此时是调整箭头的大小;
  /deep/.el-carousel__arrow{
    font-size: 20px;
  }

  //下面代码:此时是调整箭头的位置;
  /deep/.el-carousel__arrow--left,
  /deep/.el-carousel__arrow--right{
    background-color: transparent !important; // 此时是将其外面的圆框变成透明(即:彻底消失);
    position: relative;
    top: 7px;
  }
  /deep/.el-carousel__arrow--left {
    left: 20px;
  }
  /deep/.el-carousel__arrow--right {
    left: 80px;
  }
}

</style>
2、显示结果为:
其一、哪里有不对或不合适的地方,还请大佬们多多指点和交流!
其二、有兴趣的话,可以多多关注这个专栏(Vue(Vue2+Vue3)面试必备专栏):https://blog.csdn.net/weixin_43405300/category_11525646.html?spm=1001.2014.3001.5482
我正在使用i18n从头开始构建一个多语言网络应用程序,虽然我自己可以处理一大堆yml文件,但我说的语言(非常)有限,最终我想寻求外部帮助帮助。我想知道这里是否有人在使用UI插件/gem(与django上的django-rosetta不同)来处理多个翻译器,其中一些翻译器不愿意或无法处理存储库中的100多个文件,处理语言数据。谢谢&问候,安德拉斯(如果您已经在rubyonrails-talk上遇到了这个问题,我们深表歉意) 最佳答案 有一个rails3branchofthetolkgem在github上。您可以通过在Gemfi
我有一大串格式化数据(例如JSON),我想使用Psychinruby同时保留格式转储到YAML。基本上,我希望JSON使用literalstyle出现在YAML中:---json:|{"page":1,"results":["item","another"],"total_pages":0}但是,当我使用YAML.dump时,它不使用文字样式。我得到这样的东西:---json:!"{\n\"page\":1,\n\"results\":[\n\"item\",\"another\"\n],\n\"total_pages\":0\n}\n"我如何告诉Psych以想要的样式转储标量?解
我正在为一个项目制作一个简单的shell,我希望像在Bash中一样解析参数字符串。foobar"helloworld"fooz应该变成:["foo","bar","helloworld","fooz"]等等。到目前为止,我一直在使用CSV::parse_line,将列分隔符设置为""和.compact输出。问题是我现在必须选择是要支持单引号还是双引号。CSV不支持超过一个分隔符。Python有一个名为shlex的模块:>>>shlex.split("Test'helloworld'foo")['Test','helloworld','foo']>>>shlex.split('Test"
我有带有Logo图像的公司模型has_attached_file:logo我用他们的Logo创建了许多公司。现在,我需要添加新样式has_attached_file:logo,:styles=>{:small=>"30x15>",:medium=>"155x85>"}我是否应该重新上传所有旧数据以重新生成新样式?我不这么认为……或者有什么rake任务可以重新生成样式吗? 最佳答案 参见Thumbnail-Generation.如果rake任务不适合你,你应该能够在控制台中使用一个片段来调用重新处理!关于相关公司
按照目前的情况,这个问题不适合我们的问答形式。我们希望答案得到事实、引用或专业知识的支持,但这个问题可能会引发辩论、争论、投票或扩展讨论。如果您觉得这个问题可以改进并可能重新打开,visitthehelpcenter指导。关闭10年前。问题1)我想知道rubyonrails是否有功能类似于primefaces的gem。我问的原因是如果您使用primefaces(http://www.primefaces.org/showcase-labs/ui/home.jsf),开发人员无需担心javascript或jquery的东西。据我所知,JSF是一个规范,基于规范的各种可用实现,prim
相信很多人在录制视频的时候都会遇到各种各样的问题,比如录制的视频没有声音。屏幕录制为什么没声音?今天小编就和大家分享一下如何录制音画同步视频的具体操作方法。如果你有录制的视频没有声音,你可以试试这个方法。 一、检查是否打开电脑系统声音相信很多小伙伴在录制视频后会发现录制的视频没有声音,屏幕录制为什么没声音?如果当时没有打开音频录制,则录制好的视频是没有声音的。因此,建议在录制前进行检查。屏幕上没有声音,很可能是因为你的电脑系统的声音被禁止了。您只需打开电脑系统的声音,即可录制音频和图画同步视频。操作方法:步骤1:点击电脑屏幕右下侧的“小喇叭”图案,在上方的选项中,选择“声音”。 步骤2:在“声
首先回顾一下拉格朗日定理的内容:函数f(x)是在闭区间[a,b]上连续、开区间(a,b)上可导的函数,那么至少存在一个,使得:通过这个表达式我们可以知道,f(x)是函数的主体,a和b可以看作是主体函数f(x)中所取的两个值。那么可以有, 也就意味着我们可以用来替换 这种替换可以用在求某些多项式差的极限中。方法: 外层函数f(x)是一致的,并且h(x)和g(x)是等价无穷小。此时,利用拉格朗日定理,将原式替换为 ,再进行求解,往往会省去复合函数求极限的很多麻烦。使用要注意:1.要先找到主体函数f(x),即外层函数必须相同。2.f(x)找到后,复合部分是等价无穷小。3.要满足作差的形式。如果是加
深度学习部署:Windows安装pycocotools报错解决方法1.pycocotools库的简介2.pycocotools安装的坑3.解决办法更多Ai资讯:公主号AiCharm本系列是作者在跑一些深度学习实例时,遇到的各种各样的问题及解决办法,希望能够帮助到大家。ERROR:Commanderroredoutwithexitstatus1:'D:\Anaconda3\python.exe'-u-c'importsys,setuptools,tokenize;sys.argv[0]='"'"'C:\\Users\\46653\\AppData\\Local\\Temp\\pip-instal
最近因为项目需要,需要将Android手机系统自带的某个系统软件反编译并更改里面某个资源,并重新打包,签名生成新的自定义的apk,下面我来介绍一下我的实现过程。APK修改,分为以下几步:反编译解包,修改,重打包,修改签名等步骤。安卓apk修改准备工作1.系统配置好JavaJDK环境变量2.需要root权限的手机(针对系统自带apk,其他软件免root)3.Auto-Sign签名工具4.apktool工具安卓apk修改开始反编译本文拿Android系统里面的Settings.apk做demo,具体如何将apk获取出来在此就不过多介绍了,直接进入主题:按键win+R输入cmd,打开命令窗口,并将路
原始问题Letd(n)bedefinedasthesumofproperdivisorsofn(numberslessthannwhichdivideevenlyinton).Ifd(a)=bandd(b)=a,whereab,thenaandbareanamicablepairandeachofaandbarecalledamicablenumbers.Forexample,theproperdivisorsof220are1,2,4,5,10,11,20,22,44,55and110;therefored(220)=284.Theproperdivisorsof284are1,2,