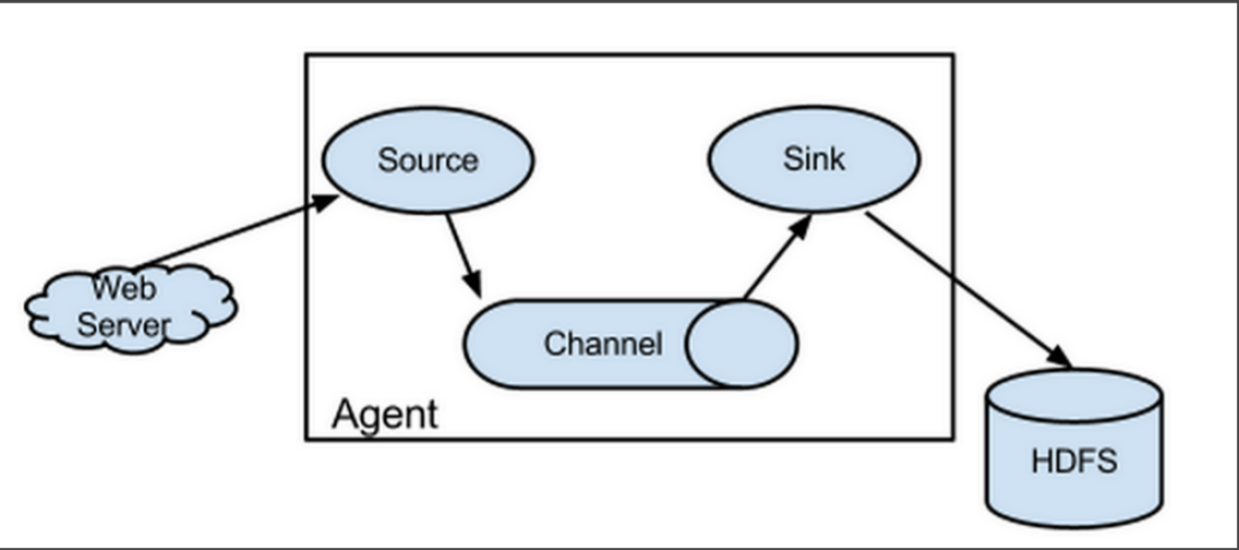
Flume是Cloudera提供的一个高可用的,高可靠的,分布式的海量日志采集、聚合和传输的系统,Flume支持在日志系统中定制各类数据发送方,用于收集数据;同时,Flume提供对数据进行简单处理,并写到各种数据接受方(可定制)的能力。
当前Flume有两个版本Flume 0.9X版本的统称Flume-og,Flume1.X版本的统称Flume-ng。由于Flume-ng经过重大重构,与Flume-og有很大不同,使用时请注意区分。
系统:Centos7.9x64

主机名:
cat /etc/hosts
----
192.168.100.11  node01.flyfish.cn
192.168.100.12  node02.flyfish.cn
192.168.100.13  node03.flyfish.cn
192.168.100.14  node04.flyfish.cn
192.168.100.15  node05.flyfish.cn
192.168.100.16  node06.flyfish.cn
192.168.100.17  node07.flyfish.cn
192.168.100.18  node08.flyfish.cn
----
在node01.flyfish.cn 节点上面执行:
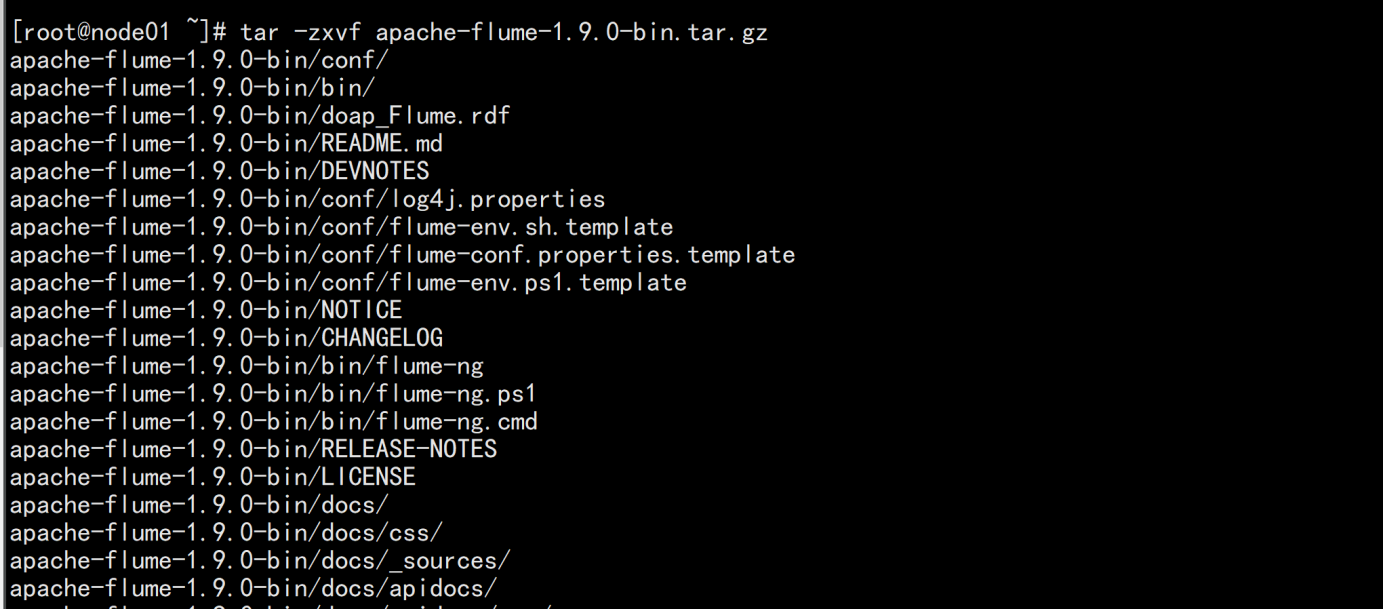
上传 apache-flume-1.9.0-bin.tar.gz 的 包到 /opt/bigdata 解压
tar -zxvf apache-flume-1.9.0-bin.tar.gz
mv apache-flume-1.9.0-bin /opt/bigdata/flume

cd /opt/bigdata/flume/conf
cp -p flume-env.sh.template flume-env.sh

echo "JAVA_HOME=/opt/bigdata/jdk" >> flume-env.sh

vim /etc/profile
-----
加上flume的环境变量
#### flume
export FLUME_HOME=/opt/bigdata/flume
PATH=$PATH:$HOME/bin:$FLUME_HOME/bin:$FLUME_HOME/sbin
----
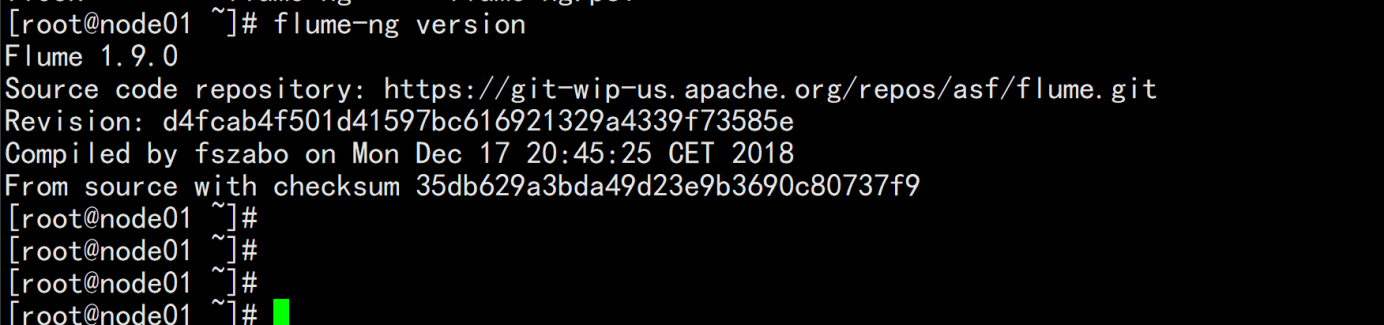
source /etc/profile
Flume-ng version
cd /opt/bigdata/flume/conf
vim test-flume.properties
---
# example.conf: A single-node Flume configuration

# Name the components on this agent
a1.sources = r1
a1.sinks = k1
a1.channels = c1

# Describe/configure the source
a1.sources.r1.type = netcat
a1.sources.r1.bind = localhost
a1.sources.r1.port = 44444

# Describe the sink
a1.sinks.k1.type = logger

# Use a channel which buffers events in memory
a1.channels.c1.type = memory
a1.channels.c1.capacity = 1000
a1.channels.c1.transactionCapacity = 100

# Bind the source and sink to the channel
a1.sources.r1.channels = c1
a1.sinks.k1.channel = c1
----
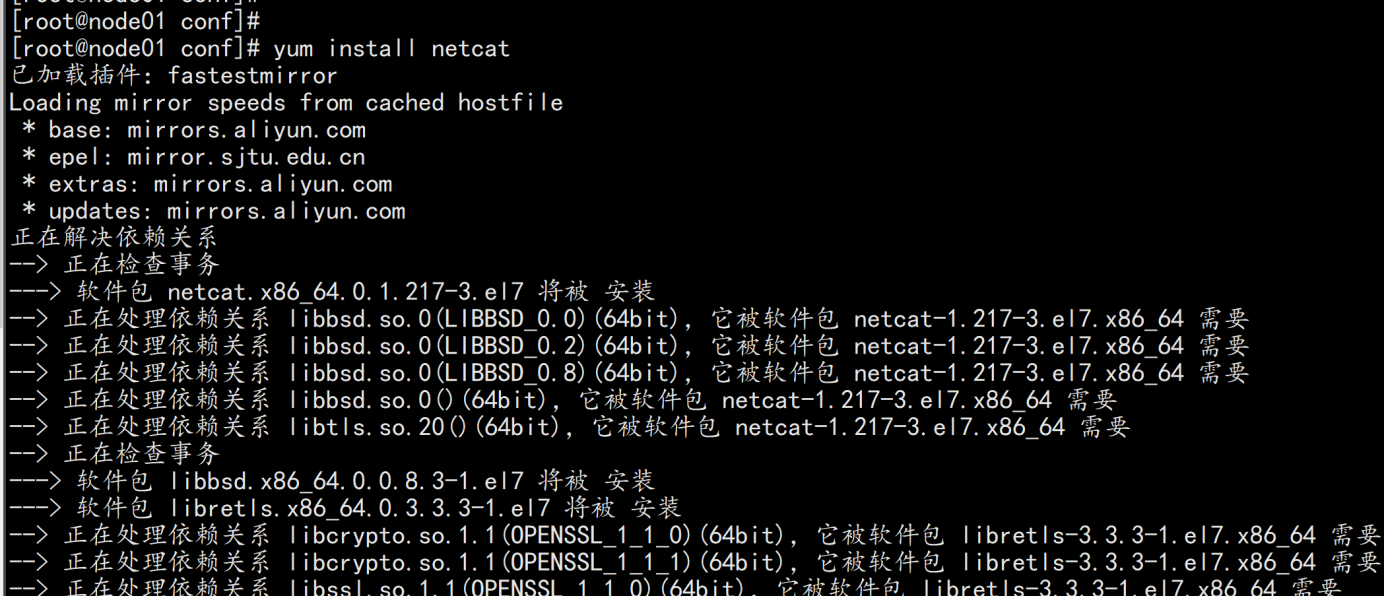
yum install -y telnet-* netcat-*

运行一个agent 实例
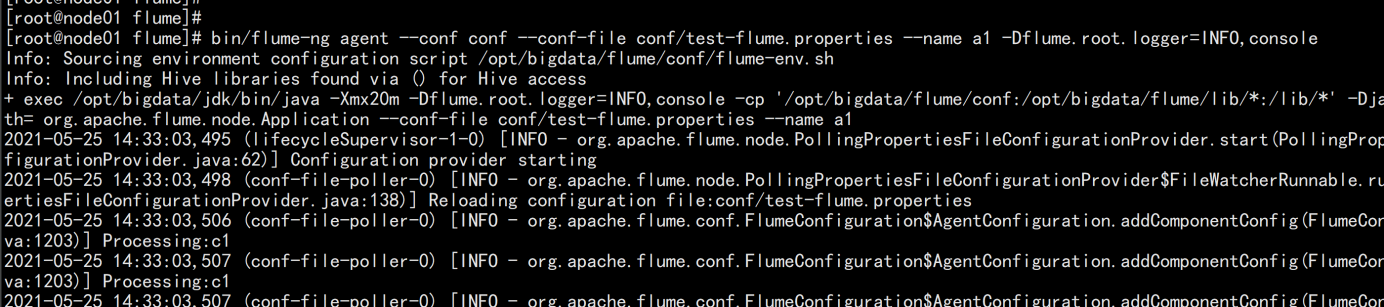
cd /opt/bigdata/flume/
bin/flume-ng agent --conf conf --conf-file conf/test-flume.properties --name a1 -Dflume.root.logger=INFO,console
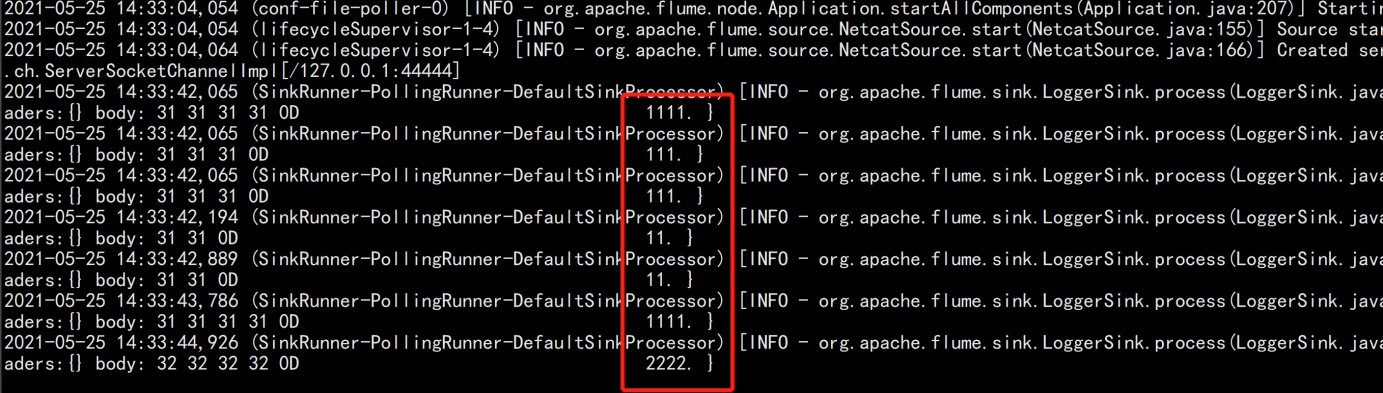
测试:
telnet localhost 44444

验证:
Flume-ng最大的改动就是不再有分工角色设置,所有的都是agent,可以彼此之间相连,多个agent连到一个agent,此agent也就相当于collector了,NG也支持负载均衡.
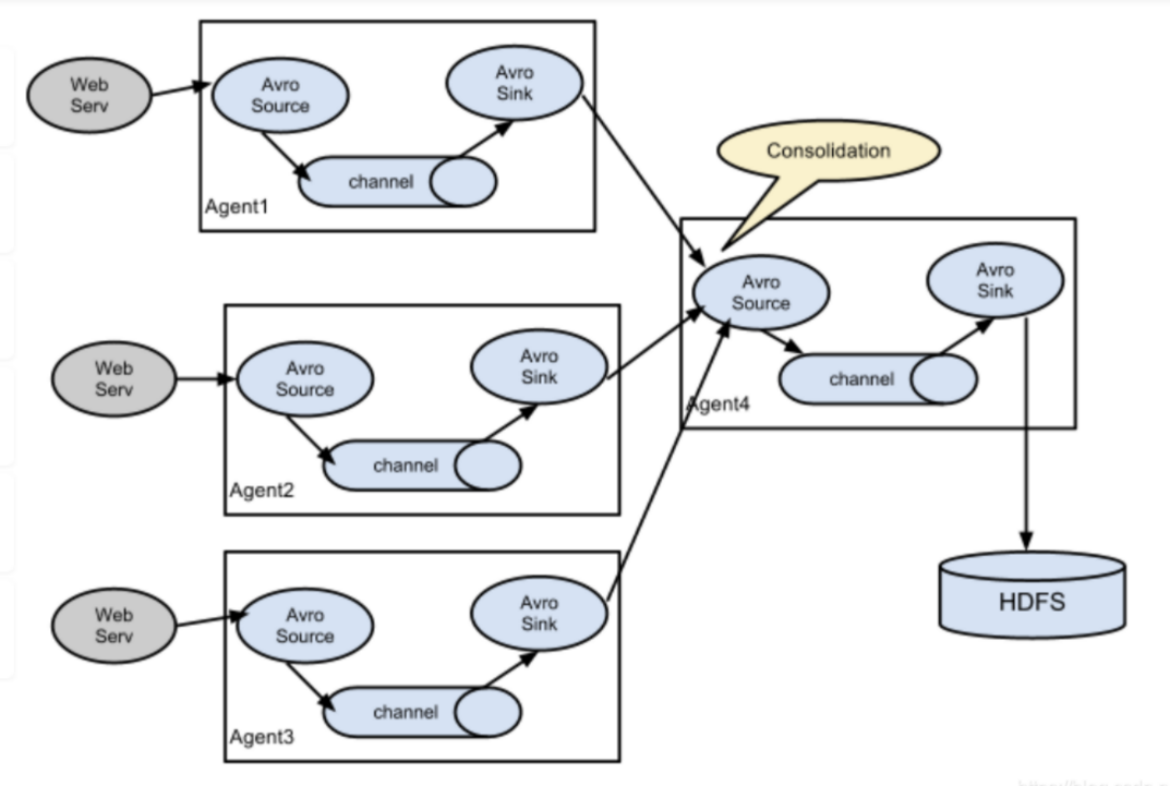
由node02.flyfish.cn和node03.flyfish.cn收集日志信息,传给node01.flyfish.cn,再由node01.flyfish.cn上传到hdfs上
打包 node01.flyfish 节点的flume
cd /opt/bigdata/
tar -zcvf flume.tar.gz flume
scp flume.tar.gz root@node02.flyfish.cn:/opt/bigdata/
scp flume.tar.gz root@node03.flyfish.cn:/opt/bigdata/
node02.flyfish.cn与node03.flyfish.cn 上面配置
cd /opt/bigdata/
tar -zxvf flume.tar.gz
cd /opt/bigdata/flume/conf
vim slave.conf
-----
# 主要作用是监听目录中的新增数据,采集到数据之后,输出到avro (输出到agent)
# 注意:Flume agent的运行,主要就是配置source channel sink
# 下面的a1就是agent的代号,source叫r1 channel叫c1 sink叫k1

a1.sources = r1
a1.sinks = k1
a1.channels = c1

#具体定义source
a1.sources.r1.type = spooldir
#先创建此目录,保证里面空的
a1.sources.r1.spoolDir = /opt/bigdata/flume/logs

#对于sink的配置描述 使用avro日志做数据的消费
a1.sinks.k1.type = avro
# hostname是最终传给的主机名称或者ip地址
a1.sinks.k1.hostname = node01.flyfish.cn
a1.sinks.k1.port = 44444

#对于channel的配置描述 使用文件做数据的临时缓存 这种的安全性要高
a1.channels.c1.type = file
a1.channels.c1.checkpointDir = /opt/bigdata/flume/checkpoint
a1.channels.c1.dataDirs = /opt/bigdata/flume/data

#通过channel c1将source r1和sink k1关联起来
a1.sources.r1.channels = c1
a1.sinks.k1.channel = c1
配置flume 的master 端:node01.flyfish.cn
cd /opt/bigdata/flume/conf
vim master.conf
----
# 获取slave1,2上的数据,聚合起来,传到hdfs上面
# 注意:Flume agent的运行,主要就是配置source channel sink
# 下面的a1就是agent的代号,source叫r1 channel叫c1 sink叫k1
a1.sources = r1
a1.sinks = k1
a1.channels = c1
#对于source的配置描述 监听avro
a1.sources.r1.type = avro
# hostname是最终传给的主机名称或者ip地址
a1.sources.r1.bind = node01.flyfish.cn
a1.sources.r1.port = 44444
#定义拦截器,为消息添加时间戳
a1.sources.r1.interceptors = i1
a1.sources.r1.interceptors.i1.type = org.apache.flume.interceptor.TimestampInterceptor$Builder
#对于sink的配置描述 传递到hdfs上面
a1.sinks.k1.type = hdfs
#集群的nameservers名字
#单节点的直接写:hdfs://192.168.100.11:8020
#ns是hadoop集群名称 [这个地方前提已经搭好了hadoop2.7.7]
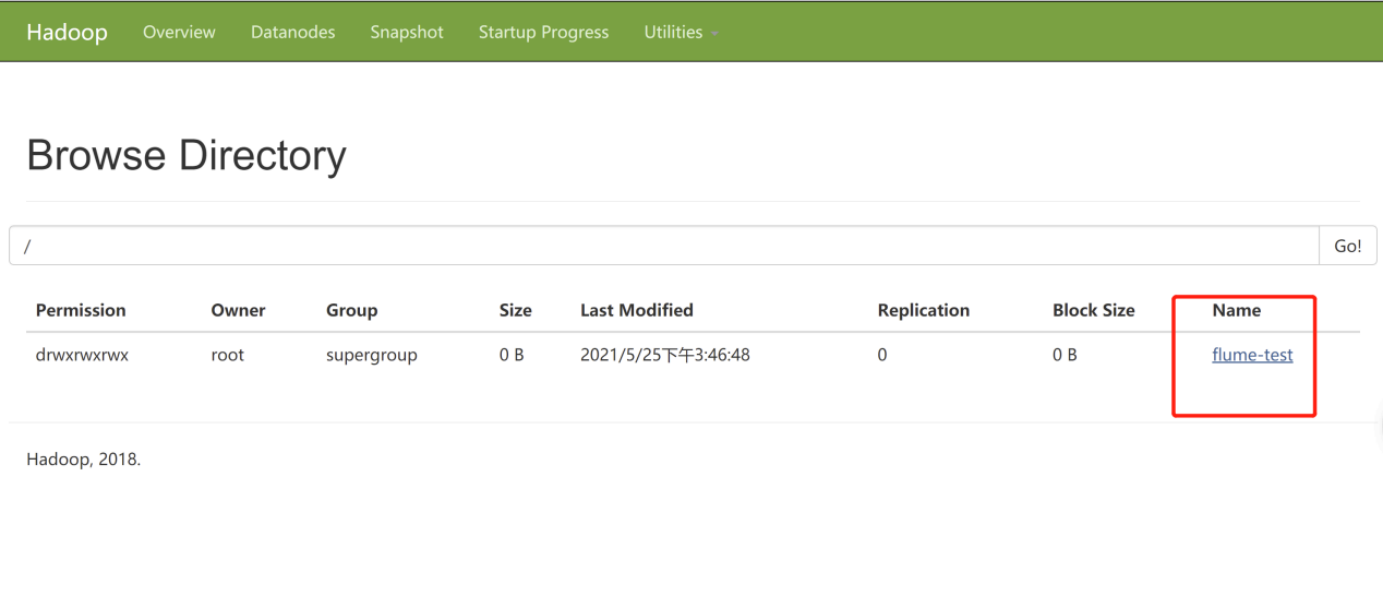
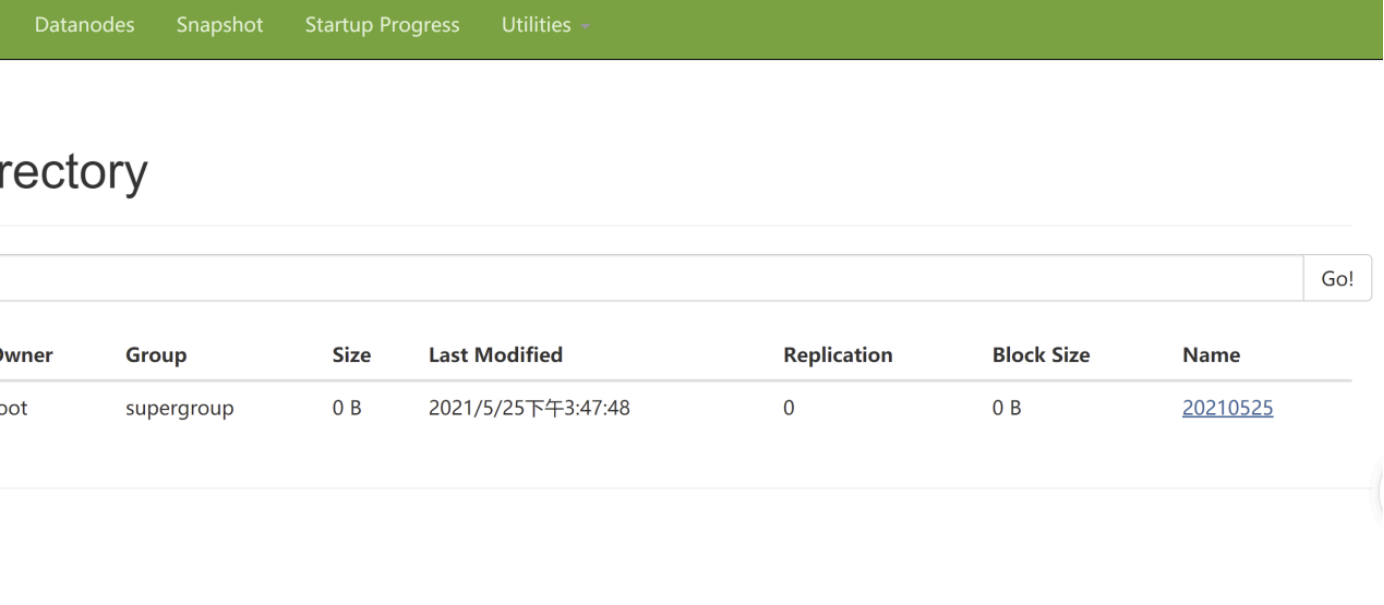
a1.sinks.k1.hdfs.path = hdfs://192.168.100.11:8020/flume-test/%Y%m%d
a1.sinks.k1.hdfs.filePrefix = events-
a1.sinks.k1.hdfs.fileType = DataStream
#不按照条数生成文件
a1.sinks.k1.hdfs.rollCount = 0
#HDFS上的文件达到128M时生成一个文件
a1.sinks.k1.hdfs.rollSize = 134217728
#HDFS上的文件达到60秒生成一个文件
a1.sinks.k1.hdfs.rollInterval = 60
#对于channel的配置描述 使用内存缓冲区域做数据的临时缓存
a1.channels.c1.type = memory
a1.channels.c1.capacity = 1000
a1.channels.c1.transactionCapacity = 100
#通过channel c1将source r1和sink k1关联起来
a1.sources.r1.channels = c1
a1.sinks.k1.channel = c1
----
node01.flyfish.cn:
cd /opt/bigdata/flume/
mkdir logs
 nohup bin/flume-ng agent -n a1 -c conf -f conf/master.conf -Dflume.root.logger=INFO,console >> flume.logs &

node02.flyfish.cn与node03.flyfish.cn
cd /opt/bigdata/flume/
mkdir logs
nohup bin/flume-ng agent -n a1 -c conf -f conf/slave.conf -Dflume.root.logger=INFO,console >> flume.logs &


node01.flyfish.cn:
hdfs dfs -mkdir /flume-test/
hdfs dfs -chmod 777 /flume-test/

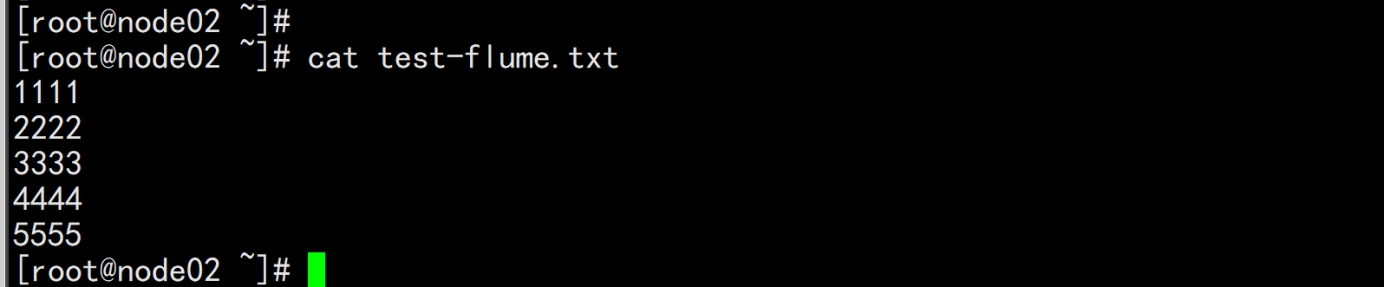
node02.flyfish.cn:
vim test-flume.txt
-----
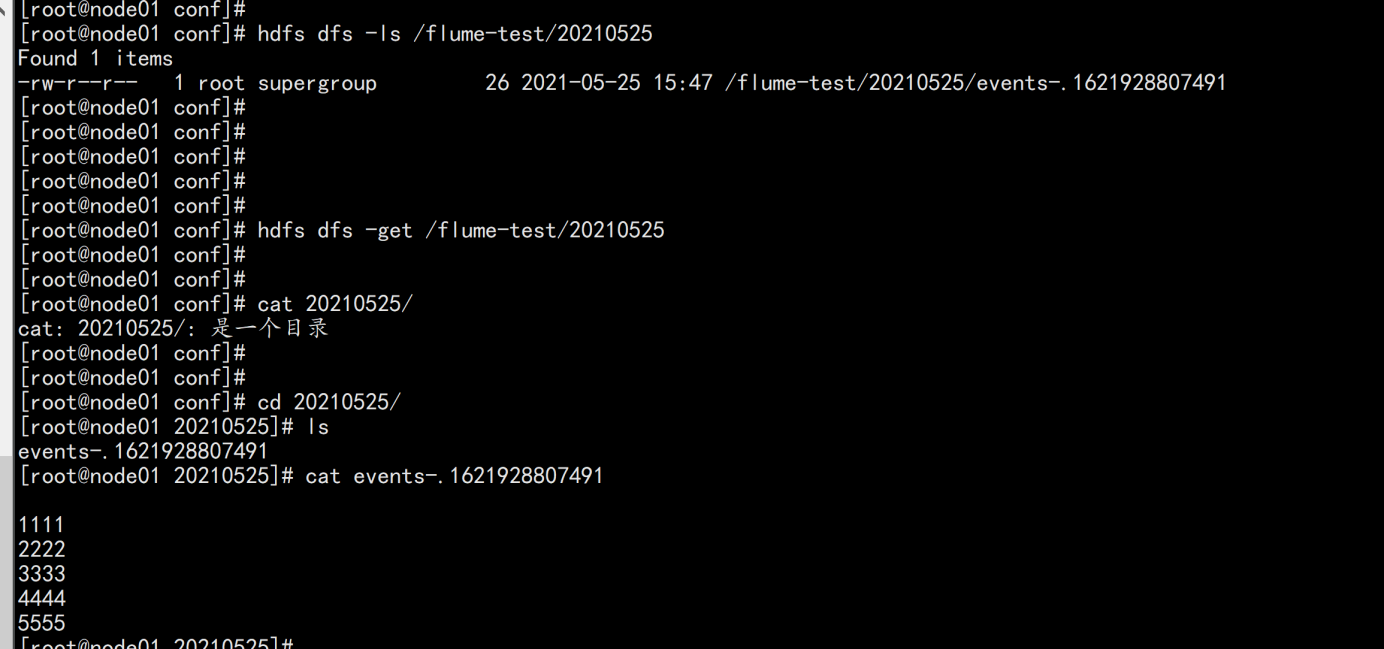
11111
22222
33333
44444
55555
-----
cp -p test-flume.txt /opt/bigdata/flume/logs

去hdfs的页面上查看
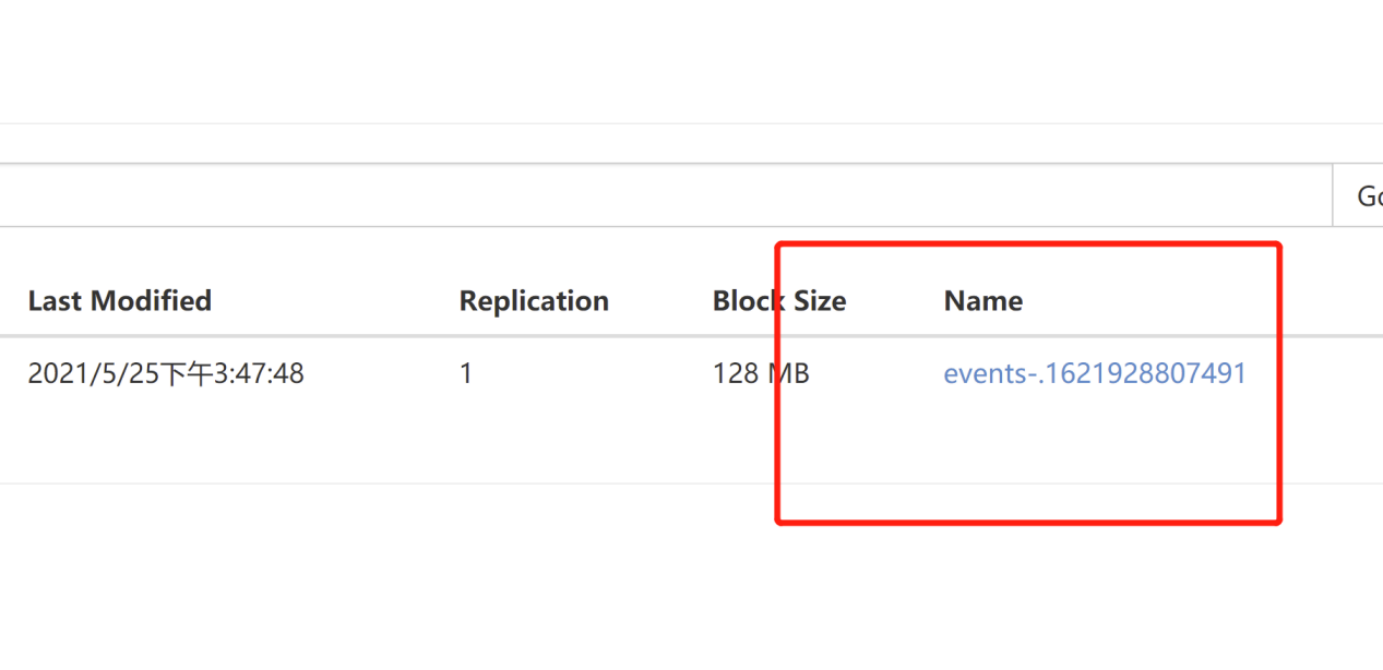
将这个数据download下来
node01.flyfish.cn:
 hdfs dfs -get /flume-test/20210525
 cat events-.1621928807491
很好奇,就使用rubyonrails自动化单元测试而言,你们正在做什么?您是否创建了一个脚本来在cron中运行rake作业并将结果邮寄给您?git中的预提交Hook?只是手动调用?我完全理解测试,但想知道在错误发生之前捕获错误的最佳实践是什么。让我们理所当然地认为测试本身是完美无缺的,并且可以正常工作。下一步是什么以确保他们在正确的时间将可能有害的结果传达给您? 最佳答案 不确定您到底想听什么,但是有几个级别的自动代码库控制:在处理某项功能时,您可以使用类似autotest的内容获得关于哪些有效,哪些无效的即时反馈。要确保您的提
我正在编写一个包含C扩展的gem。通常当我写一个gem时,我会遵循TDD的过程,我会写一个失败的规范,然后处理代码直到它通过,等等......在“ext/mygem/mygem.c”中我的C扩展和在gemspec的“扩展”中配置的有效extconf.rb,如何运行我的规范并仍然加载我的C扩展?当我更改C代码时,我需要采取哪些步骤来重新编译代码?这可能是个愚蠢的问题,但是从我的gem的开发源代码树中输入“bundleinstall”不会构建任何native扩展。当我手动运行rubyext/mygem/extconf.rb时,我确实得到了一个Makefile(在整个项目的根目录中),然后当
我有一个围绕一些对象的包装类,我想将这些对象用作散列中的键。包装对象和解包装对象应映射到相同的键。一个简单的例子是这样的:classAattr_reader:xdefinitialize(inner)@inner=innerenddefx;@inner.x;enddef==(other)@inner.x==other.xendenda=A.new(o)#oisjustanyobjectthatallowso.xb=A.new(o)h={a=>5}ph[a]#5ph[b]#nil,shouldbe5ph[o]#nil,shouldbe5我试过==、===、eq?并散列所有无济于事。
我有一些Ruby代码,如下所示:Something.createdo|x|x.foo=barend我想编写一个测试,它使用double代替block参数x,这样我就可以调用:x_double.should_receive(:foo).with("whatever").这可能吗? 最佳答案 specify'something'dox=doublex.should_receive(:foo=).with("whatever")Something.should_receive(:create).and_yield(x)#callthere
Sinatra新手;我正在运行一些rspec测试,但在日志中收到了一堆不需要的噪音。如何消除日志中过多的噪音?我仔细检查了环境是否设置为:test,这意味着记录器级别应设置为WARN而不是DEBUG。spec_helper:require"./app"require"sinatra"require"rspec"require"rack/test"require"database_cleaner"require"factory_girl"set:environment,:testFactoryGirl.definition_file_paths=%w{./factories./test/
我遵循MichaelHartl的“RubyonRails教程:学习Web开发”,并创建了检查用户名和电子邮件长度有效性的测试(名称最多50个字符,电子邮件最多255个字符)。test/helpers/application_helper_test.rb的内容是:require'test_helper'classApplicationHelperTest在运行bundleexecraketest时,所有测试都通过了,但我看到以下消息在最后被标记为错误:ERROR["test_full_title_helper",ApplicationHelperTest,1.820016791]test
我已经构建了一些serverspec代码来在多个主机上运行一组测试。问题是当任何测试失败时,测试会在当前主机停止。即使测试失败,我也希望它继续在所有主机上运行。Rakefile:namespace:specdotask:all=>hosts.map{|h|'spec:'+h.split('.')[0]}hosts.eachdo|host|begindesc"Runserverspecto#{host}"RSpec::Core::RakeTask.new(host)do|t|ENV['TARGET_HOST']=hostt.pattern="spec/cfengine3/*_spec.r
我在app/helpers/sessions_helper.rb中有一个帮助程序文件,其中包含一个方法my_preference,它返回当前登录用户的首选项。我想在集成测试中访问该方法。例如,这样我就可以在测试中使用getuser_path(my_preference)。在其他帖子中,我读到这可以通过在测试文件中包含requiresessions_helper来实现,但我仍然收到错误NameError:undefinedlocalvariableormethod'my_preference'.我做错了什么?require'test_helper'require'sessions_hel
我是Google云的新手,我正在尝试对其进行首次部署。我的第一个部署是RubyonRails项目。我基本上是在关注thisguideinthegoogleclouddocumentation.唯一的区别是我使用的是我自己的项目,而不是他们提供的“helloworld”项目。这是我的app.yaml文件runtime:customvm:trueentrypoint:bundleexecrackup-p8080-Eproductionconfig.ruresources:cpu:0.5memory_gb:1.3disk_size_gb:10当我转到我的项目目录并运行gcloudprevie
只是想确保我理解了事情。据我目前收集到的信息,Cucumber只是一个“包装器”,或者是一种通过将事物分类为功能和步骤来组织测试的好方法,其中实际的单元测试处于步骤阶段。它允许您根据事物的工作方式组织您的测试。对吗? 最佳答案 有点。它是一种组织测试的方式,但不仅如此。它的行为就像最初的Rails集成测试一样,但更易于使用。这里最大的好处是您的session在整个Scenario中保持透明。关于Cucumber的另一件事是您(应该)从使用您的代码的浏览器或客户端的角度进行测试。如果您愿意,您可以使用步骤来构建对象和设置状态,但通常您