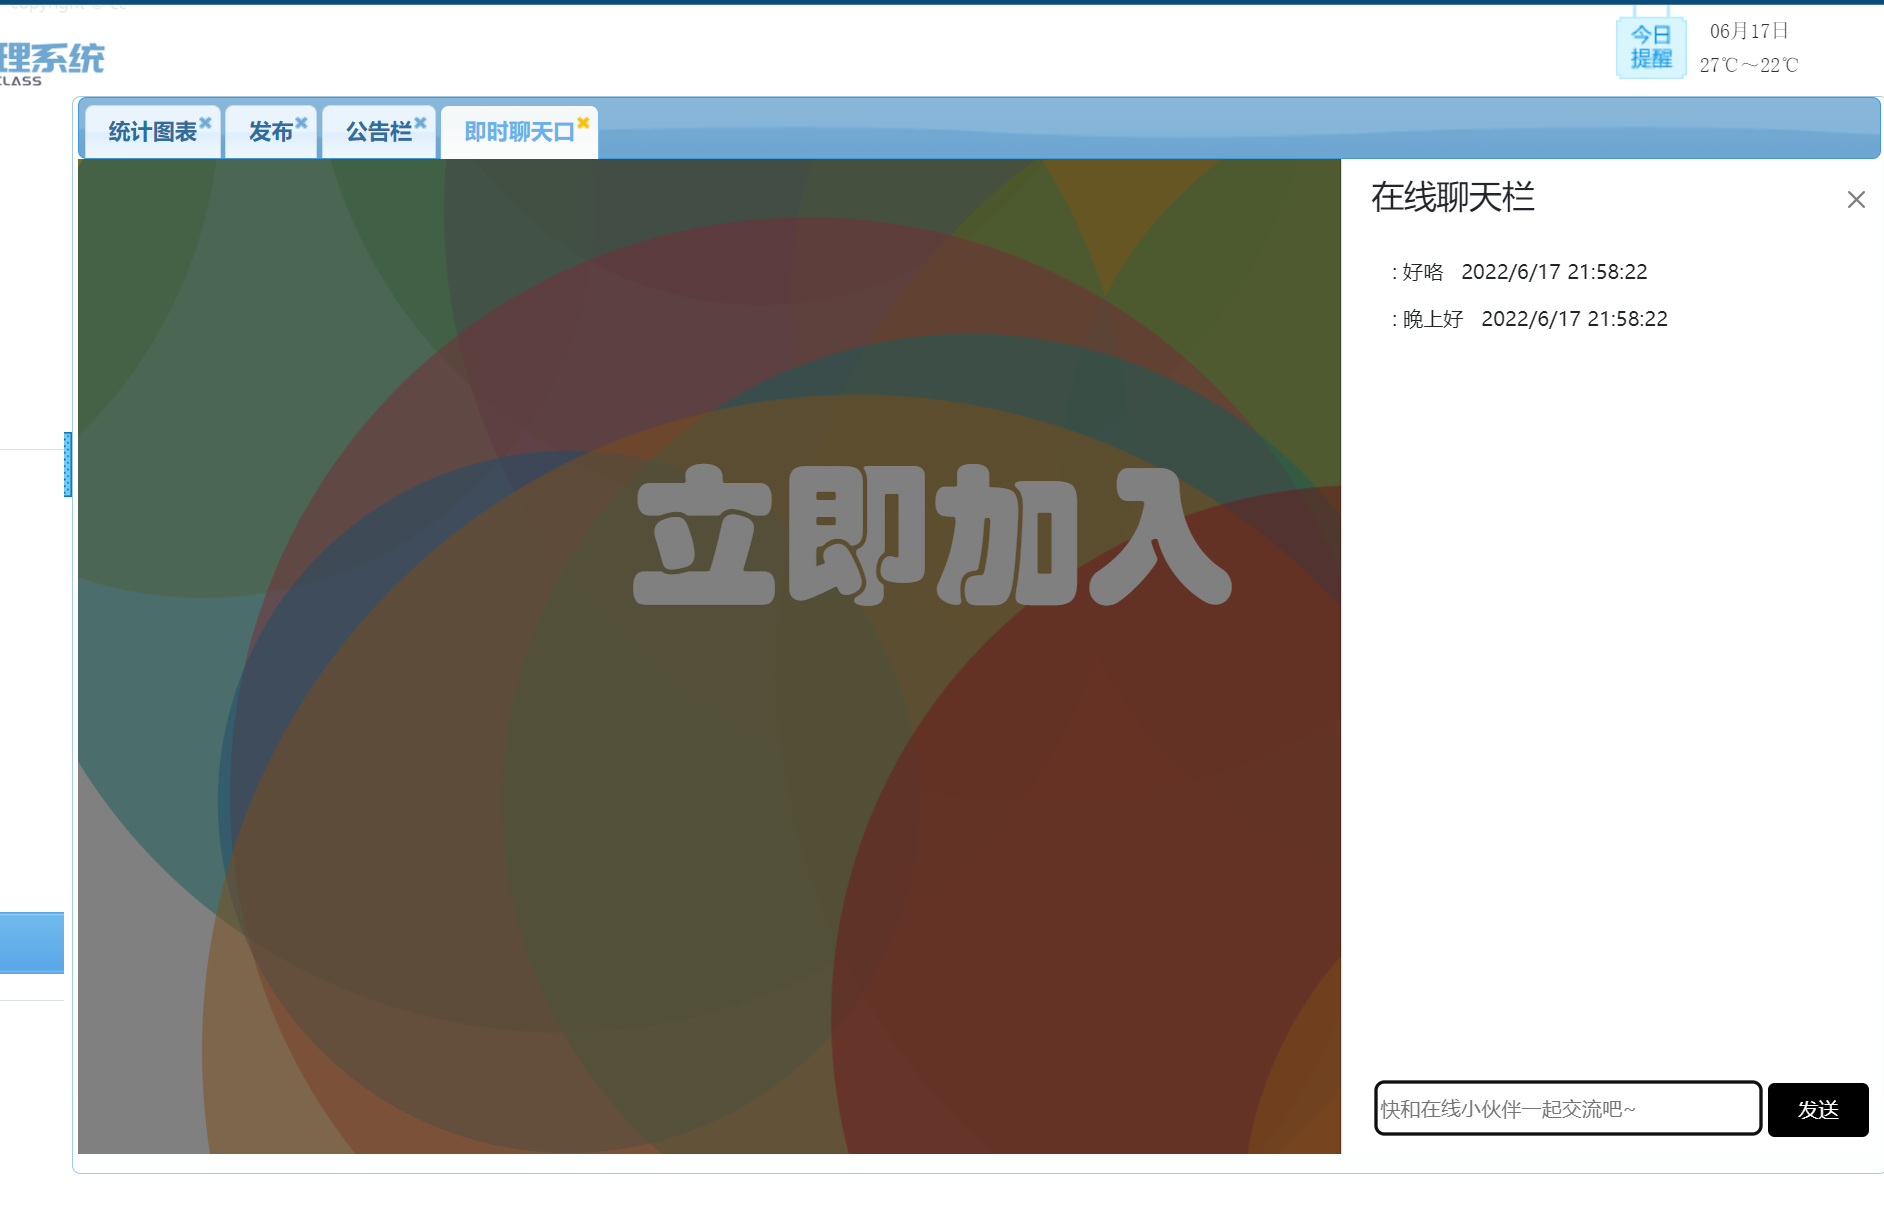
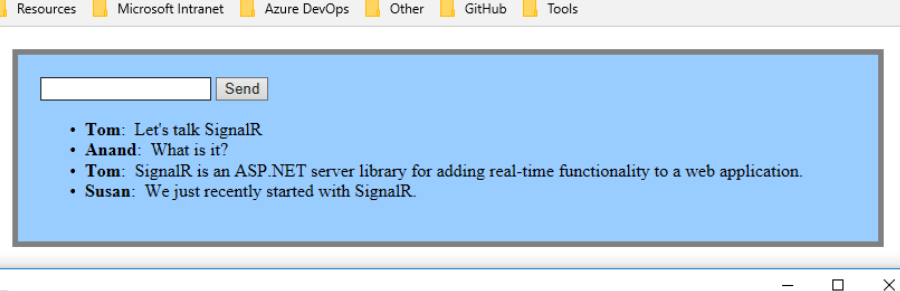
效果图先附上:
首先 这是我是参考 教程:使用 SignalR 2 和 MVC 5 实时聊天 | Microsoft Docs
先附上教程:
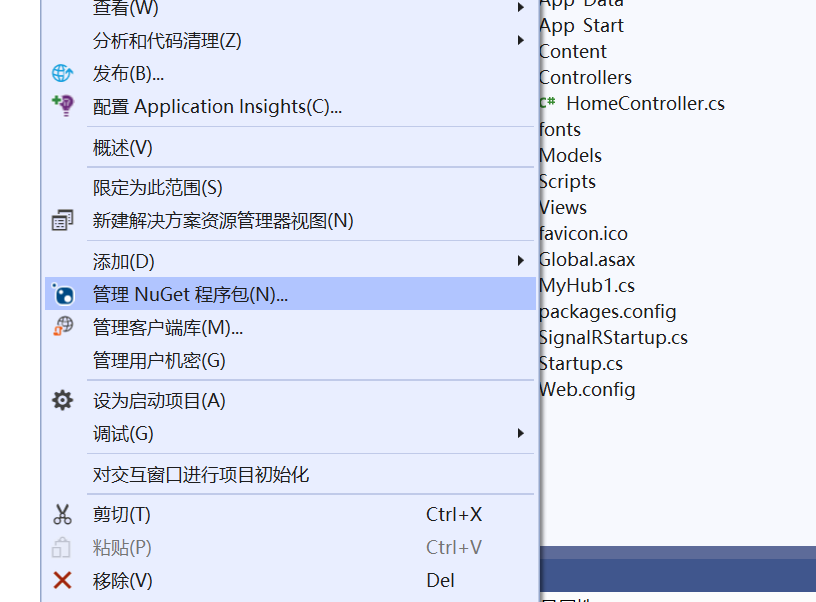
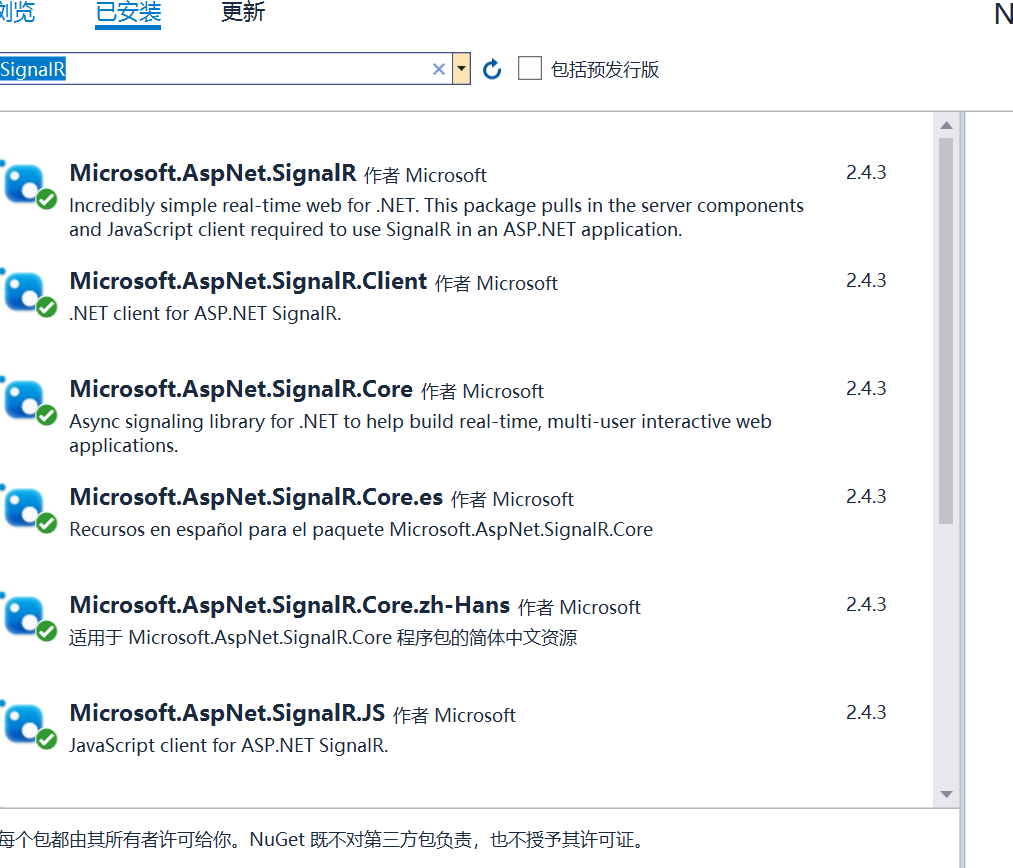
在“添加新项 - SignalRChat”中,选择 InstalledVisual> C#>WebSignalR>,然后选择 SignalR Hub 类 (v2) 。
将类 ChatHub 命名并添加到项目中。
此步骤将创建 ChatHub.cs 类文件,并将一组支持 SignalR 的脚本文件和程序集引用添加到项目中。

将新 ChatHub.cs 类文件中的代码替换为以下代码:
using System;
using System.Web;
using Microsoft.AspNet.SignalR;
namespace SignalRChat
{
    public class ChatHub : Hub
    {
        public void Send(string name, string message)
        {
            // Call the broadcastMessage method to update clients.
            Clients.All.broadcastMessage(name, message);
        }
    }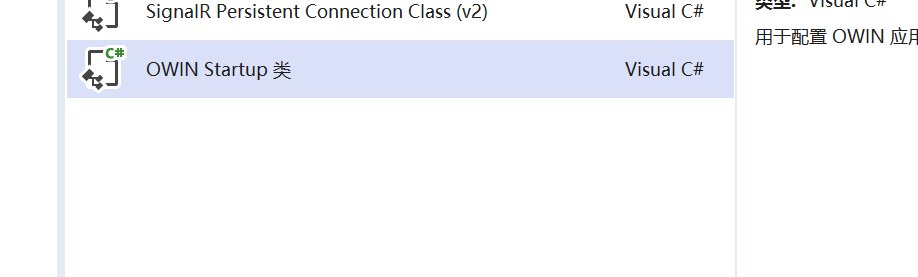
}在“添加新项 - SignalRChat”中选择“InstalledVisual> C#>Web”,然后选择“OWIN 启动类”。
将类 命名为 Startup 并将其添加到项目中。
将 Startup 类中的默认代码替换为以下代码:
using Microsoft.Owin;
using Owin;
[assembly: OwinStartup(typeof(SignalRChat.Startup))]
namespace SignalRChat
{
    public class Startup
    {
        public void Configuration(IAppBuilder app)
        {
            // Any connection or hub wire up and configuration should go here
            app.MapSignalR();
        }
    }
}
将前端视图的样式替换(注意是布局页 引用分部页,不是普通的视图)
 View Code
控制器
如果实现了以上 效果如图
如果要实现侧边栏展示 那么需要把内容替换一下
@{
ViewBag.Title = "Chat";
Layout = "~/Views/Shared/_LayoutChat.cshtml";
}
@using 奈班级学生管理系统.Models;
<style>
#content {
width: 263px;
height: 100%;
@* border: 1px solid #808080;*@
border-radius: 15px;
@*background-image: url('../../jsCSSImg/Images/mmexport1655381646980.jpg');*@
/*background-image: url('../../jsCSSImg/Images/QQ图片20220616195500.gif');*/
}
#foot {
position: fixed;
bottom: 10px;
margin-left: 10px;
white-space: nowrap;
/*不换行*/
}
.offcanvas {
overflow:auto;
}
.offcanvas-body{
margin-bottom:30px;
}
.ljjr {
color: white;
position: fixed;
left: 30%;
bottom: 55%;
width: auto;
height: 110px;
font-size: 90px;
font-family: 华文琥珀;
border: 0px;
/* border-radius: 20px; */
background-color: rgb(255,0,0,0.0);
}
</style>
<link href="~/Content/bootstrap.css" rel="stylesheet" />
<p id="UserName" style="display:none;">@ViewBag.name</p>
<p id="time" style="display:none;">@ViewBag.time</p>
<body>
<div id="tsparticles"><canvas class="tsparticles-canvas-el" width="2133" height="1249" style="width: 100%; height: 100%; position: fixed; z-index: -1; top: 0px; left: 0px; background-color: rgb(255, 255, 255); pointer-events: initial;"></canvas></div>
</body>
<button class="ljjr" type="button" data-bs-toggle="offcanvas" data-bs-target="#offcanvasRight" aria-controls="offcanvasRight">立即加入</button>
<div class="offcanvas offcanvas-end" style=" width:30%" tabindex="-1" id="offcanvasRight" aria-labelledby="offcanvasRightLabel">
<div class="offcanvas-header">
<h3 class="container">在线聊天栏</h3>
<hr style="color:#ccc" />
<button type="button" class="btn-close text-reset" data-bs-dismiss="offcanvas" aria-label="Close"></button>
</div>
<div class="offcanvas-body">
<div class="" id="content">
<ul id="discussion">
</ul>
<div id="foot">
<input placeholder="快和在线小伙伴一起交流吧~" type="text" id="message" style="width: 230px; border: 1px solid #000000;height:32px;border-radius:5px;" />
<input type="button" id="sendmessage" value="发送" class="btn" style="background-color: #000000; color: white; width: 22%; height: 32px; border-radius: 4px; " />
<input type="hidden" id="displayname" />
</div>
</div>
</div>
</div>
@section scripts {
<script src="~/Scripts/tsparticles.preset.bigCircles.bundle.js"></script>
<link href="https://cdn.staticfile.org/twitter-bootstrap/5.1.1/css/bootstrap.min.css" rel="stylesheet">
<script src="https://cdn.staticfile.org/twitter-bootstrap/5.1.1/js/bootstrap.bundle.min.js"></script>
<!--Script references. -->
<!--The jQuery library is required and is referenced by default in _Layout.cshtml. -->
<!--Reference the SignalR library. -->
<script src="~/Scripts/jquery.signalR-2.2.2.min.js"></script>
<script src="~/Scripts/jquery.signalR-2.4.3.js"></script>
@* <script src="~/Scripts/jquery.signalR-2.1.0.min.js"></script>*@
<!--Reference the autogenerated SignalR hub script. -->
<script src="~/signalr/hubs"></script>
<!--SignalR script to update the chat page and send messages.-->
<script>
tsParticles.load("tsparticles", { preset: "bigCircles" });
@* //在此代码块中,将在脚本中创建回调函数。*@
$(function () {
// Reference the auto-generated proxy for the hub.
var chat = $.connection.chatHub;
// Create a function that the hub can call back to display messages.
chat.client.addNewMessageToPage = function (name, message) {
// Add the message to the page.
var time = $("#time").html();
@* alert(time)*@
$('#discussion').append('<p><strong>' + htmlEncode(name)
+ '</strong>: ' + htmlEncode(message) +" "+time + '</p>');
};
// Get the user name and store it to prepend to messages.
var name = $("#UserName").html()
@* alert(name)*@
$('#displayname').val(name);
// Set initial focus to message input box.
$('#message').focus();
// Start the connection.
//此代码将打开与中心的连接
$.connection.hub.start().done(function () {
$('#sendmessage').click(function () {
// Call the Send method on the hub.
chat.server.send($('#displayname').val(), $('#message').val());
// Clear text box and reset focus for next comment.
$('#message').val('').focus();
});
});
});
// This optional function html-encodes messages for display in the page.
function htmlEncode(value) {
var encodedValue = $('<div />').text(value).html();
return encodedValue;
}
</script>
}注意 有一些路径需要改成自己的
我有一个用户工厂。我希望默认情况下确认用户。但是鉴于unconfirmed特征,我不希望它们被确认。虽然我有一个基于实现细节而不是抽象的工作实现,但我想知道如何正确地做到这一点。factory:userdoafter(:create)do|user,evaluator|#unwantedimplementationdetailshereunlessFactoryGirl.factories[:user].defined_traits.map(&:name).include?(:unconfirmed)user.confirm!endendtrait:unconfirmeddoenden
只是想确保我理解了事情。据我目前收集到的信息,Cucumber只是一个“包装器”,或者是一种通过将事物分类为功能和步骤来组织测试的好方法,其中实际的单元测试处于步骤阶段。它允许您根据事物的工作方式组织您的测试。对吗? 最佳答案 有点。它是一种组织测试的方式,但不仅如此。它的行为就像最初的Rails集成测试一样,但更易于使用。这里最大的好处是您的session在整个Scenario中保持透明。关于Cucumber的另一件事是您(应该)从使用您的代码的浏览器或客户端的角度进行测试。如果您愿意,您可以使用步骤来构建对象和设置状态,但通常您
华为OD机试题本篇题目:明明的随机数题目输入描述输出描述:示例1输入输出说明代码编写思路最近更新的博客华为od2023|什么是华为od,od薪资待遇,od机试题清单华为OD机试真题大全,用Python解华为机试题|机试宝典【华为OD机试】全流程解析+经验分享,题型分享,防作弊指南华为o
C#实现简易绘图工具一.引言实验目的:通过制作窗体应用程序(C#画图软件),熟悉基本的窗体设计过程以及控件设计,事件处理等,熟悉使用C#的winform窗体进行绘图的基本步骤,对于面向对象编程有更加深刻的体会.Tutorial任务设计一个具有基本功能的画图软件**·包括简单的新建文件,保存,重新绘图等功能**·实现一些基本图形的绘制,包括铅笔和基本形状等,学习橡皮工具的创建**·设计一个合理舒适的UI界面**注明:你可能需要先了解一些关于winform窗体应用程序绘图的基本知识,以及关于GDI+类和结构的知识二.实验环境Windows系统下的visualstudio2017C#窗体应用程序三.
MIMO技术的优缺点优点通过下面三个增益来总体概括:阵列增益。阵列增益是指由于接收机通过对接收信号的相干合并而活得的平均SNR的提高。在发射机不知道信道信息的情况下,MIMO系统可以获得的阵列增益与接收天线数成正比复用增益。在采用空间复用方案的MIMO系统中,可以获得复用增益,即信道容量成倍增加。信道容量的增加与min(Nt,Nr)成正比分集增益。在采用空间分集方案的MIMO系统中,可以获得分集增益,即可靠性性能的改善。分集增益用独立衰落支路数来描述,即分集指数。在使用了空时编码的MIMO系统中,由于接收天线或发射天线之间的间距较远,可认为它们各自的大尺度衰落是相互独立的,因此分布式MIMO
遍历文件夹我们通常是使用递归进行操作,这种方式比较简单,也比较容易理解。本文为大家介绍另一种不使用递归的方式,由于没有使用递归,只用到了循环和集合,所以效率更高一些!一、使用递归遍历文件夹整体思路1、使用File封装初始目录,2、打印这个目录3、获取这个目录下所有的子文件和子目录的数组。4、遍历这个数组,取出每个File对象4-1、如果File是否是一个文件,打印4-2、否则就是一个目录,递归调用代码实现publicclassSearchFile{publicstaticvoidmain(String[]args){//初始目录Filedir=newFile("d:/Dev");Datebeg
通常,数组被实现为内存块,集合被实现为HashMap,有序集合被实现为跳跃列表。在Ruby中也是如此吗?我正在尝试从性能和内存占用方面评估Ruby中不同容器的使用情况 最佳答案 数组是Ruby核心库的一部分。每个Ruby实现都有自己的数组实现。Ruby语言规范只规定了Ruby数组的行为,并没有规定任何特定的实现策略。它甚至没有指定任何会强制或至少建议特定实现策略的性能约束。然而,大多数Rubyist对数组的性能特征有一些期望,这会迫使不符合它们的实现变得默默无闻,因为实际上没有人会使用它:插入、前置或追加以及删除元素的最坏情况步骤复
在ruby中,你可以这样做:classThingpublicdeff1puts"f1"endprivatedeff2puts"f2"endpublicdeff3puts"f3"endprivatedeff4puts"f4"endend现在f1和f3是公共(public)的,f2和f4是私有(private)的。内部发生了什么,允许您调用一个类方法,然后更改方法定义?我怎样才能实现相同的功能(表面上是创建我自己的java之类的注释)例如...classThingfundeff1puts"hey"endnotfundeff2puts"hey"endendfun和notfun将更改以下函数定
在Rails自动生成的功能测试(test/functional/products_controller_test.rb)中,我看到以下代码:classProductsControllerTest我的问题是:方法调用products()在哪里/如何定义?products(:one)到底是什么意思?看代码,大概意思是“创建一个产品”,但是它是如何工作的呢?注意我是Ruby/Rails的新手,如果这些是微不足道的问题,我深表歉意。 最佳答案 如果您查看test/fixtures文件夹,您会看到一个products.yml文件。这是在您创建
我想开始使用“Sinatra”框架进行编码,但我找不到该框架的“MVC”模式。是“MVC-Sinatra”模式或框架吗? 最佳答案 您可能想查看Padrino这是一个围绕Sinatra构建的框架,可为您的项目提供更“类似Rails”的感觉,但没有那么多隐藏的魔法。这是使用Sinatra可以做什么的一个很好的例子。虽然如果您需要开始使用这很好,但我个人建议您将它用作学习工具,以对您来说最有意义的方式使用Sinatra构建您自己的应用程序。写一些测试/期望,写一些代码,通过测试-重复:)至于ORM,你还应该结帐Sequel其中(imho