指的是鼠标在进入某个元素的时候触发的事件
指的是鼠标在离开某个元素时触发的事件
onclick-------------------------------------鼠标单击触发
ondblclick----------------------------------鼠标双击触发
onmousemove---------------鼠标在上面移动时触发
<!DOCTYPE html>
<html lang="en">
<head>
    <meta charset="UTF-8">
    <meta http-equiv="X-UA-Compatible" content="IE=edge">
    <meta name="viewport" content="width=device-width, initial-scale=1.0">
    <title>Document</title>
    <style>
        #root {
            width: 1200px;
            height: 900px;
            margin: 40px auto;
            background-color: black;
            position: relative;
        }
        #box1 {
            position: absolute;
            left: 150px;
            top: 150px;
            width: 400px;
            height: 400px;
            background-color: #fff;
            position: relative;
        }
        #box2 {
            position: absolute;
            right: 150px;
            top: 150px;
            width: 400px;
            height: 400px;
            background-color: #fff;
            overflow: hidden;
        }
        #boxx1 {
            position: absolute;
            left: 0px;
            top: 0px;
            width: 200px;
            height: 200px;
            background-color: black;
        }
        #boxx2 {
            width: 800px;
            height: 800px;
            background-color: #fff;
        }
    </style>
</head>
<body>
    <div id="root">
        <div id="box1">
            <!-- <div id="boxx1"></div> -->
        </div>
        <div id="box2">
            <div id="boxx2">
            </div>
        </div>
    </div>
</body>
</html>
<script>
    let box1 = document.getElementById('box1')
    let merDiv = document.createElement('div') // 创建一个div盒子
    merDiv.id = 'boxx1' // 盒子的ID和自己设定的样式ID一样
    let flag = true
    box1.onmouseover = function (e) { // 移入
        box1.appendChild(merDiv) // 移动鼠标进入盒子时添加盒子
    }
    box1.onmousemove = function(e) { // 移动
        let left = e.x - box1.getClientRects()[0].left - boxx1.clientWidth / 2 // getClientRects 用于计算当前可是距离边框的长度
        let top = e.y - box1.getClientRects()[0].top - boxx1.clientHeight / 2
        if (left < 0) {
            left = 0
        }
        if (left > 200) {
            left = 200
        }
        if (top < 0) {
            top = 0
        }
        if (top > 200) {
            top = 200
        }
        merDiv.style.left = left + 'px'
        merDiv.style.top = top + 'px'
    }
    merDiv.onmouseout = function(e) { // 移出
        box1.removeChild(merDiv) // 移出时删除盒子
    }
</script>
核心点以及坑点.onmouseover, onmouseout 如果绑定在同一个盒子上, 会出现闪烁同时触发的情况. 我一开始使用了定时, 效果不是很好.但是没有解决根本问题.后来仔细查寻资料以及百度科普相关的知识点发现了原因
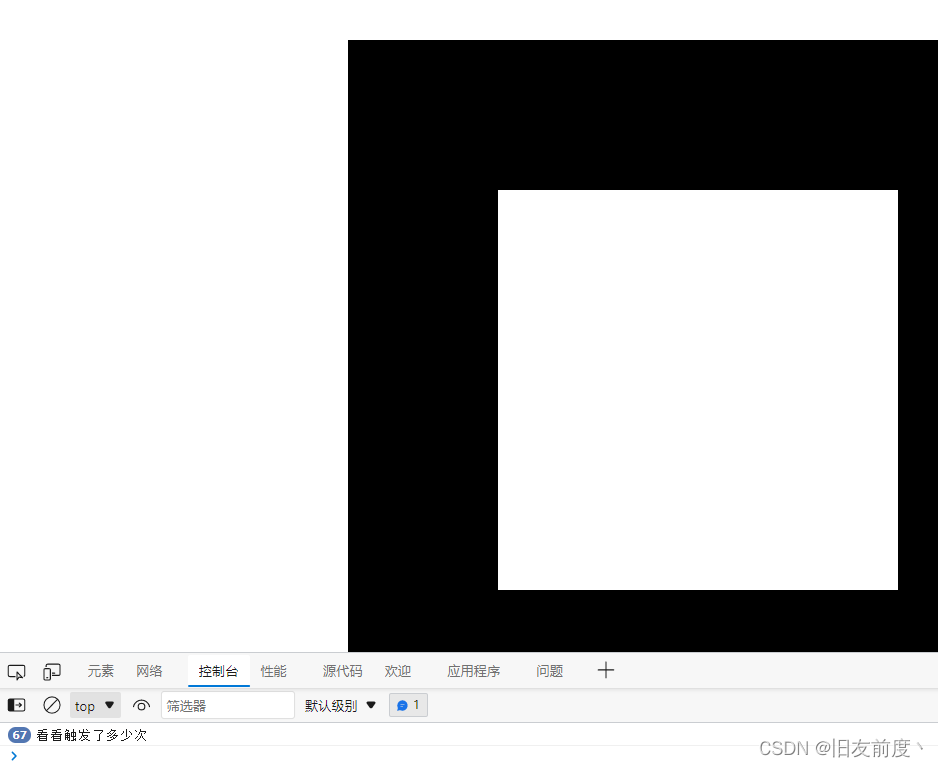
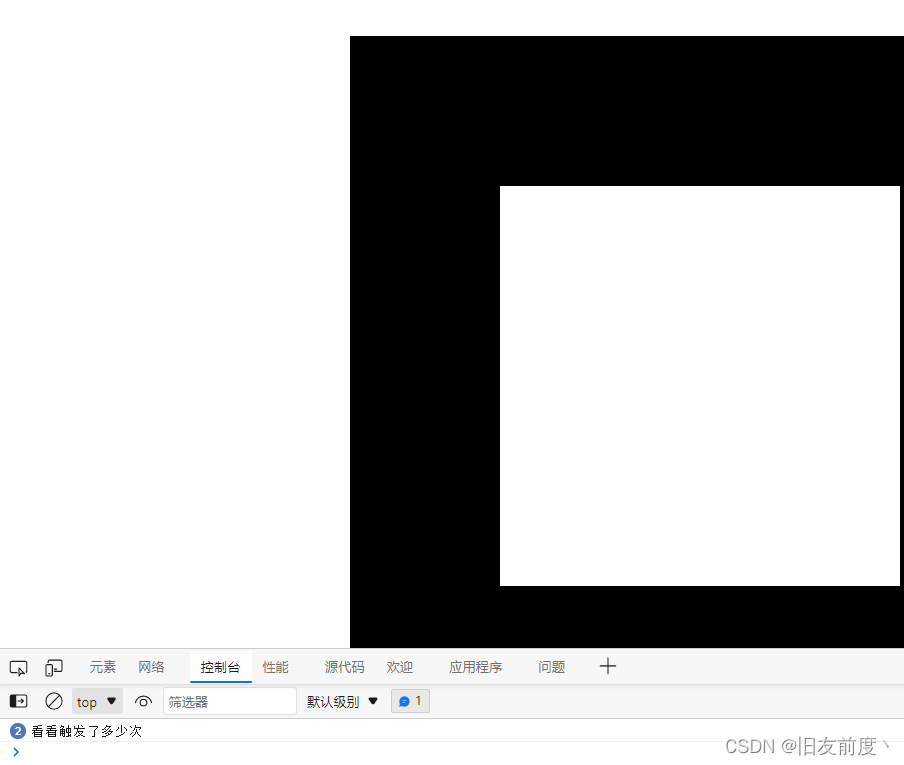
由于我的代码写的是鼠标跟随移动框, 例子是网上的放大镜案例, 然后我一开是将移动事情和移出事件onmouseover, onmouseout 都绑定在了我所要经过的元素上, 理论是上这样没错.但是onmouseout的核心点在离开了元素就会触发, 根据上述代码 鼠标移动进入元素会添加创建一个div 盒子会跟随鼠标移动, 此时之前绑定的移出事件就会触发, 原因就是新生成的盒子遮挡了事件绑定的元素,最后导致屏幕闪烁, 因为被遮挡, 代码判断鼠标离开了原绑定元素,所以会出现无休止循环触发移入和移出事件
box1.onmouseout = function(e) { // 移出
  box1.removeChild(merDiv) // 移出时删除盒子
  console.log('看看触发了多少次')
}
同元素绑定效果截图
merDiv.onmouseout = function(e) { // 移出
    box1.removeChild(merDiv) // 移出时删除盒子
    console.log('看看触发了多少次')
}
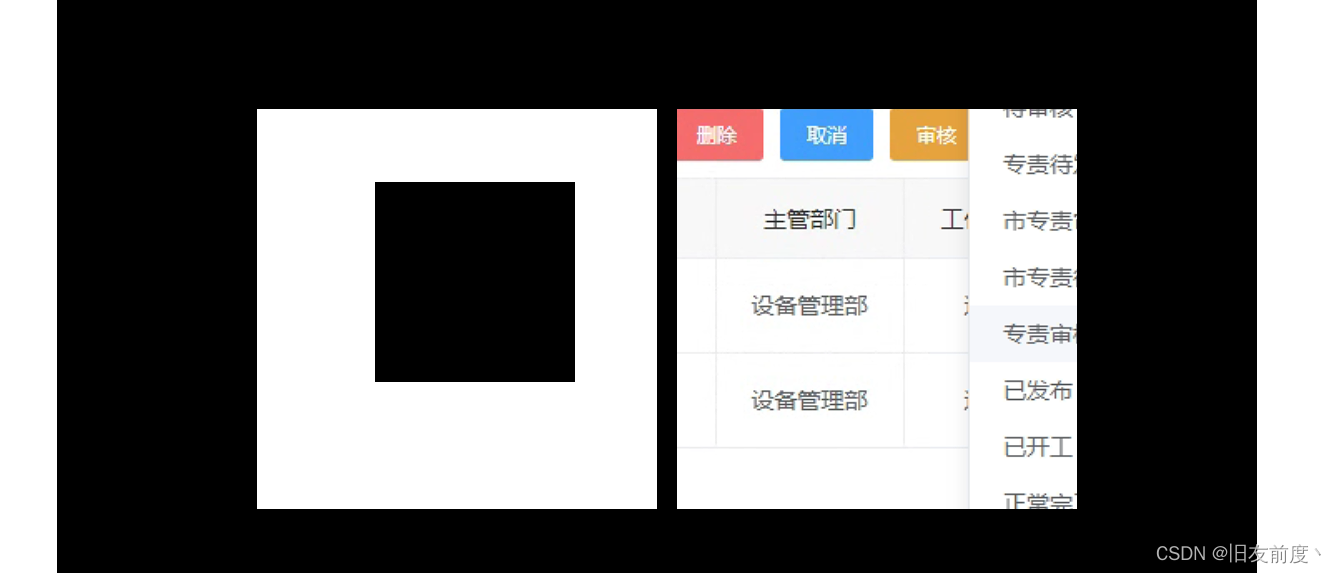
效果图
<!DOCTYPE html>
<html lang="en">
<head>
    <meta charset="UTF-8">
    <meta http-equiv="X-UA-Compatible" content="IE=edge">
    <meta name="viewport" content="width=device-width, initial-scale=1.0">
    <title>Document</title>
    <style>
        #root {
            width: 1200px;
            height: 900px;
            margin: 40px auto;
            background-color: black;
            position: relative;
        }
        #box1 {
            position: absolute;
            float: left;
            width: 400px;
            height: 400px;
            margin: 300px 10px 0 200px;
            background-color: #fff;
            position: relative;
        }
        #box2 {
            float: left;
            width: 400px;
            height: 400px;
            margin: 300px 10px;
            background-color: #fff;
            overflow: hidden;
            position: relative;
            visibility: hidden;
        }
        #boxx1 {
            position: absolute;
            left: 0px;
            top: 0px;
            width: 200px;
            height: 200px;
            background-color: black;
        }
        #boxx2 {
            position: absolute;
            left: 0px;
            top: 0px;
            width: 600px;
            height: 600px;
            background-color: #fff;
        }
    </style>
</head>
<body>
    <div id="root">
        <div id="box1">
            <!-- <div id="boxx1"></div> -->
        </div>
        <div id="box2">
            <div id="boxx2">
                <img src="./1.png" alt="">
            </div>
        </div>
    </div>
</body>
</html>
<script>
    let box1 = document.getElementById('box1')
    let merDiv = document.createElement('div') // 创建一个div盒子
    merDiv.id = 'boxx1' // 盒子的ID和自己设定的样式ID一样
    let box2 = document.getElementById('box2')
    let boxx2 = document.getElementById('boxx2')
    box1.onmouseover = function (e) { // 移入
        box1.appendChild(merDiv) // 移动鼠标进入盒子时添加盒子
        box2.style.visibility = 'visible'
    }
    box1.onmousemove = function(e) { // 移动
        let left = e.x - box1.getClientRects()[0].left - boxx1.clientWidth / 2 // getClientRects 用于计算当前可是距离边框的长度
        let top = e.y - box1.getClientRects()[0].top - boxx1.clientHeight / 2
        if (left < 0) {
            left = 0
        }
        if (left > 200) {
            left = 200
        }
        if (top < 0) {
            top = 0
        }
        if (top > 200) {
            top = 200
        }
        merDiv.style.left = left + 'px'
        merDiv.style.top = top + 'px'
        boxx2.style.left = left * -(boxx2.clientWidth / boxx1.clientWidth) + 'px'
        boxx2.style.top = top * -(boxx2.clientHeight / boxx1.clientHeight) + 'px'
    }
    merDiv.onmouseout = function(e) { // 移出
        box1.removeChild(merDiv) // 移出时删除盒子
        box2.style.visibility = 'hidden'
    }
</script>
我正在使用的第三方API的文档状态:"[O]urAPIonlyacceptspaddedBase64encodedstrings."什么是“填充的Base64编码字符串”以及如何在Ruby中生成它们。下面的代码是我第一次尝试创建转换为Base64的JSON格式数据。xa=Base64.encode64(a.to_json) 最佳答案 他们说的padding其实就是Base64本身的一部分。它是末尾的“=”和“==”。Base64将3个字节的数据包编码为4个编码字符。所以如果你的输入数据有长度n和n%3=1=>"=="末尾用于填充n%
我的代码目前看起来像这样numbers=[1,2,3,4,5]defpop_threepop=[]3.times{pop有没有办法在一行中完成pop_three方法中的内容?我基本上想做类似numbers.slice(0,3)的事情,但要删除切片中的数组项。嗯...嗯,我想我刚刚意识到我可以试试slice! 最佳答案 是numbers.pop(3)或者numbers.shift(3)如果你想要另一边。 关于ruby-多次弹出/移动ruby数组,我们在StackOverflow上找到一
我想要做的是有2个不同的Controller,client和test_client。客户端Controller已经构建,我想创建一个test_clientController,我可以使用它来玩弄客户端的UI并根据需要进行调整。我主要是想绕过我在客户端中内置的验证及其对加载数据的管理Controller的依赖。所以我希望test_clientController加载示例数据集,然后呈现客户端Controller的索引View,以便我可以调整客户端UI。就是这样。我在test_clients索引方法中试过这个:classTestClientdefindexrender:template=>
在我的Controller中,我通过以下方式在我的index方法中支持HTML和JSON:respond_todo|format|format.htmlformat.json{renderjson:@user}end在浏览器中拉起它时,它会自然地以HTML呈现。但是,当我对/user资源进行内容类型为application/json的curl调用时(因为它是索引方法),我仍然将HTML作为响应。如何获取JSON作为响应?我还需要说明什么? 最佳答案 您应该将.json附加到请求的url,提供的格式在routes.rb的路径中定义。这
当我在我的Rails应用程序根目录中运行rakedoc:app时,API文档是使用/doc/README_FOR_APP作为主页生成的。我想向该文件添加.rdoc扩展名,以便它在GitHub上正确呈现。更好的是,我想将它移动到应用程序根目录(/README.rdoc)。有没有办法通过修改包含的rake/rdoctask任务在我的Rakefile中执行此操作?是否有某个地方可以查找可以修改的主页文件的名称?还是我必须编写一个新的Rake任务?额外的问题:Rails应用程序的两个单独文件/README和/doc/README_FOR_APP背后的逻辑是什么?为什么不只有一个?
是否有简单的方法来更改默认ISO格式(yyyy-mm-dd)的ActiveAdmin日期过滤器显示格式? 最佳答案 您可以像这样为日期选择器提供额外的选项,而不是覆盖js:=f.input:my_date,as::datepicker,datepicker_options:{dateFormat:"mm/dd/yy"} 关于ruby-on-rails-事件管理员日期过滤器日期格式自定义,我们在StackOverflow上找到一个类似的问题: https://s
无论您是想搭建桌面端、WEB端或者移动端APP应用,HOOPSPlatform组件都可以为您提供弹性的3D集成架构,同时,由工业领域3D技术专家组成的HOOPS技术团队也能为您提供技术支持服务。如果您的客户期望有一种在多个平台(桌面/WEB/APP,而且某些客户端是“瘦”客户端)快速、方便地将数据接入到3D应用系统的解决方案,并且当访问数据时,在各个平台上的性能和用户体验保持一致,HOOPSPlatform将帮助您完成。利用HOOPSPlatform,您可以开发在任何环境下的3D基础应用架构。HOOPSPlatform可以帮您打造3D创新型产品,HOOPSSDK包含的技术有:快速且准确的CAD
在应用开发中,有时候我们需要获取系统的设备信息,用于数据上报和行为分析。那在鸿蒙系统中,我们应该怎么去获取设备的系统信息呢,比如说获取手机的系统版本号、手机的制造商、手机型号等数据。1、获取方式这里分为两种情况,一种是设备信息的获取,一种是系统信息的获取。1.1、获取设备信息获取设备信息,鸿蒙的SDK包为我们提供了DeviceInfo类,通过该类的一些静态方法,可以获取设备信息,DeviceInfo类的包路径为:ohos.system.DeviceInfo.具体的方法如下:ModifierandTypeMethodDescriptionstatic StringgetAbiList()Obt
我从Ubuntu服务器上的RVM转移到rbenv。当我使用RVM时,使用bundle没有问题。转移到rbenv后,我在Jenkins的执行shell中收到“找不到命令”错误。我内爆并删除了RVM,并从~/.bashrc'中删除了所有与RVM相关的行。使用后我仍然收到此错误:rvmimploderm~/.rvm-rfrm~/.rvmrcgeminstallbundlerecho'exportPATH="$HOME/.rbenv/bin:$PATH"'>>~/.bashrcecho'eval"$(rbenvinit-)"'>>~/.bashrc.~/.bashrcrbenvversions
作为新的阿里云用户,您可以50免费试用多种优惠,价值高达1,700美元(或8,500美元)。这将让您了解和体验阿里云平台上提供的一系列产品和服务。如果您以个人身份注册免费试用,您将获得价值1,700美元的优惠。但是,如果您是注册公司,您可以选择企业免费试用,提交基本信息通过企业实名注册验证,即可开始价值$8,500的免费试用!本教程介绍了如何设置您的帐户并使用您的免费试用版。关于免费试用在我们开始此试用之前,您还必须遵守以下条款和条件才能访问您的免费试用:只有在一年内创建的账户才有资格获得阿里云免费试用。通过此免费试用优惠,用户可以免费试用免费试用活动页面上列出的每种产品一次。如果您有多个帐
